
Parking Ticket
This section describes how to build your custom OCR API to extract data from Parking Tickets using the API Builder. A Parking Ticket is a piece of paper with instructions to pay a fine and is put on your car when you have parked it somewhere illegally.
Prerequisites
You’ll need at least 20 Parking Ticket images or pdfs to train your OCR.
Define your Parking Ticket Use Case
Using the [Using the Parking Ticket below, we’re going to define the fields we want to extract from it.
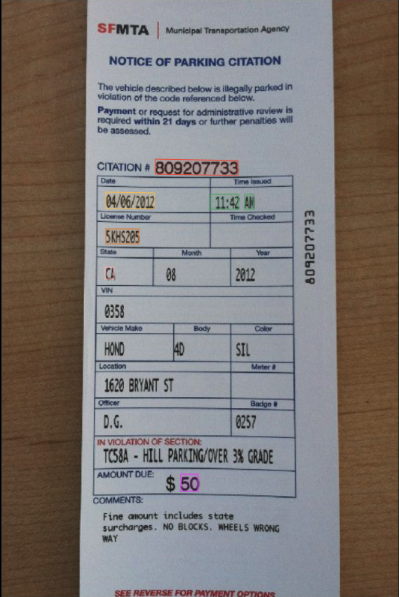
- Citation Number: The citation identification number
- Date: The date of the citation
- Time: The time it was when the citation was issued
- Licence Number: The licence number of the vehicle mentioned in the citation
- State: The state in which the citation was delivered
- Amount Due: The total amount due by the vehicle's owner
That’s it for this example. Feel free to add any other relevant data that fits your requirement.
Deploy your API
Once you have defined the list of fields you want to extract from your Parking Ticket, head over to the platform and follow these steps:
-
Click on the Create a new API button on the right.
-
Next, fill in the basic information about the API you want to create as seen below.
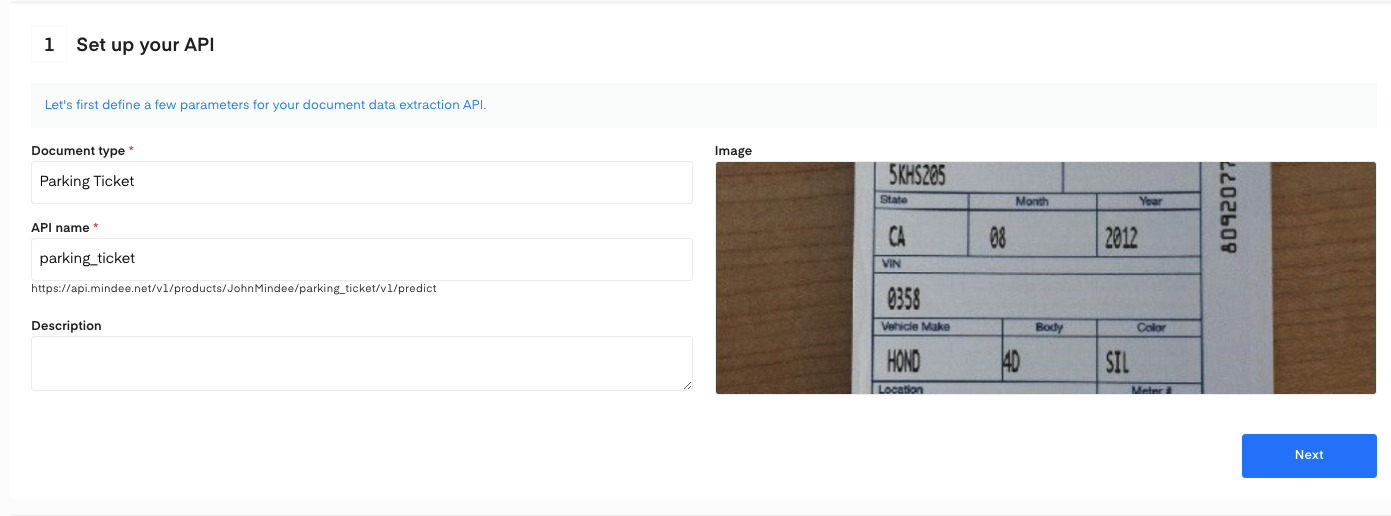
- Click on the Next button. The following page allows you to define and add your data model.
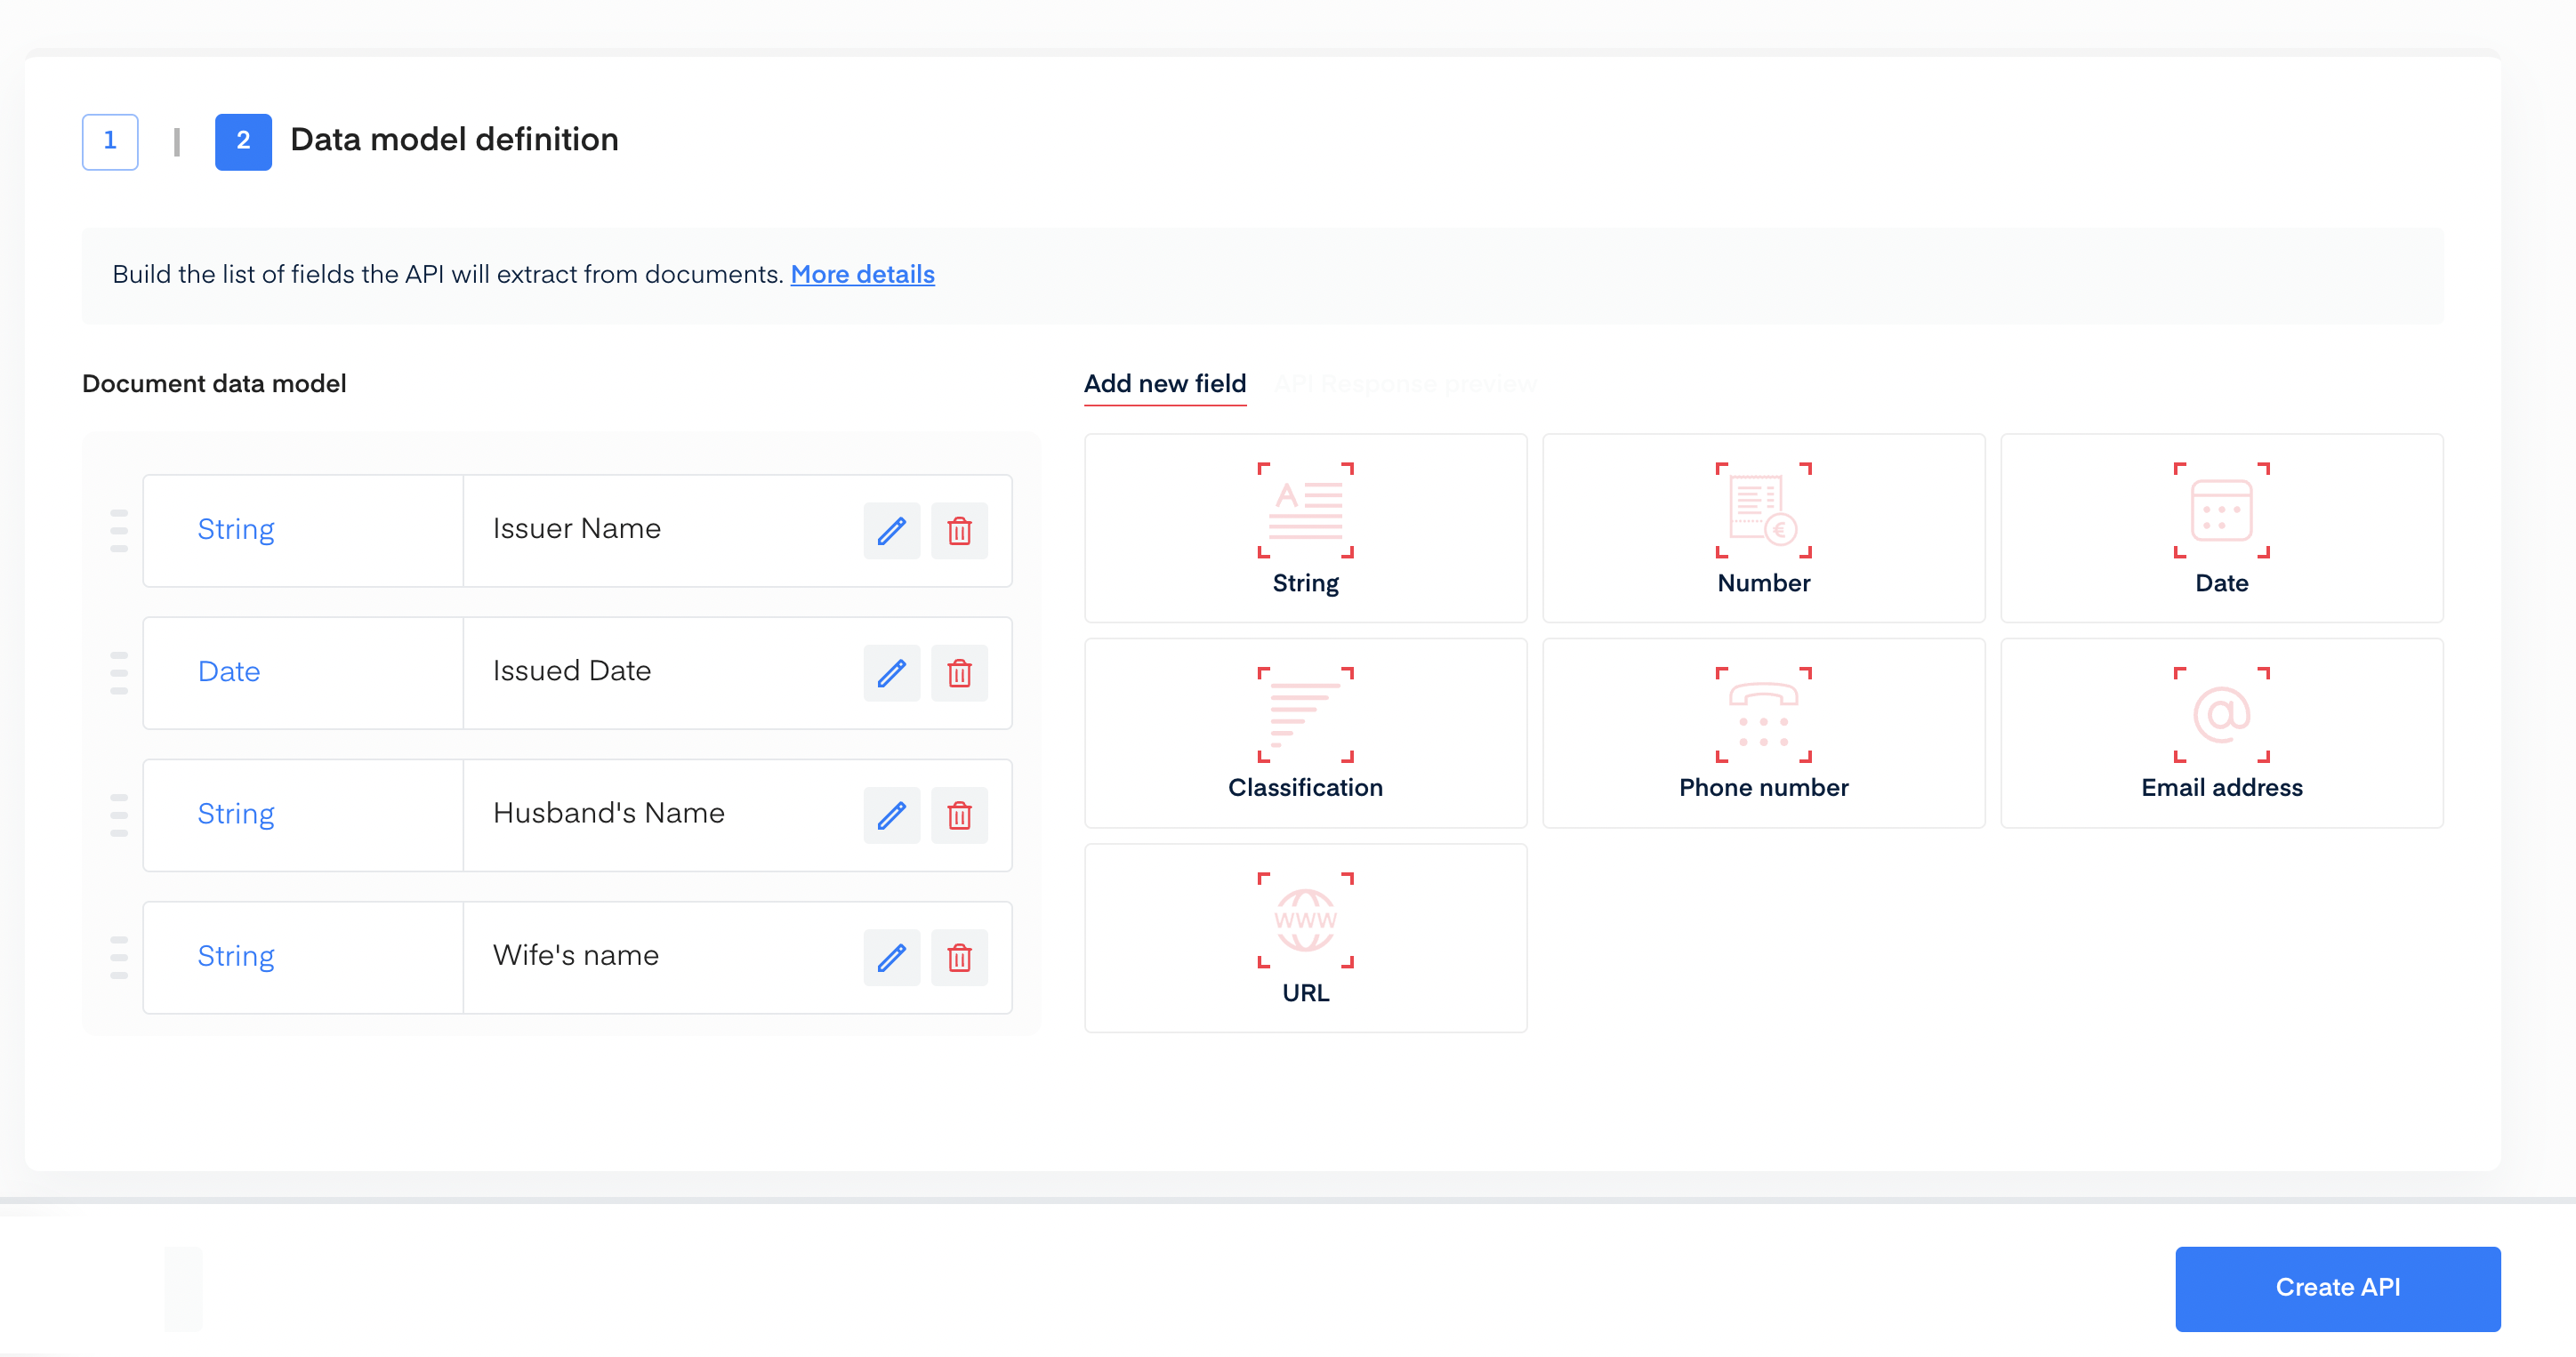
Define Your Model
There are two ways to add fields to your data model.
- Upload a JSON config file
- Manually add data

Upload a JSON Config
To add data fields using JSON config upload.
- Copy the following JSON into a file.
{
  "problem_type": {
    "classificator": { "features": [], "features_name": [] },
    "selector": {
      "features": [
        {
          "cfg": { "filter": { "is_integer": -1 } },
          "handwritten": false,
          "name": "citation_number",
          "public_name": "Citation Number",
          "semantics": "amount"
        },
        {
          "cfg": { "filter": { "convention": "US" } },
          "handwritten": false,
          "name": "date",
          "public_name": "Date",
          "semantics": "date"
        },
        {
          "cfg": { "filter": { "alpha": -1, "numeric": -1 } },
          "handwritten": false,
          "name": "time_issued",
          "public_name": "Time issued",
          "semantics": "word"
        },
        {
          "cfg": { "filter": { "alpha": -1, "numeric": -1 } },
          "handwritten": false,
          "name": "licence_number",
          "public_name": "Licence Number",
          "semantics": "word"
        },
        {
          "cfg": { "filter": { "alpha": -1, "numeric": 0 } },
          "handwritten": false,
          "name": "state",
          "public_name": "State",
          "semantics": "word"
        },
        {
          "cfg": { "filter": { "is_integer": -1 } },
          "handwritten": false,
          "name": "amount_due",
          "public_name": "Amount Due",
          "semantics": "amount"
        }
      ],
      "features_name": [
        "citation_number",
        "date",
        "time_issued",
        "licence_number",
        "state",
        "amount_due"
      ]
    }
  }
}
- Click on Upload a JSON config.
- The data model will be automatically filled.
- Click on Create API at the bottom of the screen.
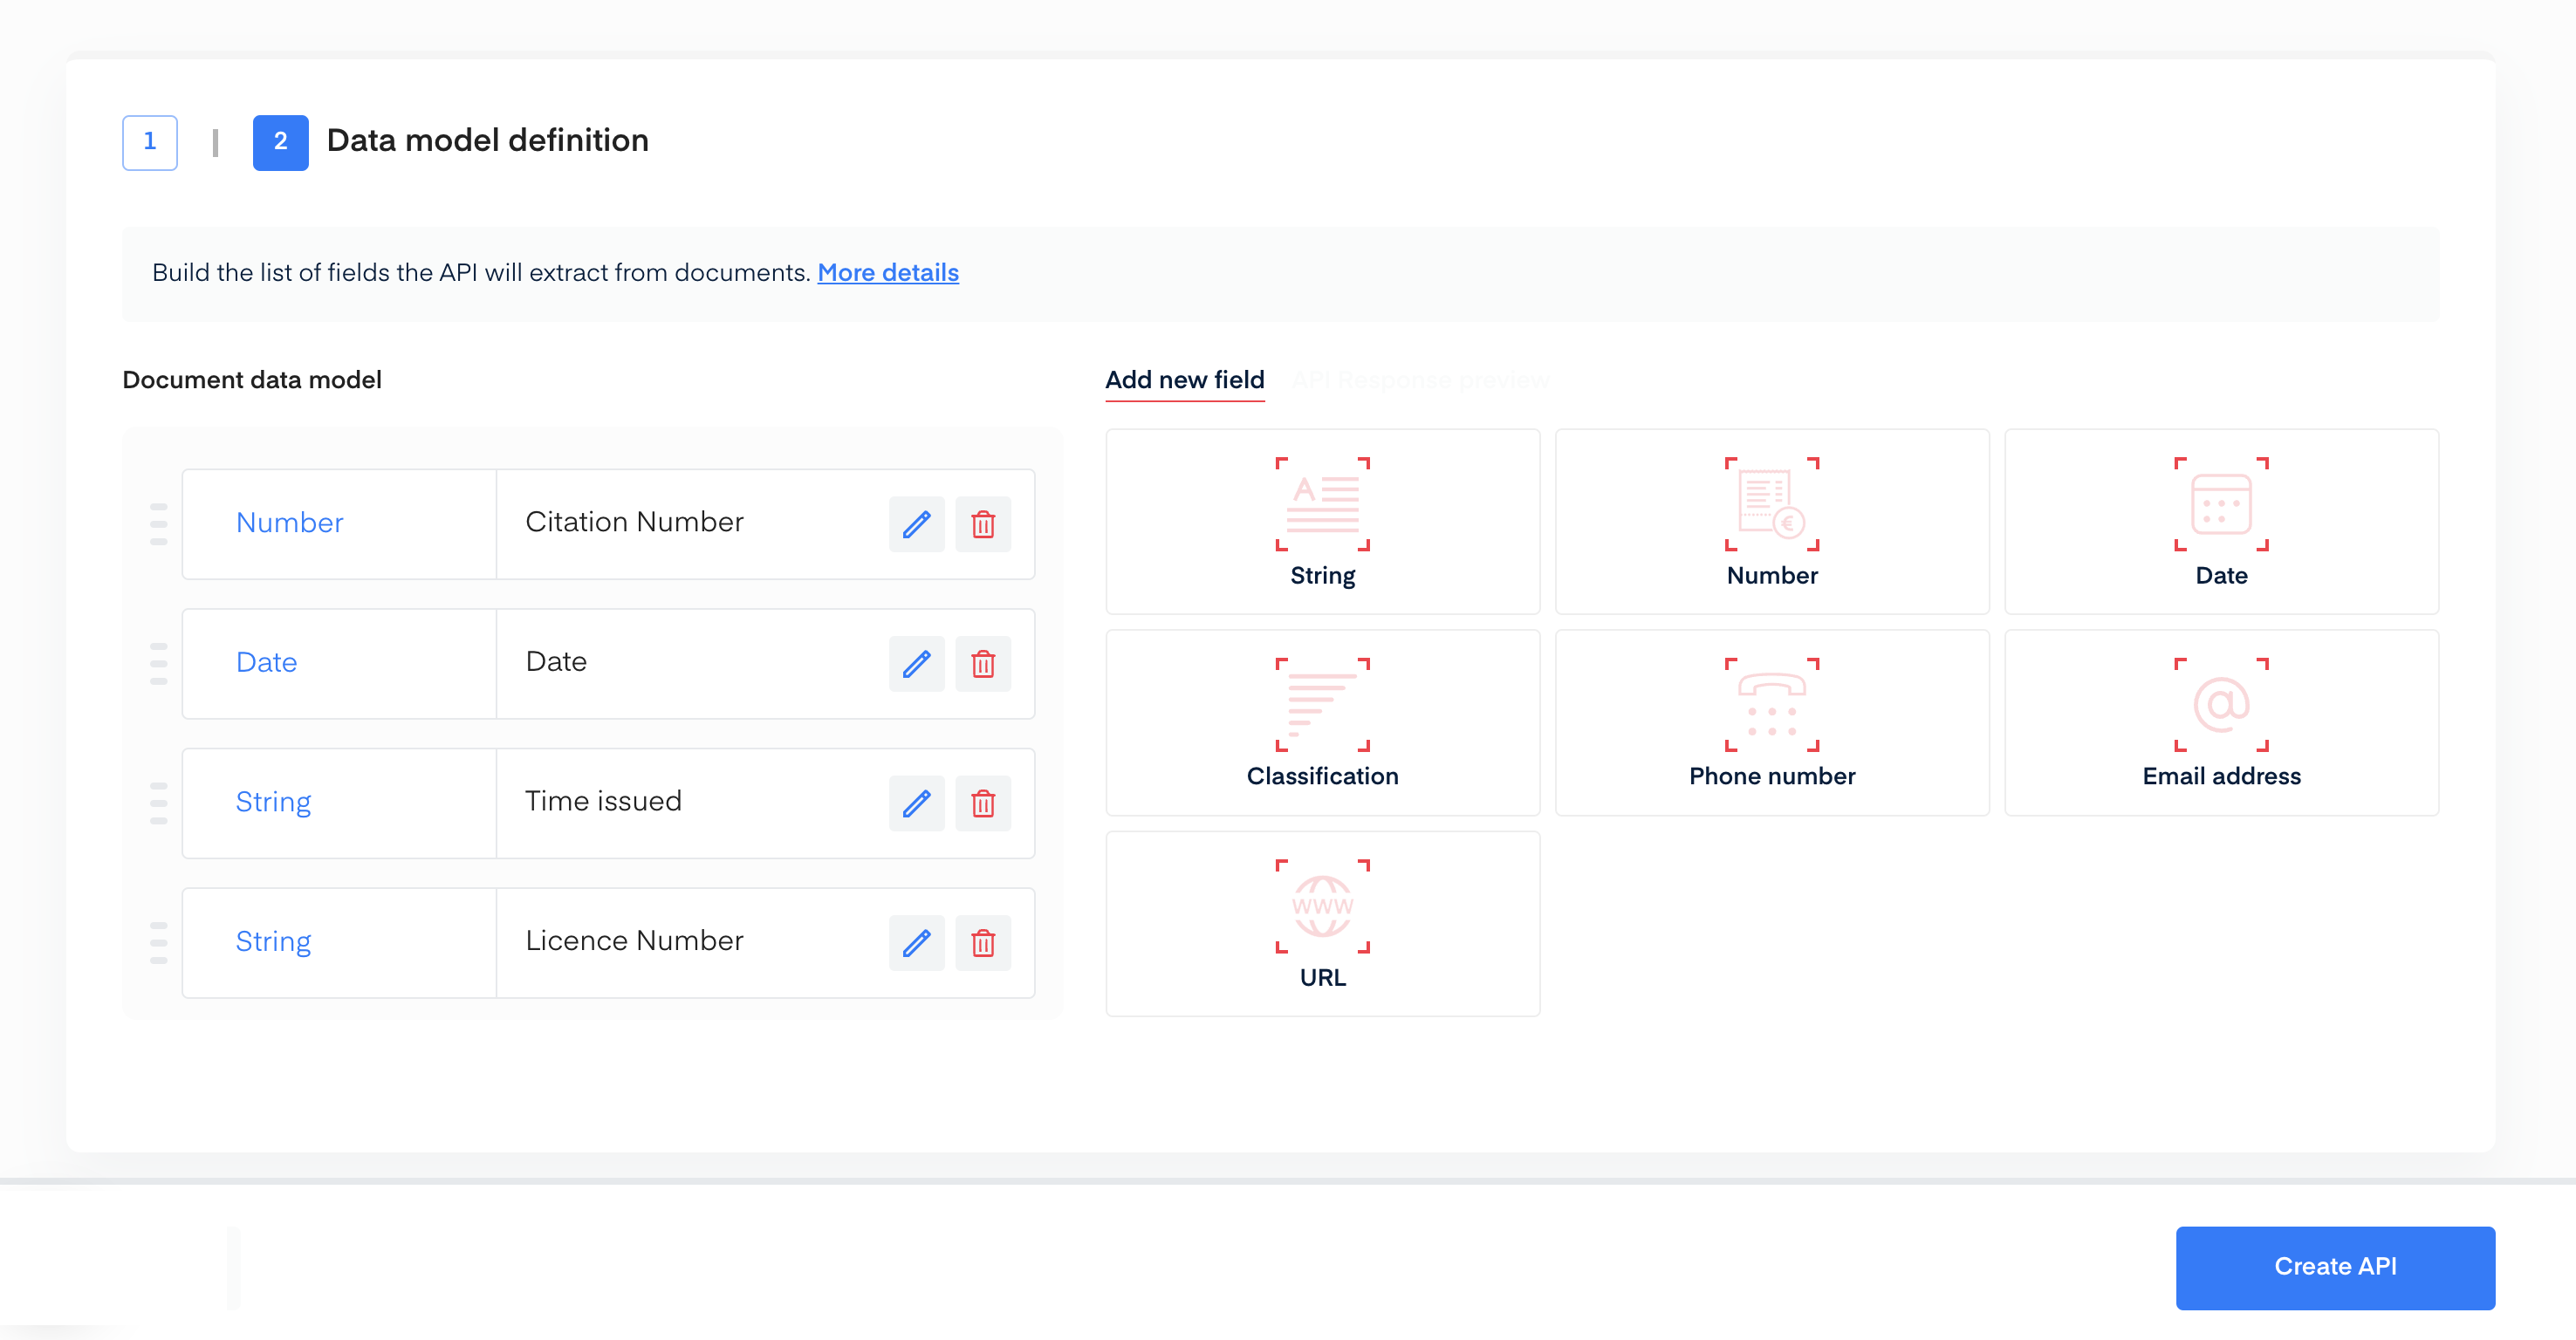
Manually Add Data
Using the interface, you can manually add each field for the data you are extracting. For this example, here are the different field configurations used:
- Citation Number: type Number without specifications.
- Date: type Date with US format.
- Time issued: type String without specifications.
- Licence Number: type String without specifications.
- State: type String that never contains numeric characters.
- Amount Due: type Number without specifications.
Once you’re done setting up your data model, click the Create API button at the bottom of the screen.
Train your Parking Ticket OCR
You’re all set! Now it's time to train your Parking Ticket deep learning model in the Training section of our API.
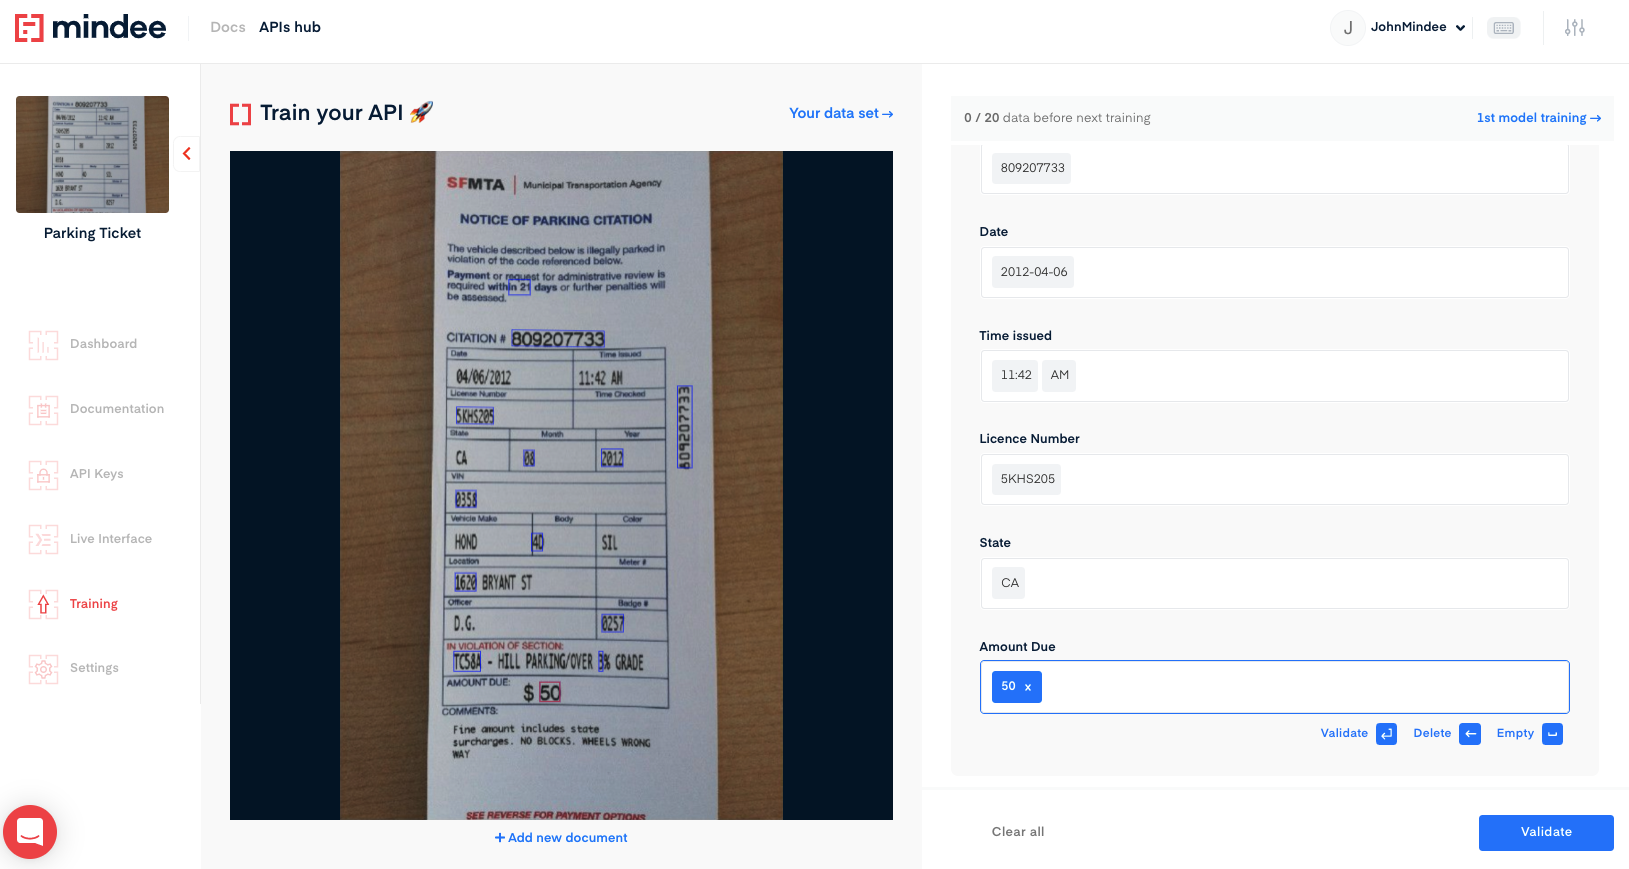
- Upload one file at a time or a zip bundle of many files.
- Click on the field input on the right, and the blue box on the left highlights all the corresponding field candidates in the document.
- Next, click on the validate arrow for all the field inputs.
- Once you have selected the proper box(es) for each of your fields as displayed on the right-hand side, click on the validate button located at the right-side bottom to send an annotation for the model you have created.
- Repeat this process until you have trained 20 documents to create a trained model.
To get more information about the training phase, please refer to the Getting Started tutorial.
Questions?
![]() Join our Slack
Join our Slack
Updated over 1 year ago