Training
How it works
This section describes the training cycle of your deep learning algorithm.
Create a dummy API
First, we’re going to create a dummy API that illustrates the main phases of the training cycle.
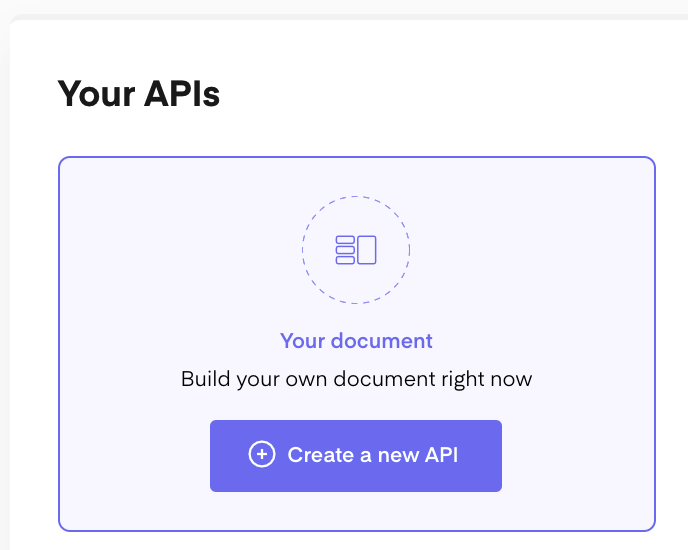
- Log in on the Mindee-platform. You'll land on the APIs hub page.
- Click the Create a new API button.
- You'll land on the setup page. Here is the train ticket used for setting up the API, and it looks like this:
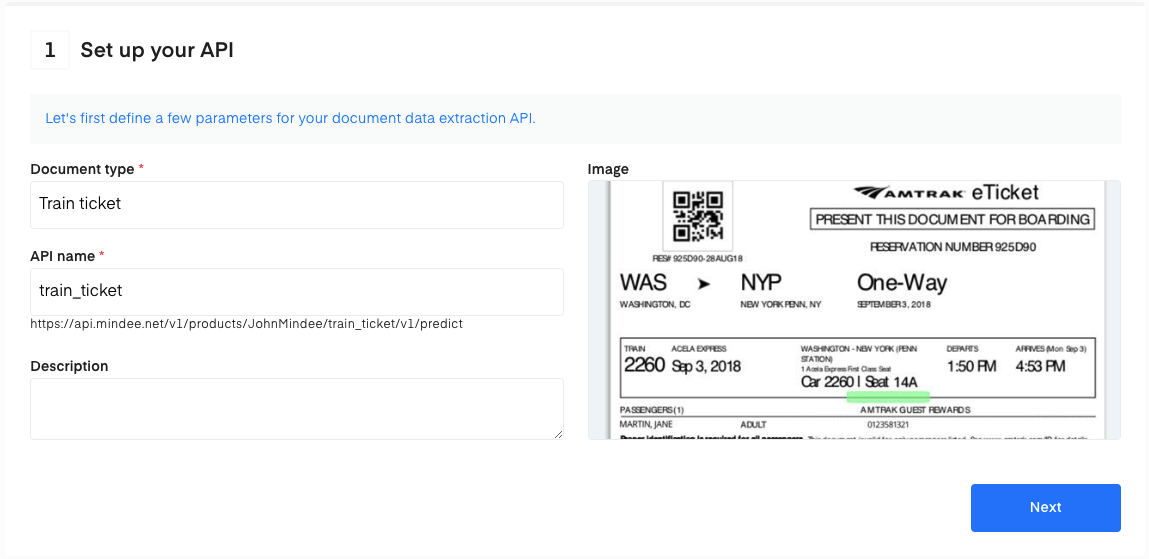
- Click on Next. We'll use the JSON upload to create the API.
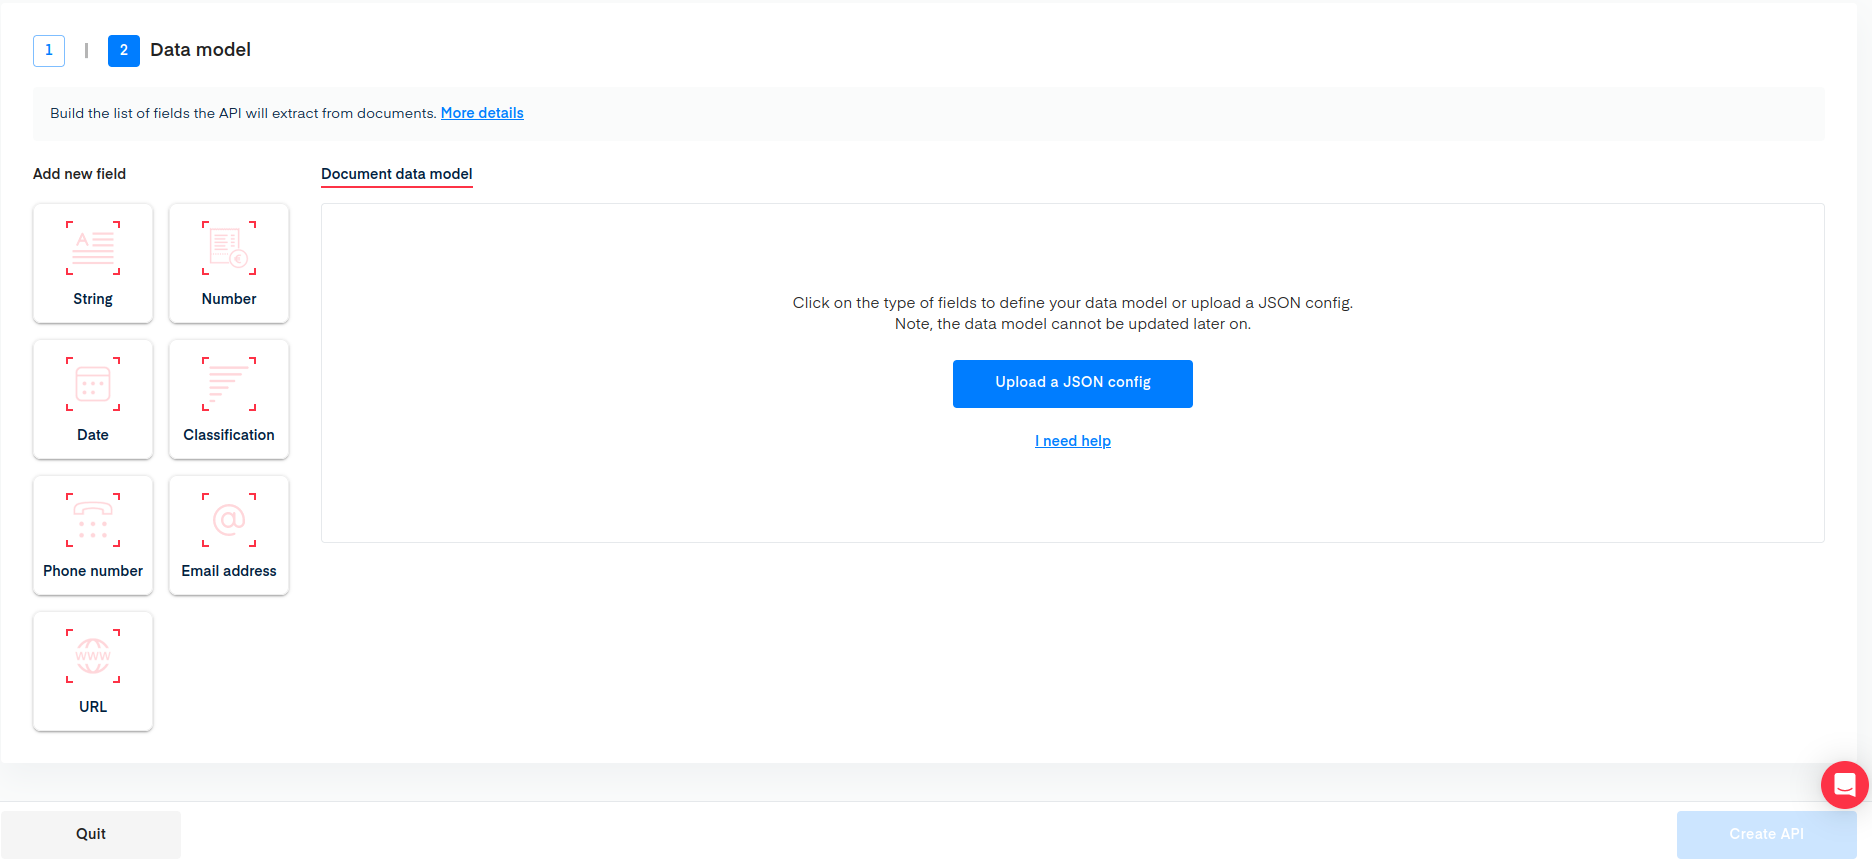
Copy the following JSON into a file and upload it on the interface.
{
  "problem_type": {
    "classificator": { "features": [], "features_name": [] },
    "selector": {
      "features": [
        {
          "cfg": { "filter": { "alpha": -1, "numeric": 0 } },
          "handwritten": false,
          "name": "passenger_name",
          "public_name": "Passenger name",
          "semantics": "word"
        },
        {
          "cfg": { "filter": { "alpha": -1, "numeric": -1 } },
          "handwritten": false,
          "name": "reservation_number",
          "public_name": "Reservation number",
          "semantics": "word"
        },
        {
          "cfg": { "filter": { "convention": "US" } },
          "handwritten": false,
          "name": "departure_date",
          "public_name": "Departure Date",
          "semantics": "date"
        },
        {
          "cfg": { "filter": { "alpha": -1, "numeric": 0 } },
          "handwritten": false,
          "name": "departure_station_code",
          "public_name": "Departure Station Code",
          "semantics": "word"
        },
        {
          "cfg": { "filter": { "alpha": -1, "numeric": 0 } },
          "handwritten": false,
          "name": "arrival_station_code",
          "public_name": "Arrival Station Code",
          "semantics": "word"
        },
        {
          "cfg": { "filter": { "alpha": -1, "numeric": -1 } },
          "handwritten": false,
          "name": "departure_time",
          "public_name": "Departure Time",
          "semantics": "word"
        }
      ],
      "features_name": [
        "passenger_name",
        "reservation_number",
        "departure_date",
        "departure_station_code",
        "arrival_station_code",
        "departure_time"
      ]
    }
  }
}
Alternatively, you can build the data model manually:
- Passenger name: String type that never contains numeric characters.
- Reservation number: String type without specifications.
- Departure Date: Date type with US format (MM-DD-YYYY).
- Departure Station Code: String type that never contains numeric characters.
- Arrival Station Code: type String that never contains numeric characters.
- Departure Time: type String without specifications.
In this model, we have set up a field for each type. Once it’s done, it should looks like this
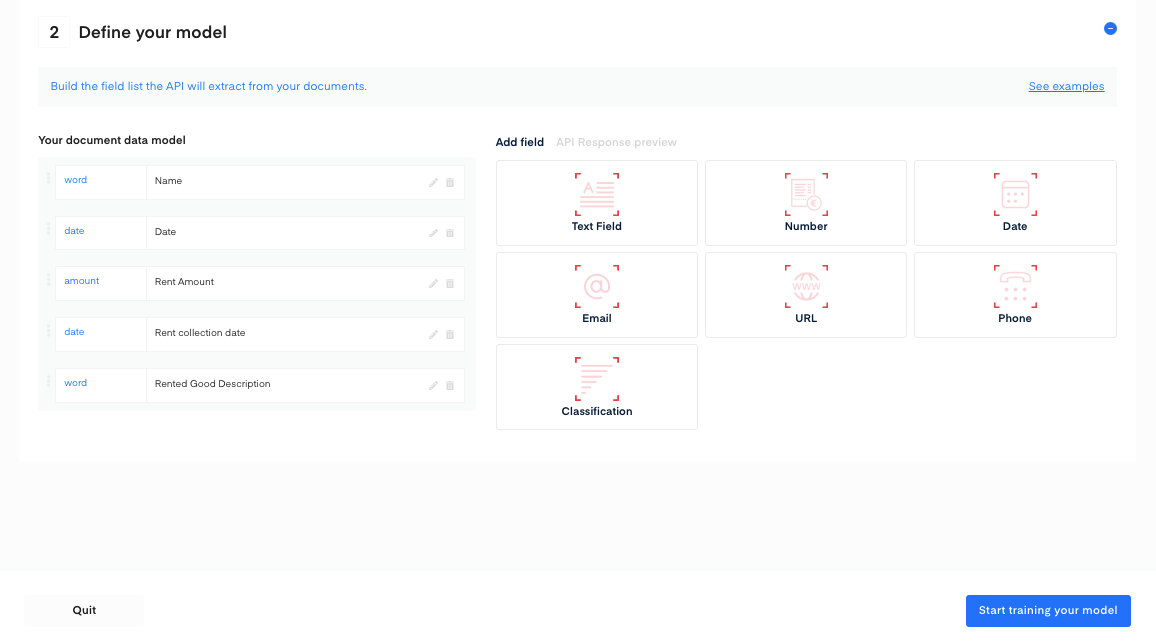
- Click on the start training your model button to begin the training phase.
Training phase
After following the initial steps, the API will be deployed. Next, you'll land on the Training section to train your API.
- Upload the sample train ticket image into the document area.
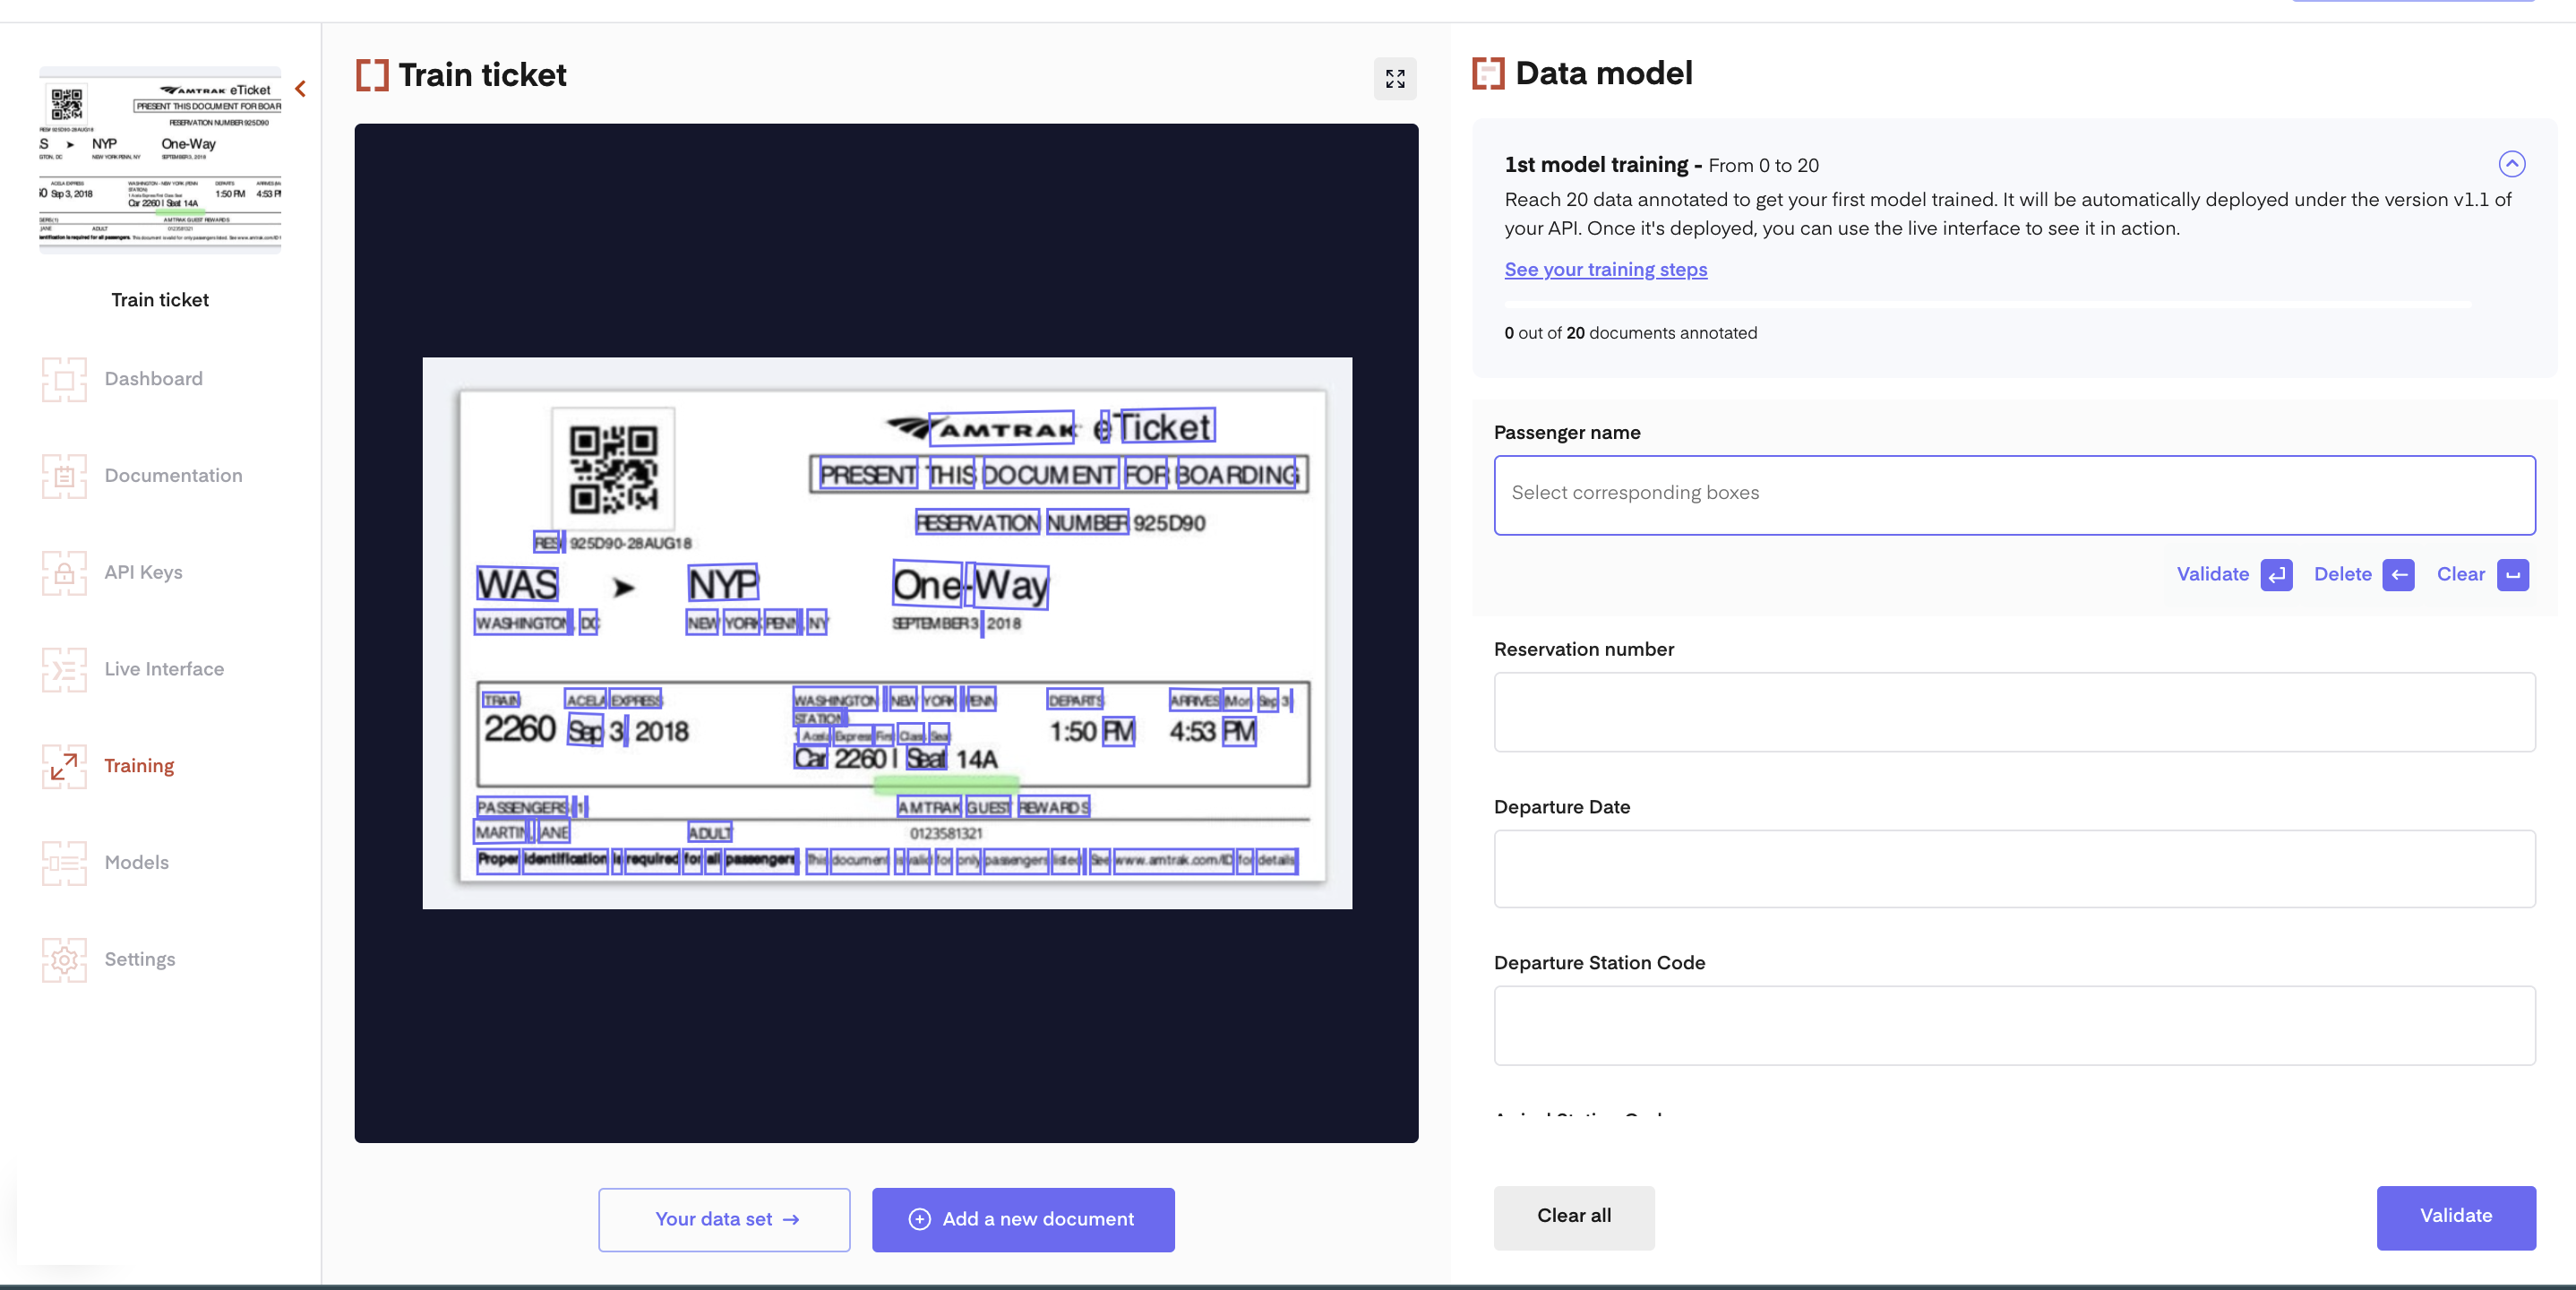
- Click on any field input in the form, as seen below, you should see the blue boxes on your document change.
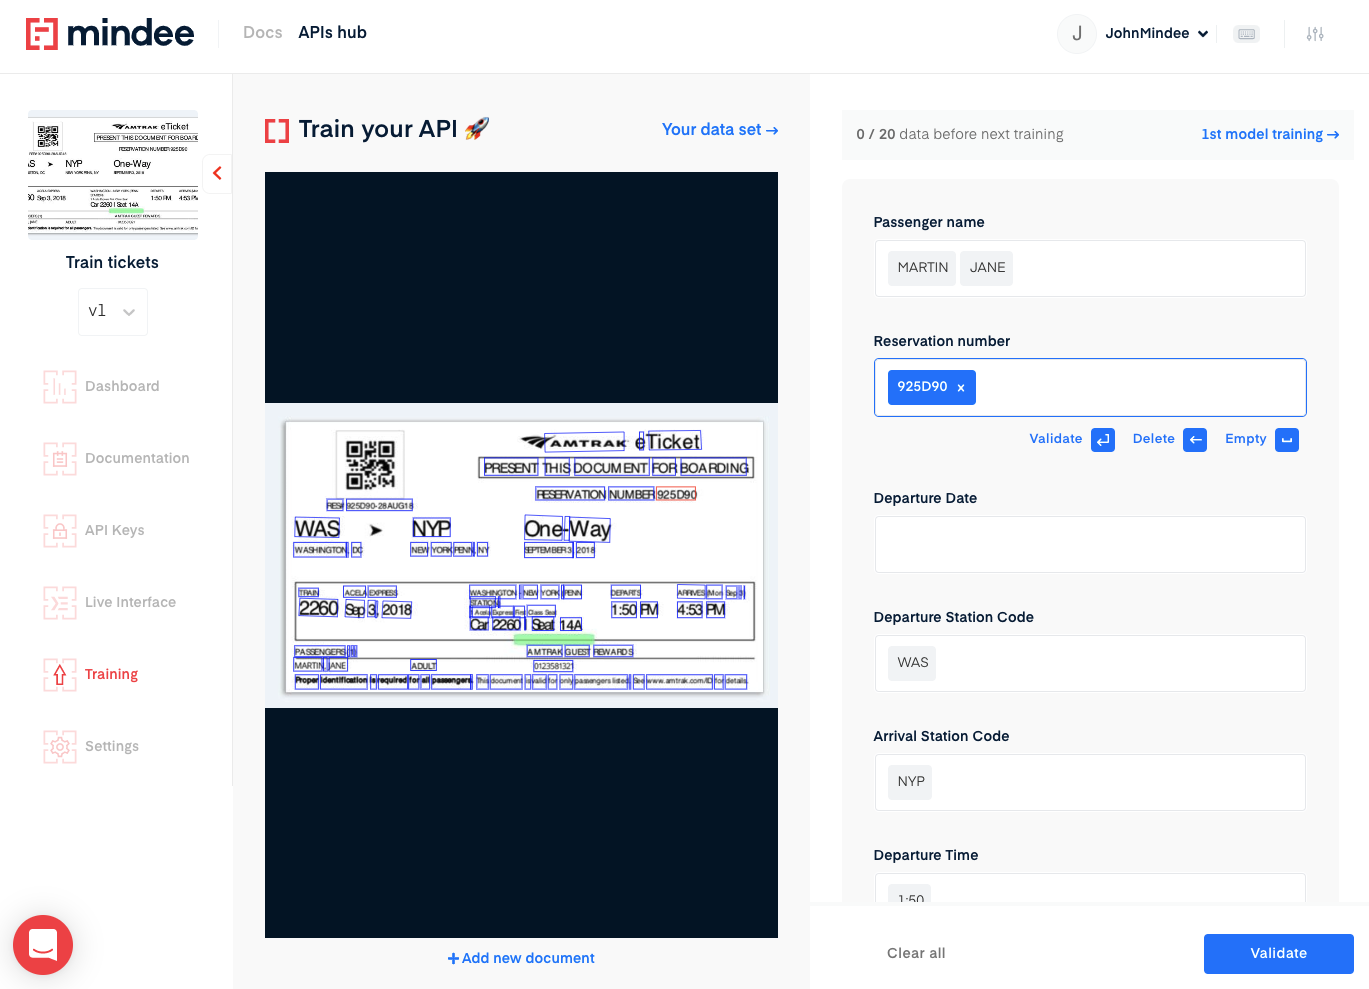
The blue boxes displayed on the document for each field are called the fields candidates. For each field you set up in your data model, our engine will parse the potential field candidates so that you, or an automatic script can tell the model what field candidate you are actually looking for.
In the example above, we clicked on the Reservation Number field input in the form and the blue boxes highlight the Reservation Number field candidate in the document. When you hit the blue box corresponding to the Reservation Number in the document, the color changes and the Reservation Number is filled in the field.
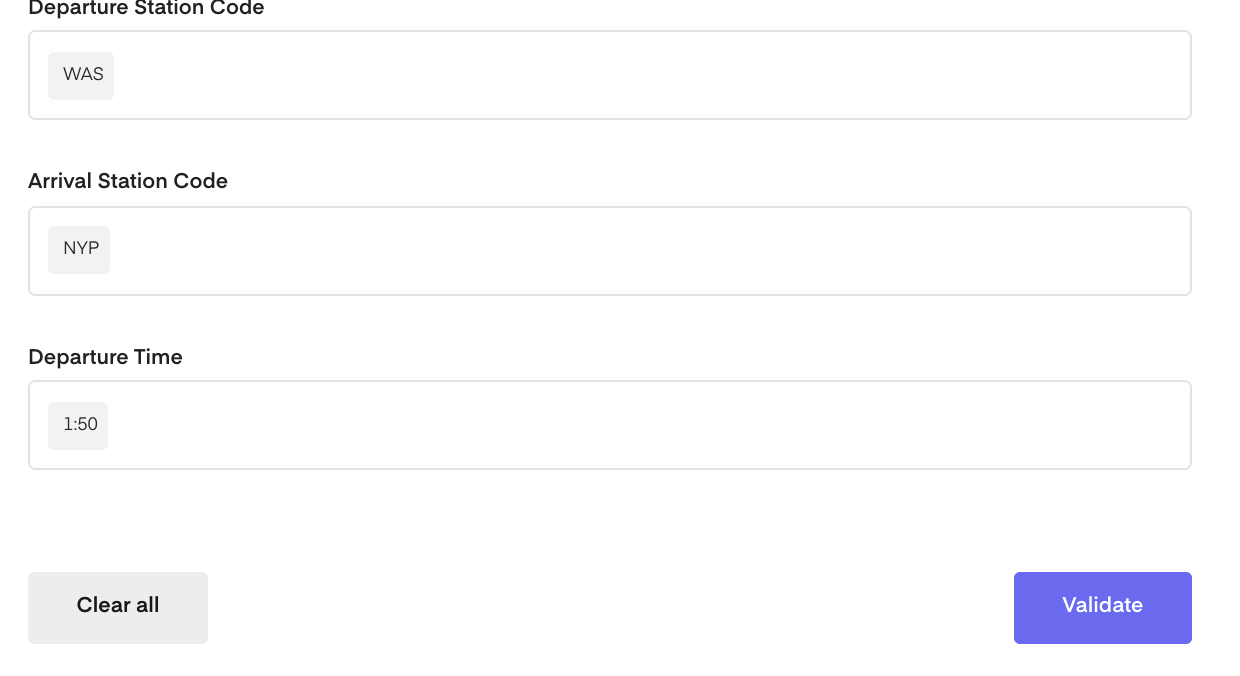
- Next, click on Validate. When you “validate”, you are telling the deep learning model that the blue box is the one corresponding to the Reservation Number. In other words, you are teaching the model which candidate is the Reservation Number, and it’s going to learn to extract the right one on new samples.

- To send annotation for the model you have created, click on the validate button as seen below
At the very beginning, there is no trained model and calling the /predict endpoint will give you only the candidates for each field, no predictions.
Without any prediction, the /predict endpoint and the training cycle looks like this:
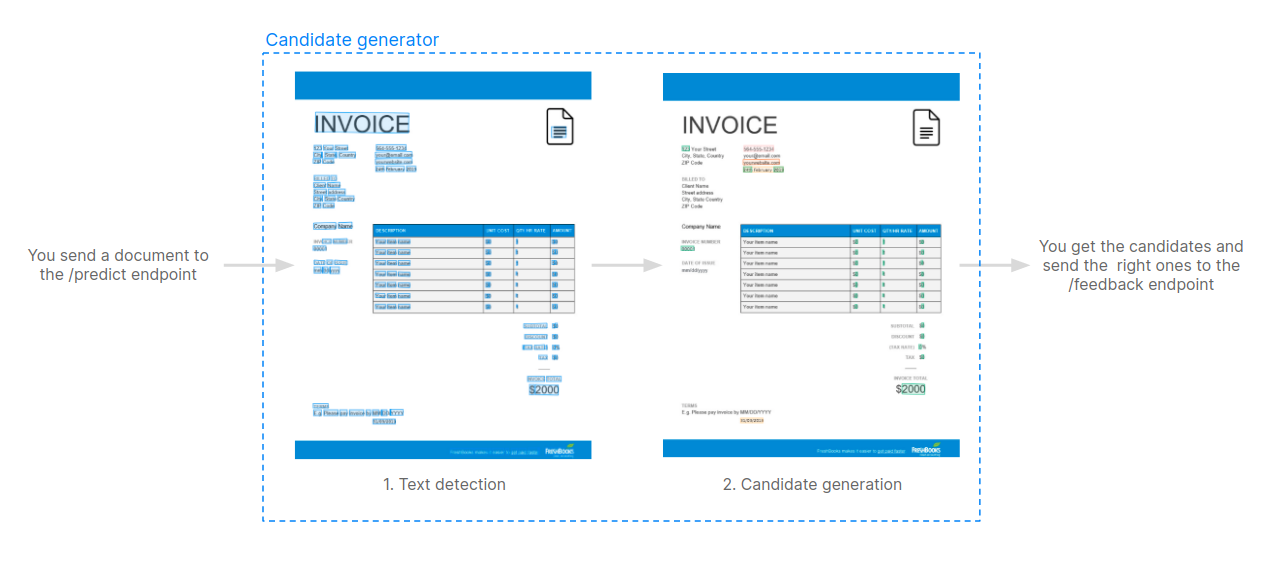
The /annotations endpoint is automatically called within the interface, but you can also use the API if you want to do this on your own interface.
Model training
Once there are 20 data sent to the annotations endpoint, the training of your first model will start.
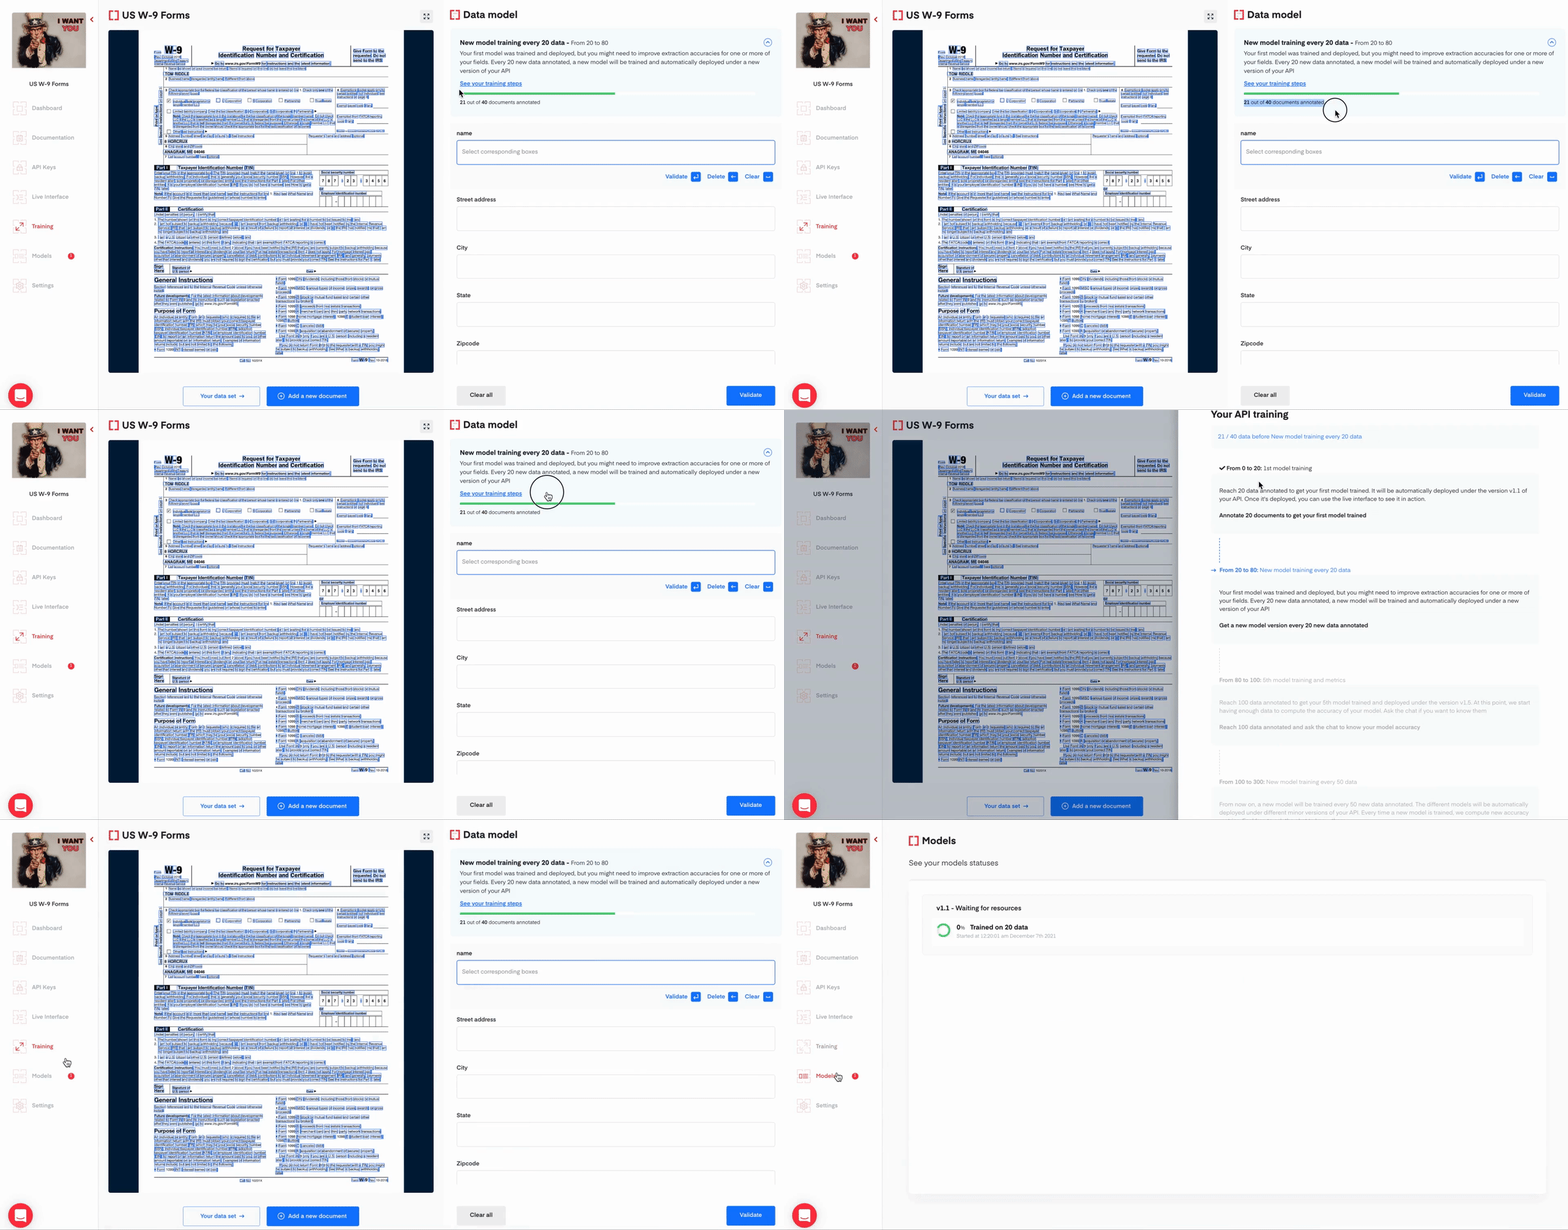
Our deep learning engine will automatically generate and train a model based on the data you send, and a lot of extra features based on computer visions and natural language processing embeddings.
In a nutshell, the algorithm will take as inputs the image of each document as well as the whole text. It’s then going to be train based on your annotations to extract the right candidates for each field.
Once the model is trained, it’s going to be automatically deployed in your API, and you will see a v1.1 version of your API appear in the documentation. A new minor version is released every time a new model is deployed.
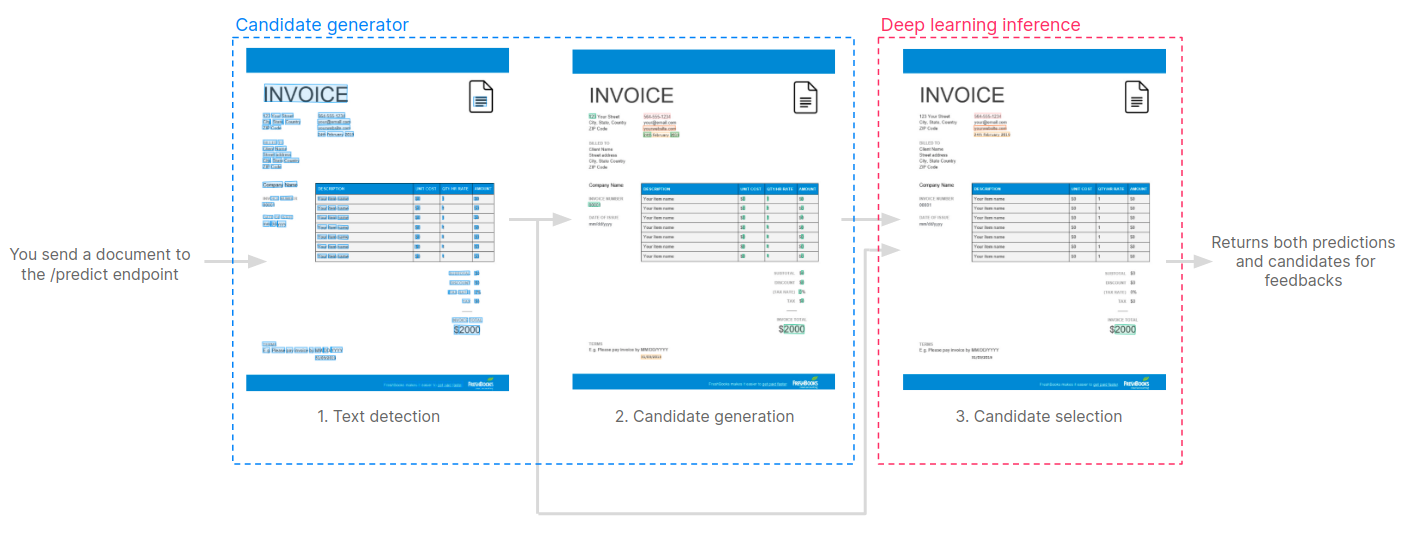
When you call the predict endpoint with a trained model, it will perform an inference before sending back the response:
Questions?
![]() Join our Slack
Join our Slack
Updated about 2 months ago
