
Boarding Pass
This section describes how to build your custom OCR API to extract data from Flight Boarding Passes using the API Builder. A Flight Boarding Pass is a document issued by an airline upon check-in that allows a passenger to access the restricted area of an airport and board an aircraft.****
Prerequisites
You’ll need at least one Boarding Pass image or pdf to test your model once created.
Define Your Boarding Pass Use Case
Using the Boarding Pass below, we’re going to define the fields we want to extract from it.
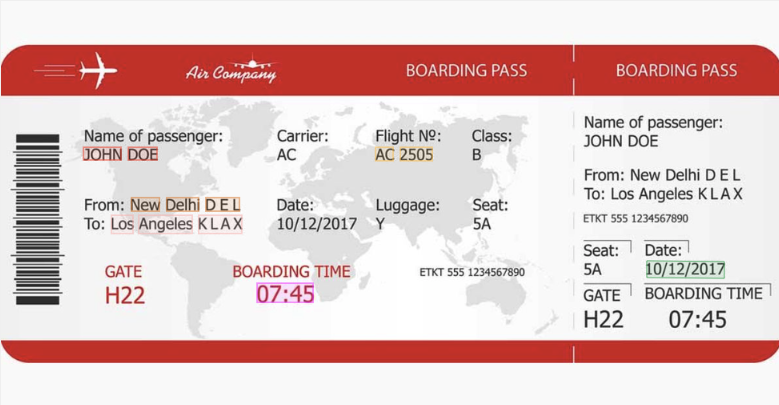
- Passenger name: The full name of the travelling passenger (John Doe)
- Flight number: The flight number for the boarding pass, including the airline's identification letters (AC 2505)
- Date: The date of departure in US format (10/12/2017)
- Departure airport: The airport of departure including the airport identification letters (New Delhi DEL)
- Destination airport: The airport of destination including the airport identification letters (Los Angeles LAX)
- Boarding Time: The boarding time (07:45)
That’s it for this example. Feel free to add any other relevant data that fits your requirement.
Deploy your API
Once you have defined the list of fields you want to extract from your W9 Forms, head over to the platform and follow these steps:
- Log into your Mindee account. You'll land on the My APIs page.
- Click the docTI tab.
- Click the Create a new API button.

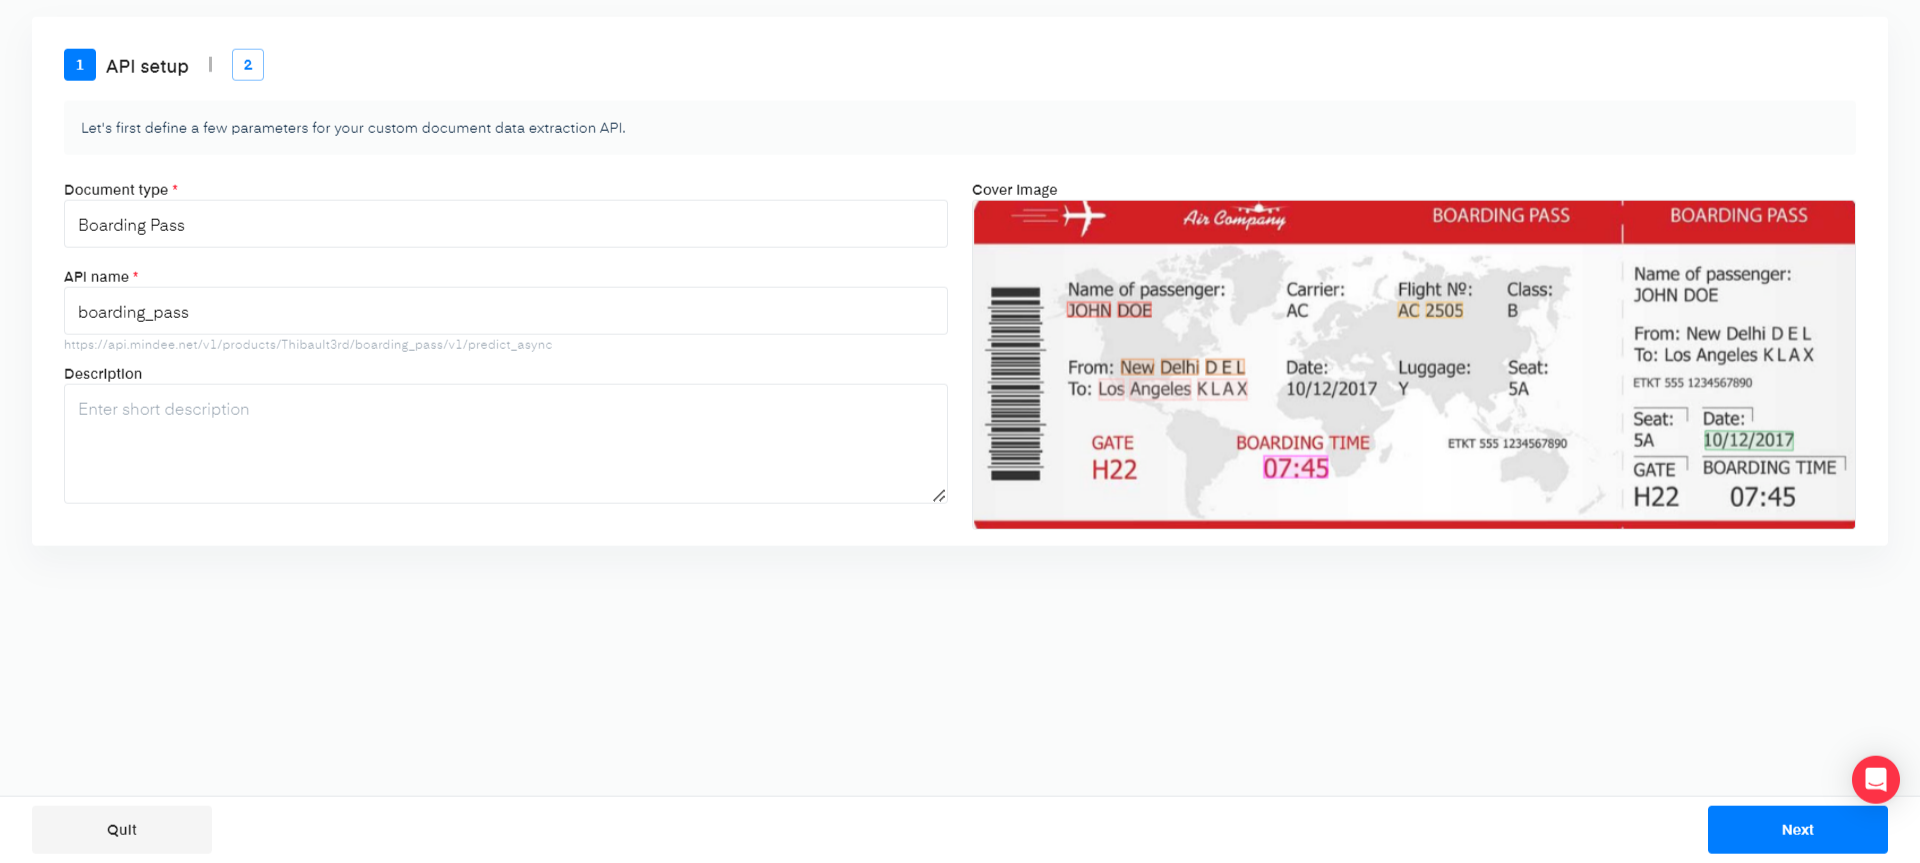
On the Set up your API section, fill in the required information. Give the API a name, a description (optional), and a cover image(optional) and click on Next.
Define Your Model
Click on the different fields to add them to your list
Using the interface, you can manually add each field for the data you are extracting. For this example, here are the different field configurations used:
| Field Name | Field Type | Example |
|---|---|---|
| Passenger name | String | JOHN DOE |
| Flight Number | String | AC 2505 |
| Boarding Time | Date | 07:45 |
| Date | Date | 10/12/2017 |
| Departure Airport | String | New Dehli DEL |
| Destination Airport | String | Los Angeles KLAX |
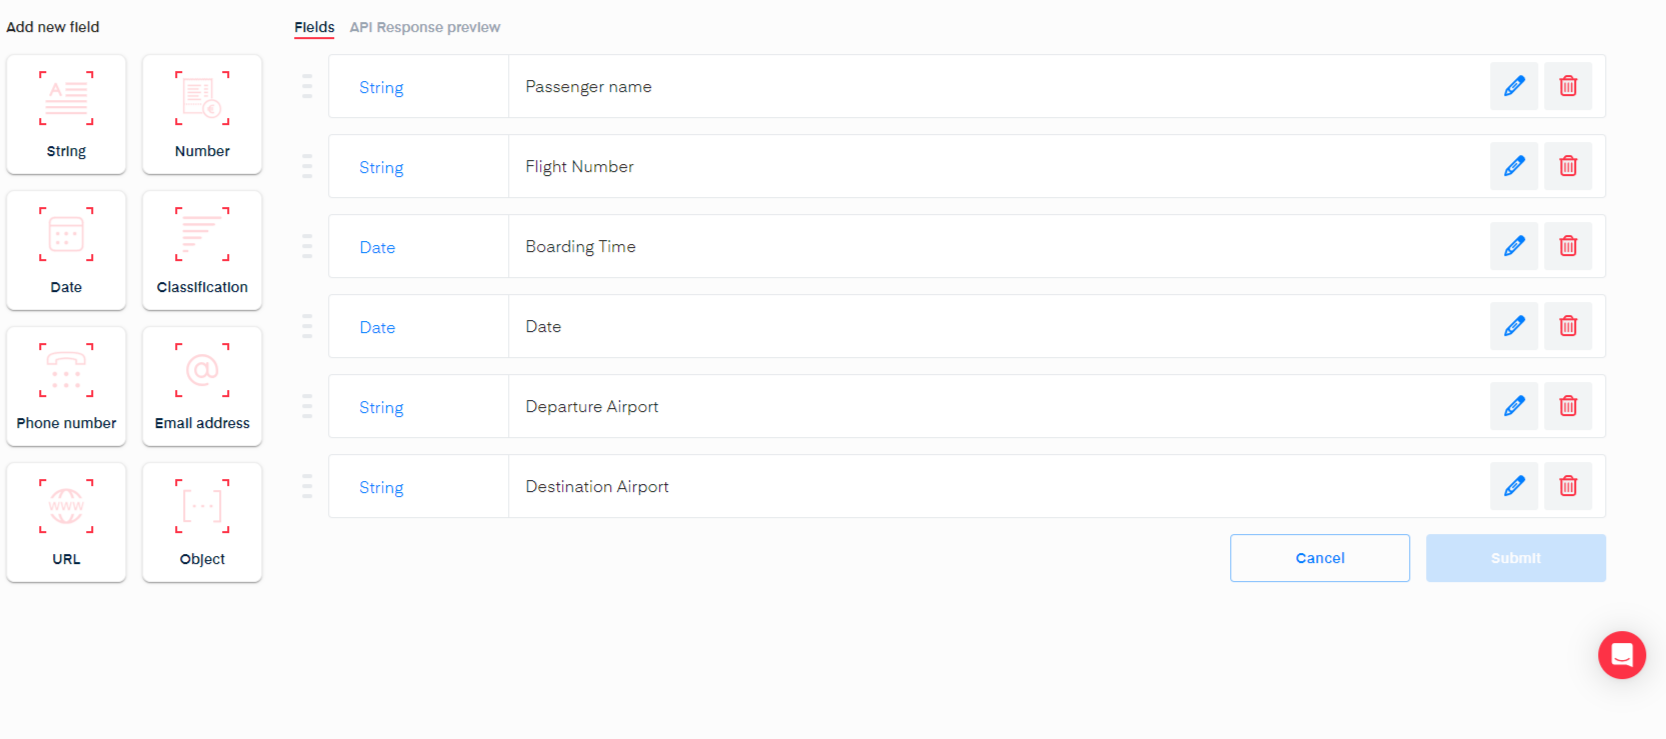
Once you’re done setting up your data model, click the Create API button at the bottom of the screen.
You are now ready to test your API on the live interface.
Updated 11 days ago