Webhooks
Overview

Workflows are built on an asynchronous endpoint. To retrieve your Predictions and validated data you will need to setup webhooks.
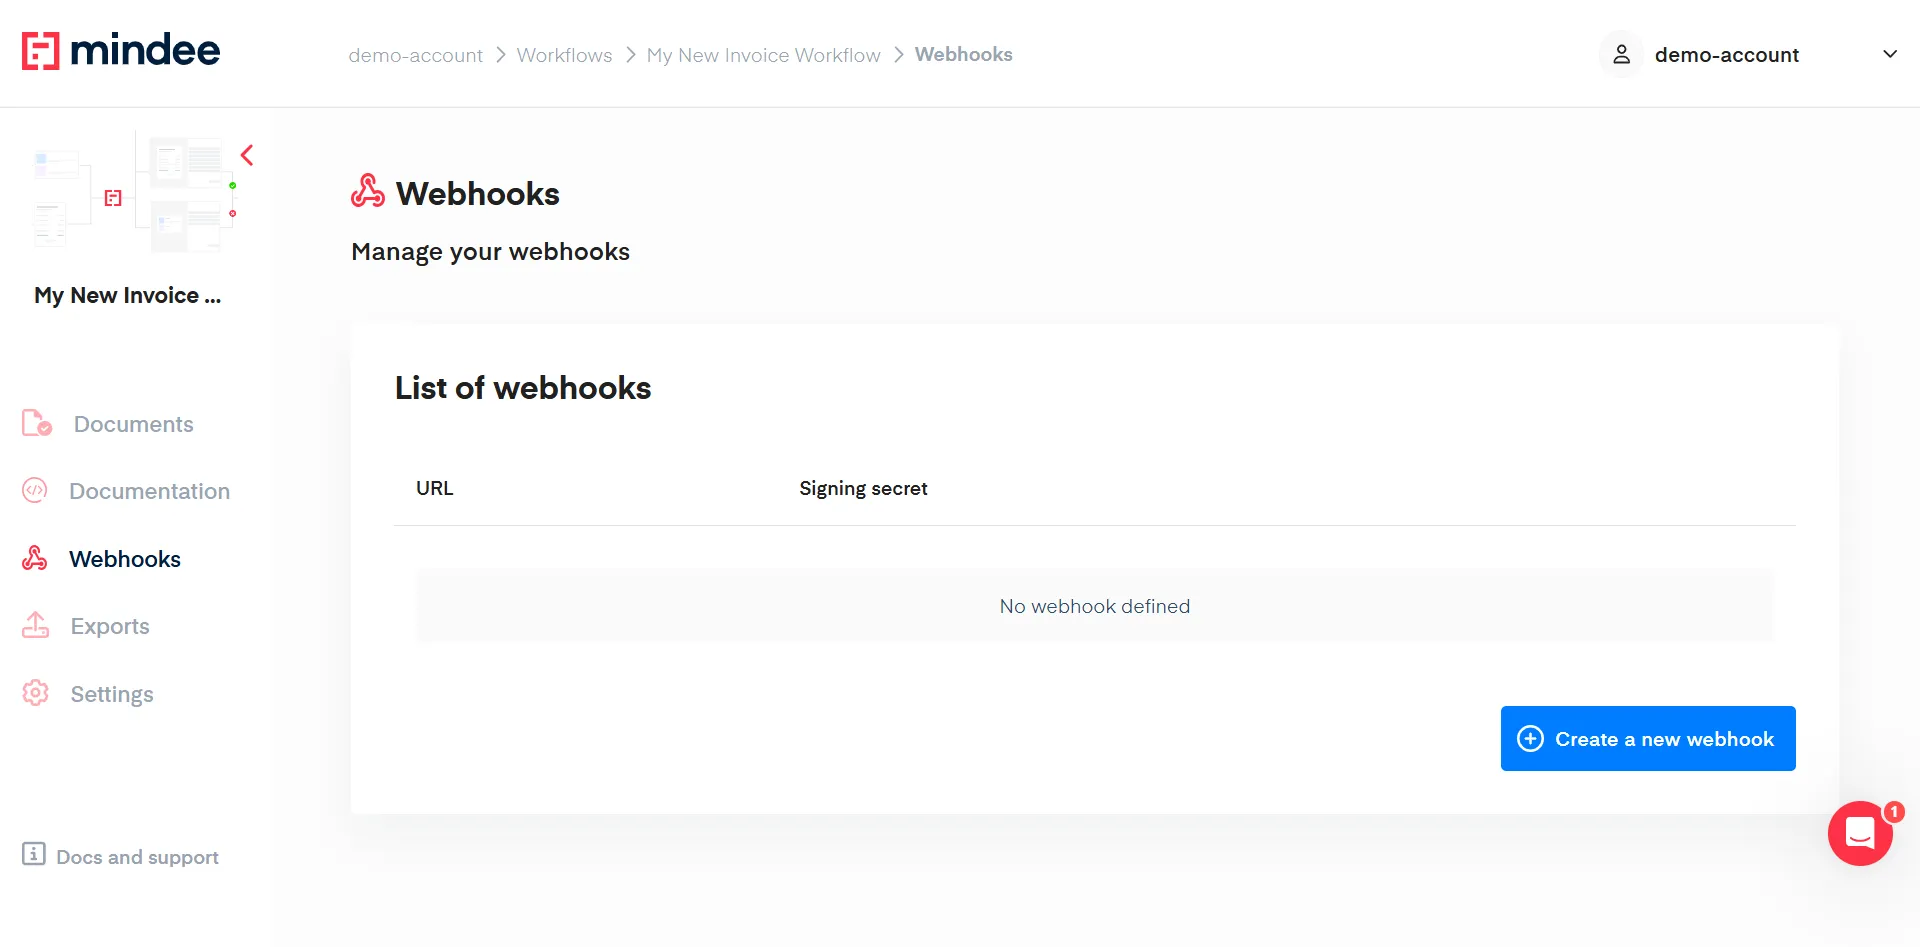
To do so, click on the Webhooks item from your workflow menu. On this interface you'll be able to create, edit or delete your webhooks configuration.
Note:
You can define more than one active webhook for a single workflow, for example for your development and production environments.
Create a webhook
To create a new webhook, click on the Create a new webhook button. A form will show, with only two fields to fill:
- the product version you want your webhook to listen for
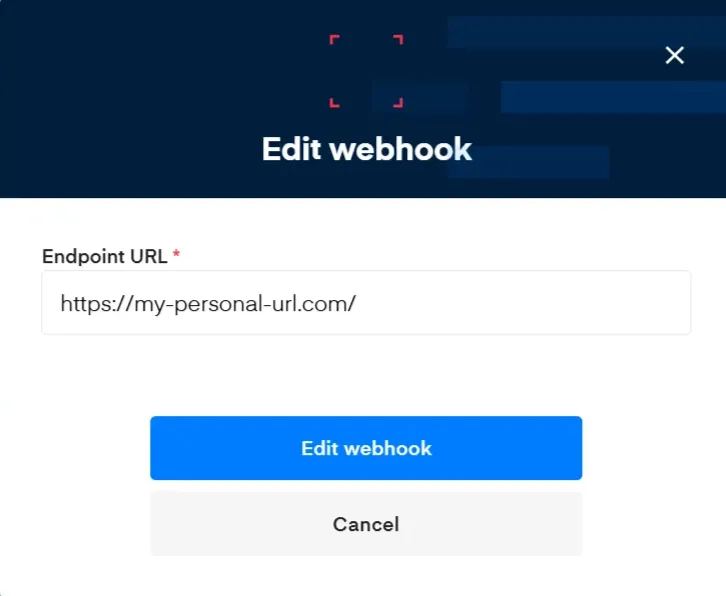
- the endpoint URL where the predictions will be sent. Although we accept any valid URL, we greatly recommend using an HTTPS URL here, to ensure your data security.

- Hit the Create new webhook button in order to finalize your webhook creation. Once this is done, a new line will appear on your webhook list:

Signing Secret
For every new webhook created, we will generate a custom Signing secretthat can be used to ensure the integrity and authenticity of the data sent to your endpoint. See how to validate the Hmac signature integrity.
You can, at any point in time, visualize your signing secret by clicking on the crossed eye icon. You can also click the clipboard icon in order to copy the secret to add it to your code easily
Note:
This key being a secret, it is not recommended to store it anywhere in plain-text, we recommend using environment variables.
Edit your Webhooks
To Edit an existing webhook, click on the ... button at the very end of your webhook item.

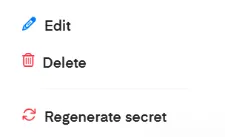
A floating menu will appear giving you the possibility to:
- Edit a webhook by changing the provided URL.
- Delete an existing webhook
- Regenerate your signing secret
When validated, any of those actions will be immediately effective.
Updated 10 days ago
