Create a workflow
Prerequisite
Access to Workflows is for now limited to Enterprise customers.
Contact our sales team to get access to workflow.
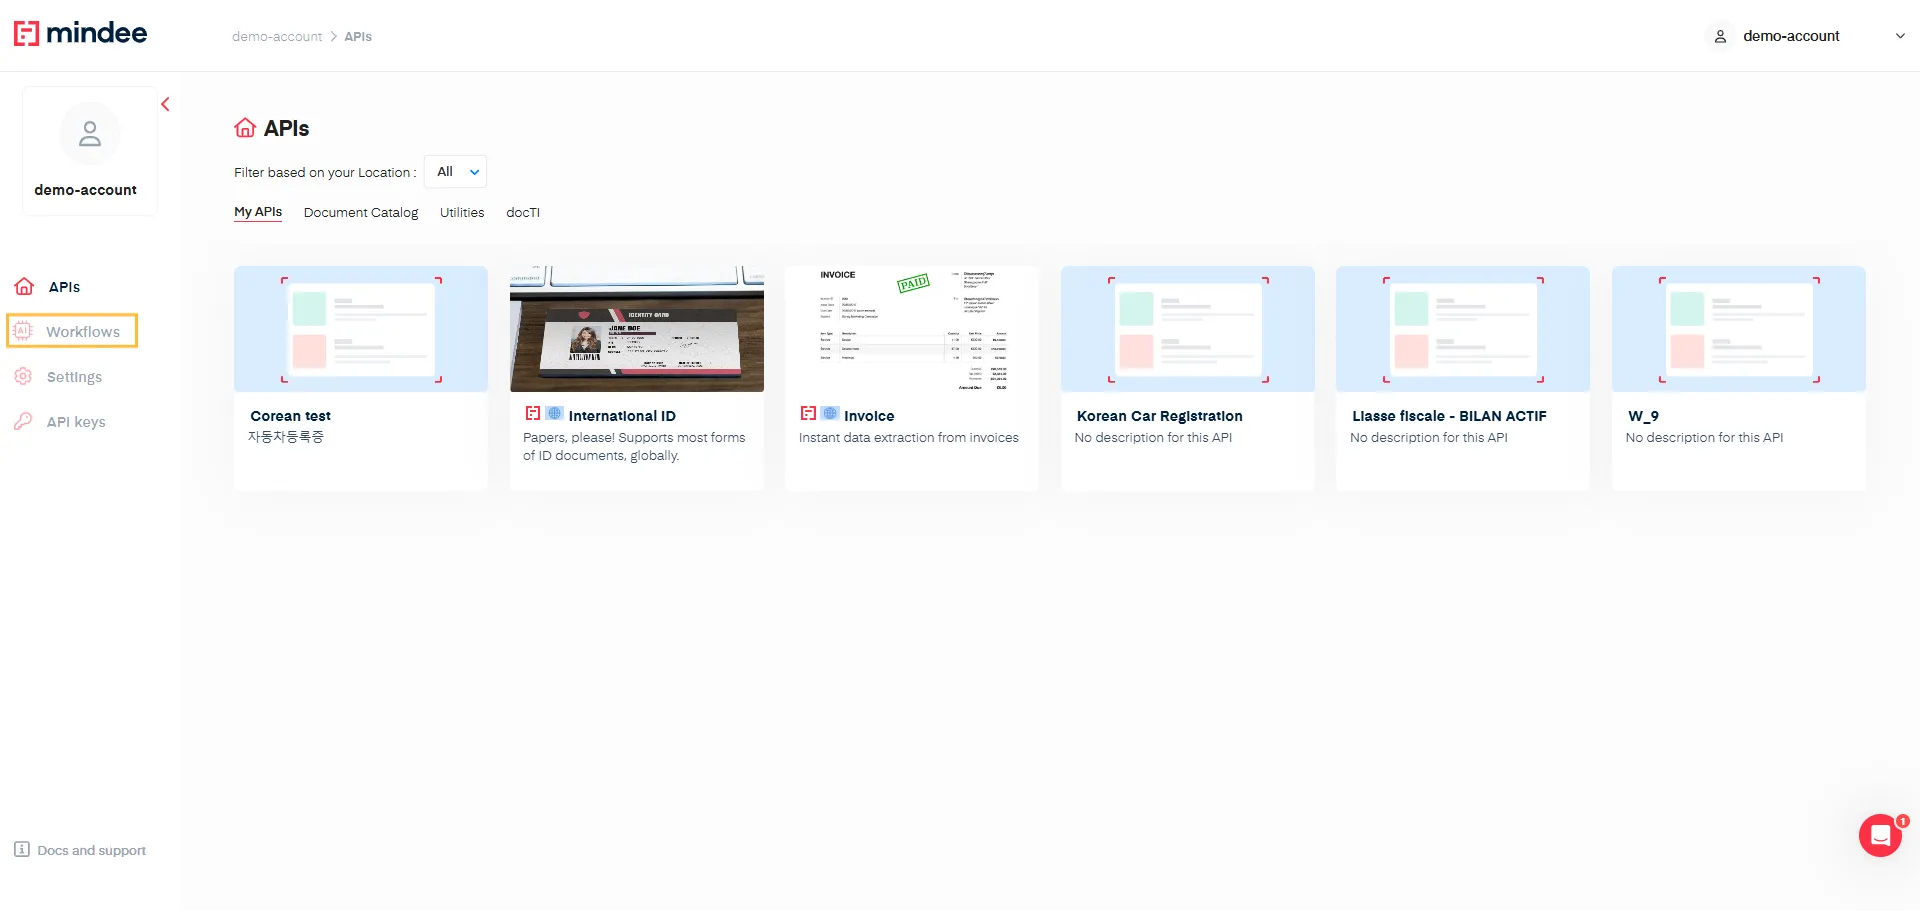
Once activated you will see the Workflows menu item appear on the platform.
You can define a workflow on all the extraction product existing at Mindee. From Invoices, Receipts to docTI products you created.
Workflow Creation
- Click on the Workflows menu item to display the Workflow page.

This page displays existing workflows and the creation button.

- Click on Create Workflow to start the creation process.

- Define the name of your workflow. Four our example, let’s call it ”Invoice Validation”
You can add a Description (optional). But this can help you later on to better differentiate your workflows. For our example we will enter: “Validate Invoice key information”.
- Finally check the box:
“By checking this I authorize Mindee to save the documents sent to the workflow and the extracted data for the purpose of the workflow.”
Typically, Mindee doesn't store your documents and data, but this is necessary for workflows since we need to keep the extractions for later validation.
- Hit Next to move to the next step.
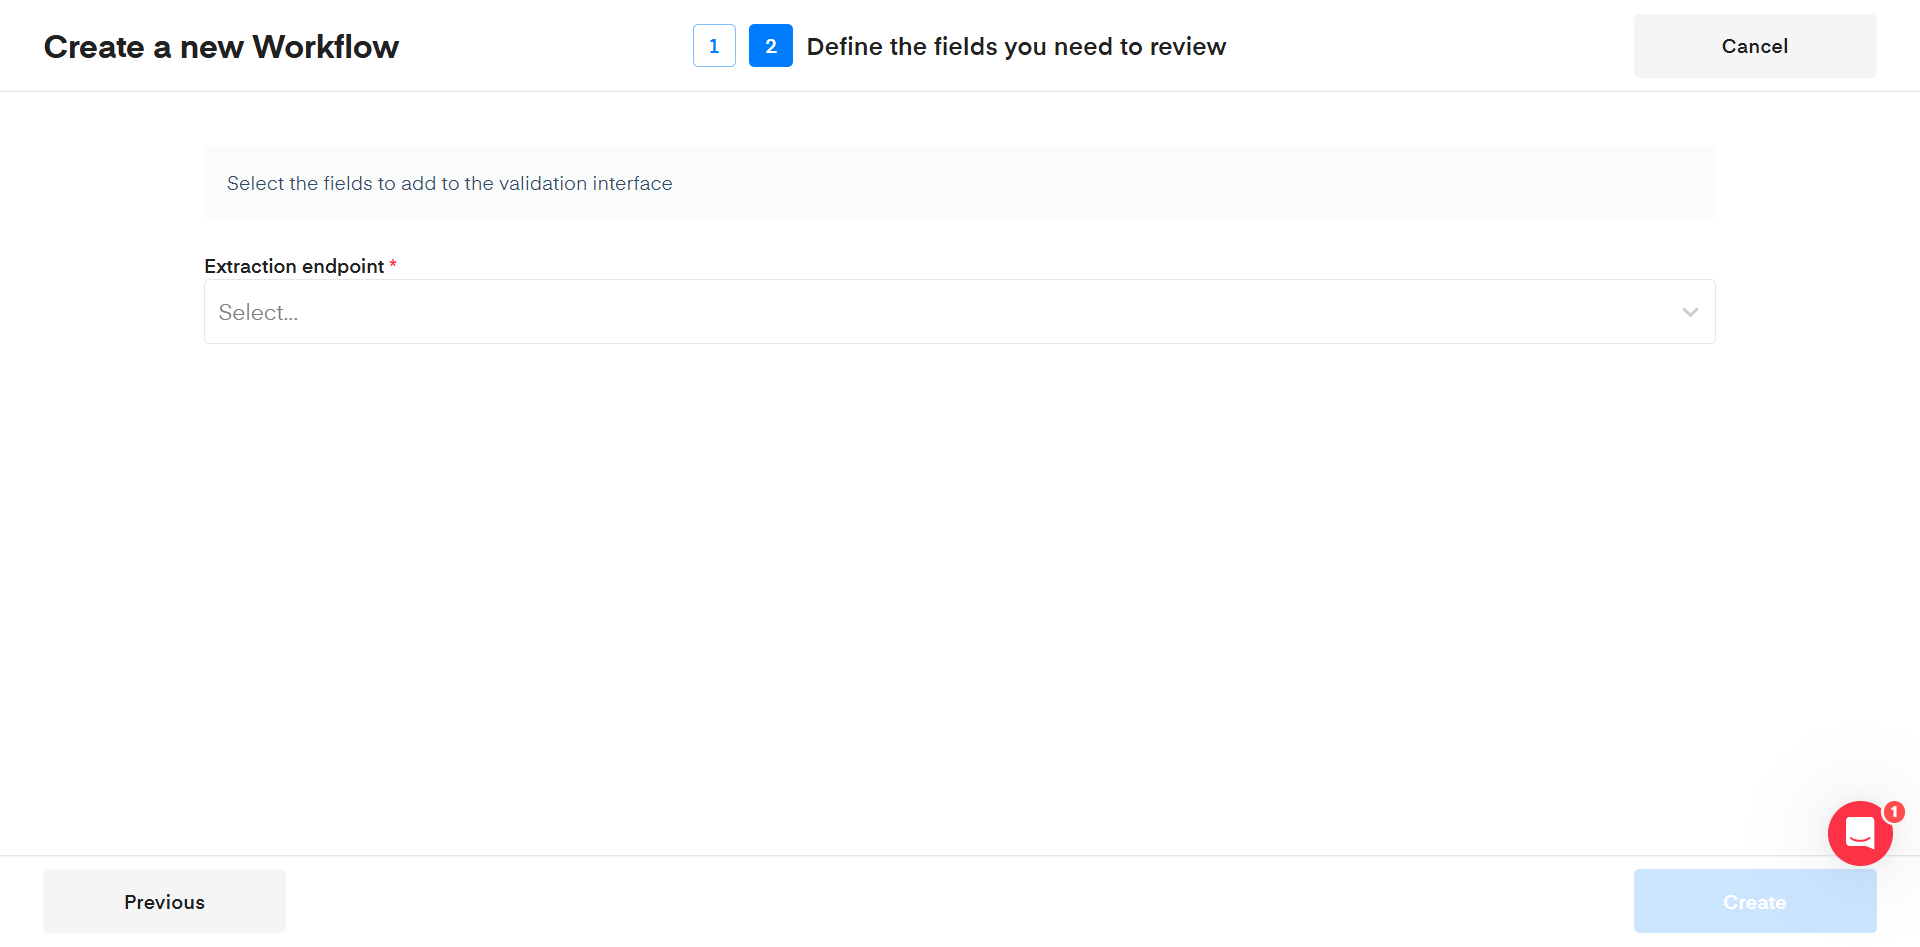
Within this step you will define the extraction product you will use within the workflow: in this case the Invoice endpoint, and select the fields you want to validate.
- First, select Invoice. Type “Invoice” within the Select field to find with ease the right extraction product.

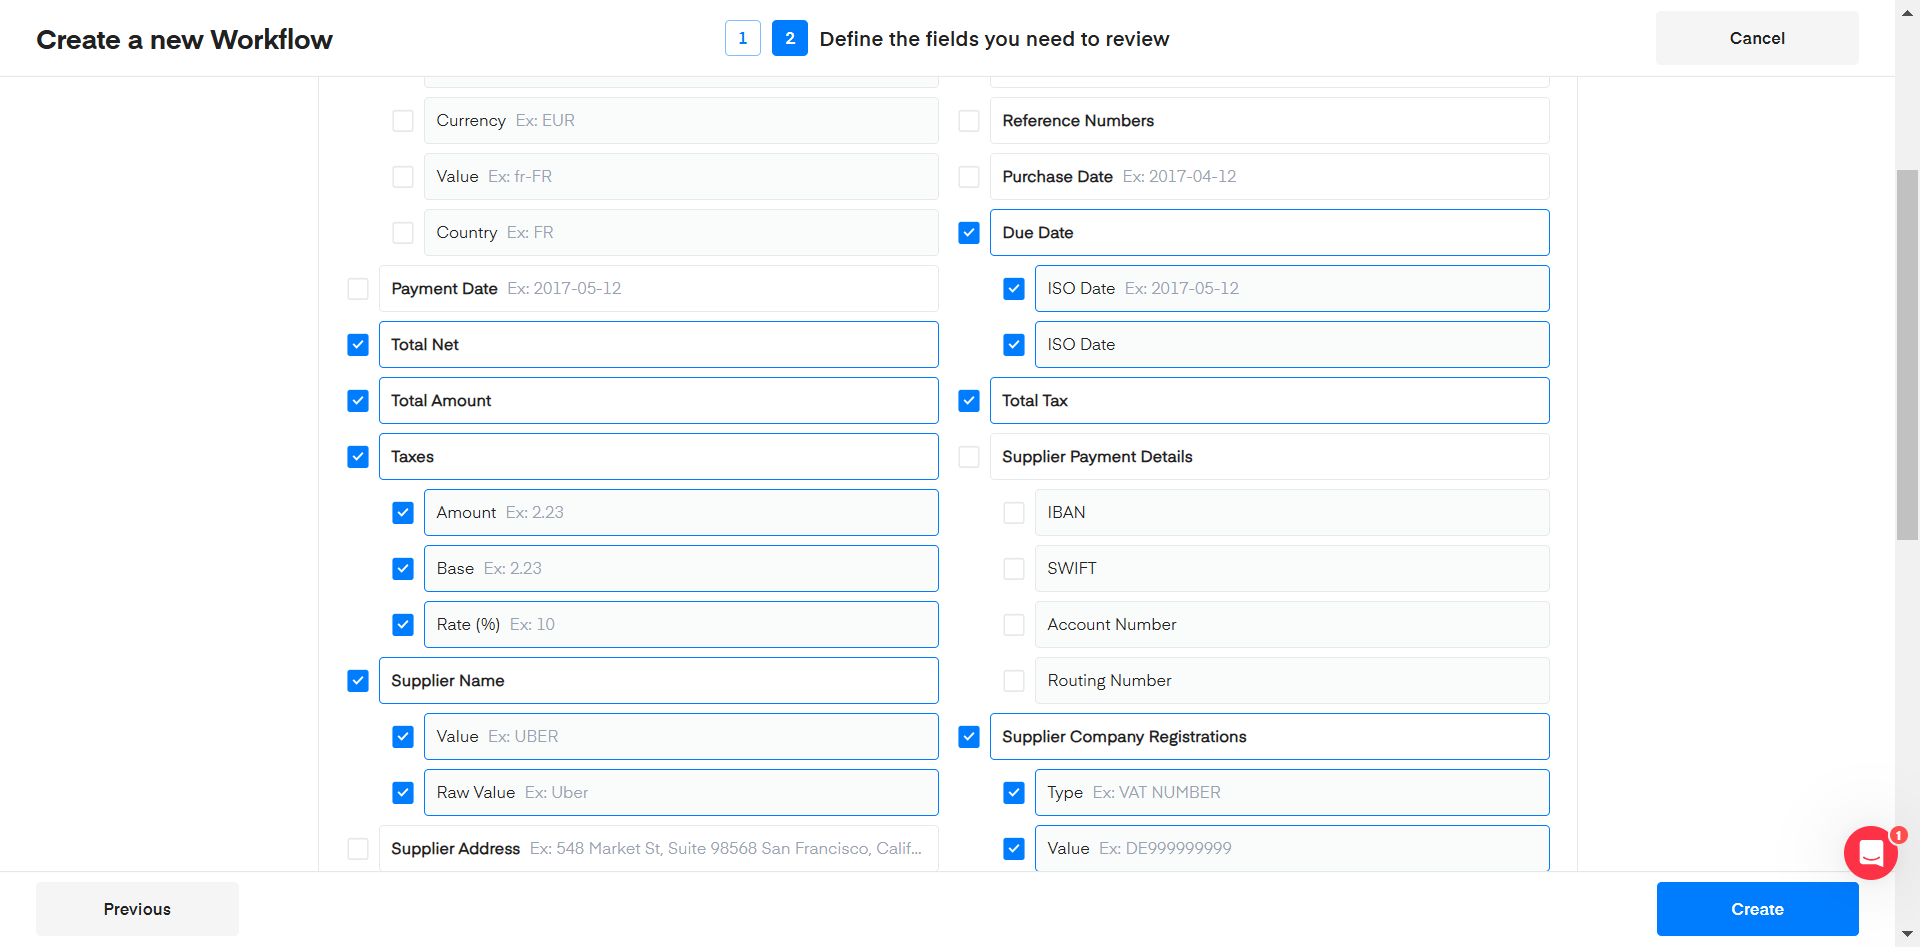
The full list of fields from Invoice is now displayed and you can choose from among them the ones you want to choose.

Once you checked all the fields you need, hit Create to finalize the creation.
Updated 7 months ago
