Organizations
Your first Mindee account is a personal account: you cannot invite any member to join it.
To do so, you need to create an organization.
Users can create multiple organizations, making it easier to track how the APIs in that organization are being used, manage members, and handle billings for each organization.
From the Organizations overview page, for the organizations you are admin, you will be able to oversee and manage members in those organizations, APIs, and billing across the different organizations.
Creating an Organization
To create an organization from your account
- Go to your Settings dashboard and click on Organization
- On the Organization overview page, click on the Create organization button.

- Set up the Organization by filling in the following information: Organization account name, Legal name, Alerting email, and Invoicing email.
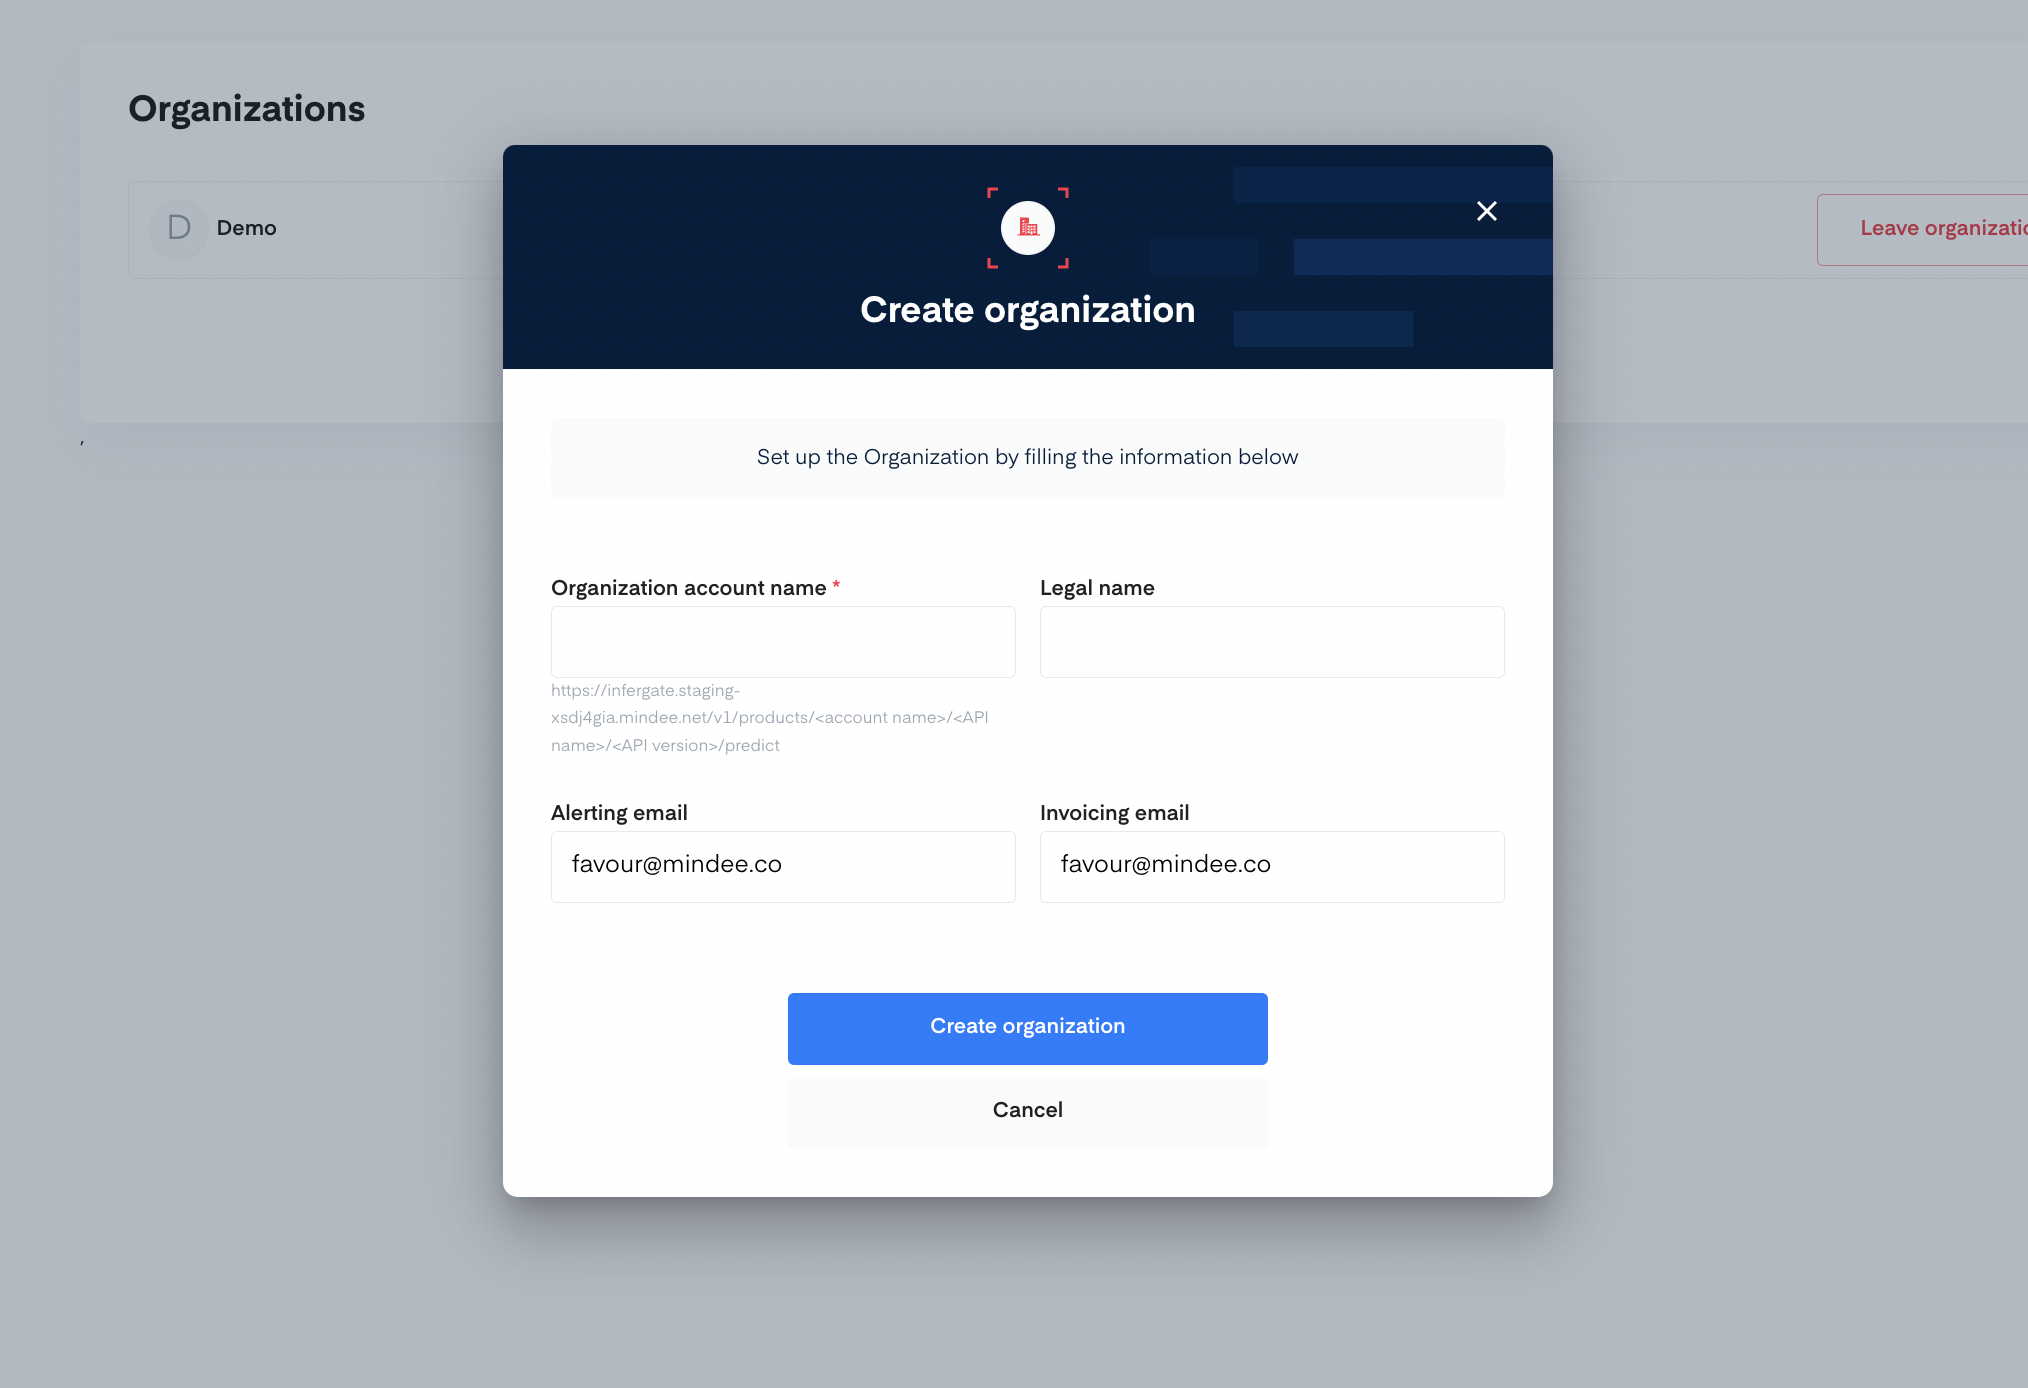
- Click on the Create organization button as seen above. Your added organization will be visible on the organization overview page.

Accessing the Organization Overview Page
You can create multiple organization accounts in Mindee. You can also switch from one organization to another or leave an organization as well as invite members to your organization.
To switch to another organization and access the organization settings overview page.
- Click on the Switch button from the organization's overview page.

- You'll land on the organization's APIs hub. Click on the organization name at the top right side of the page and click on Settings.
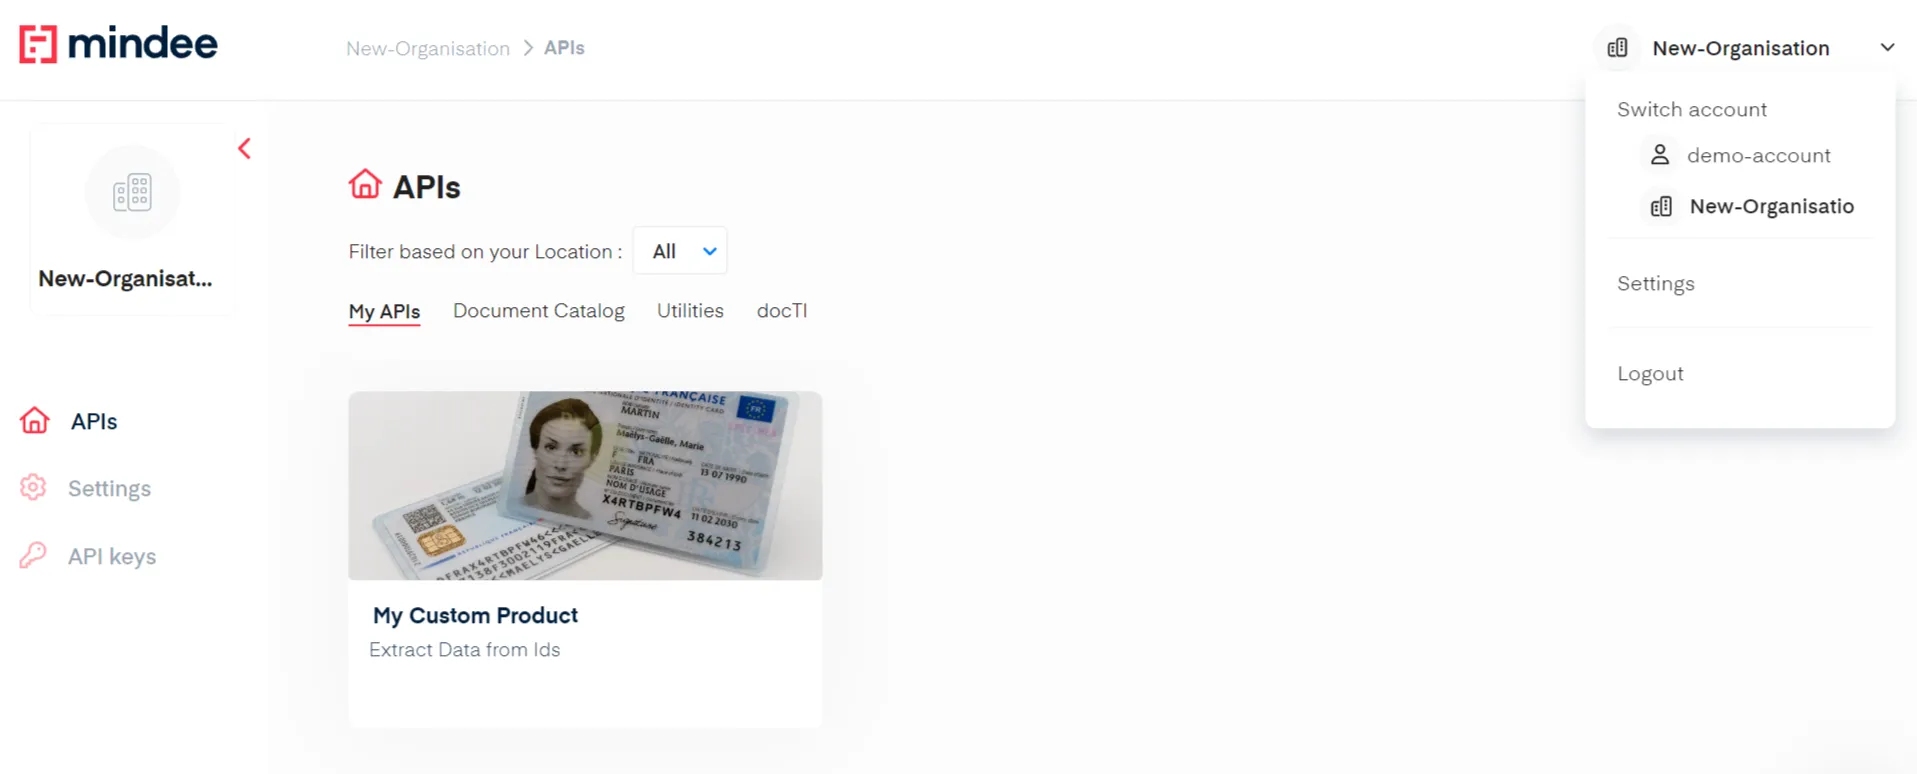
You can easily switch between organization accounts by clicking on the organization name from the drop-down
- You'll land on the organization overview page.
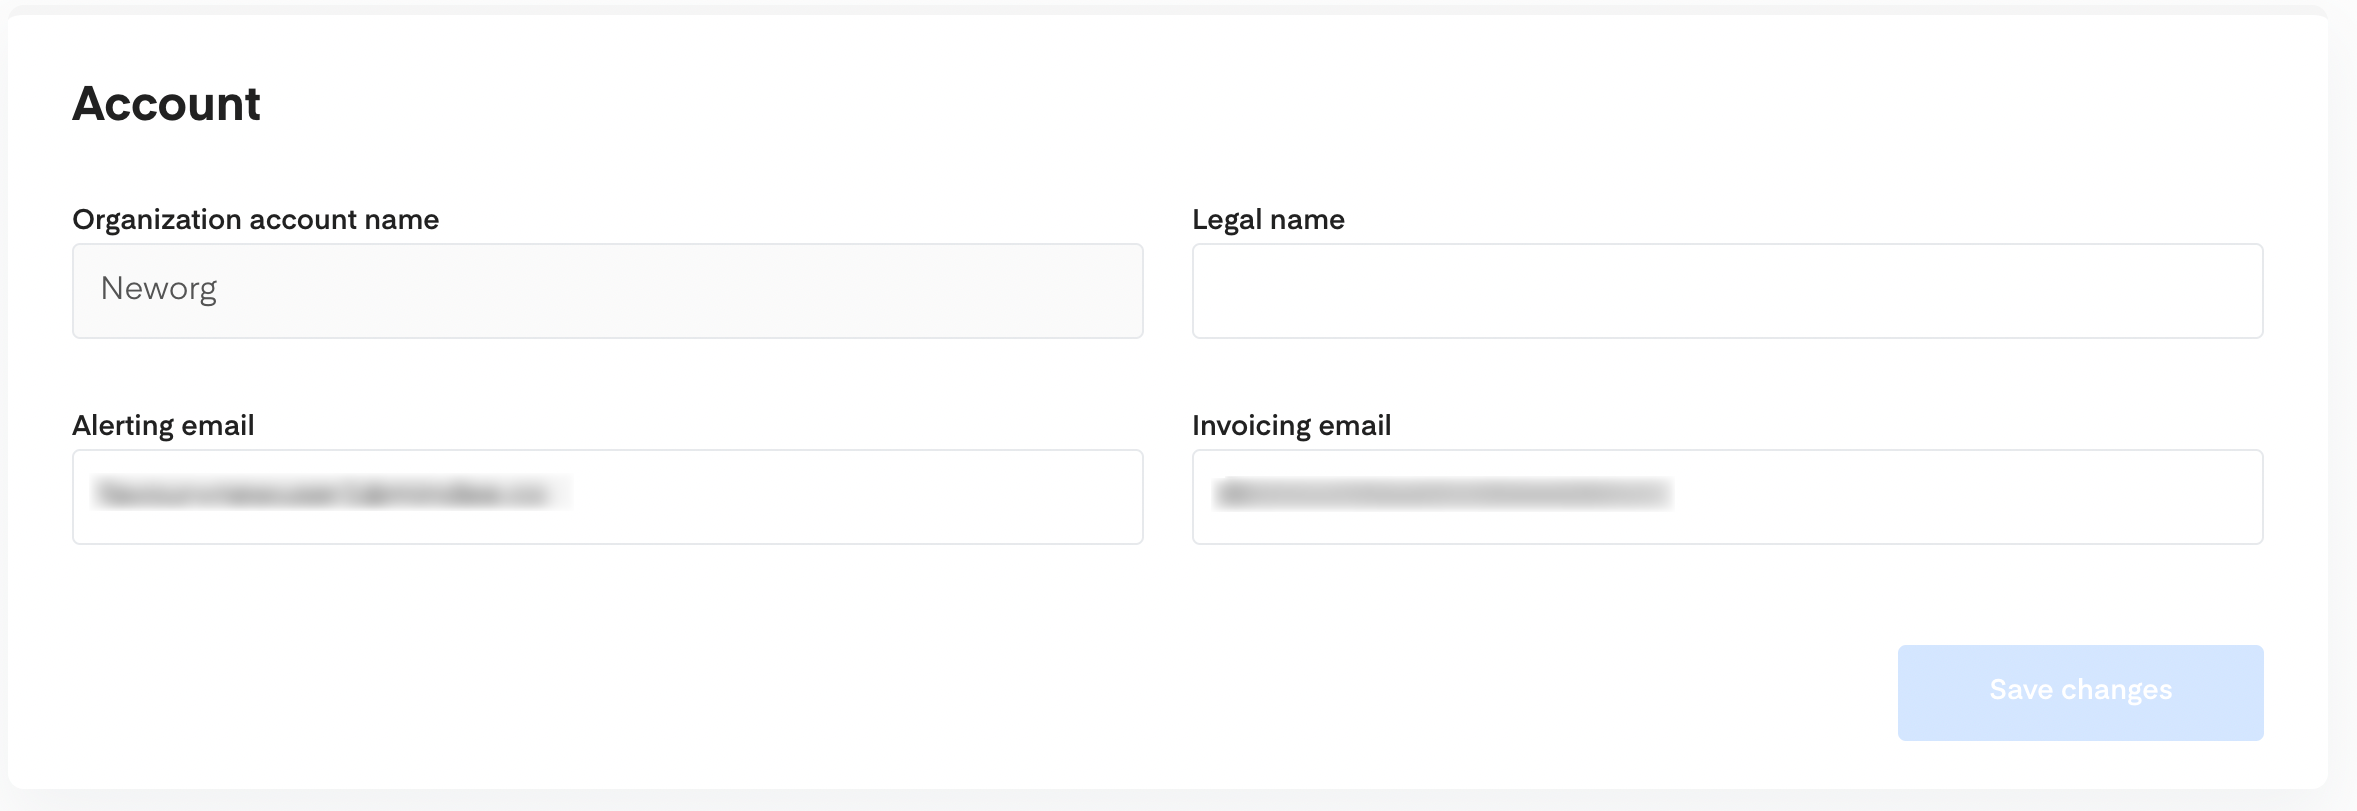
Editing Organization Account Profile
In the Account overview page of your created organization settings dashboard, you can edit the following:
- Legal name
- Alerting email
- Invoicing email
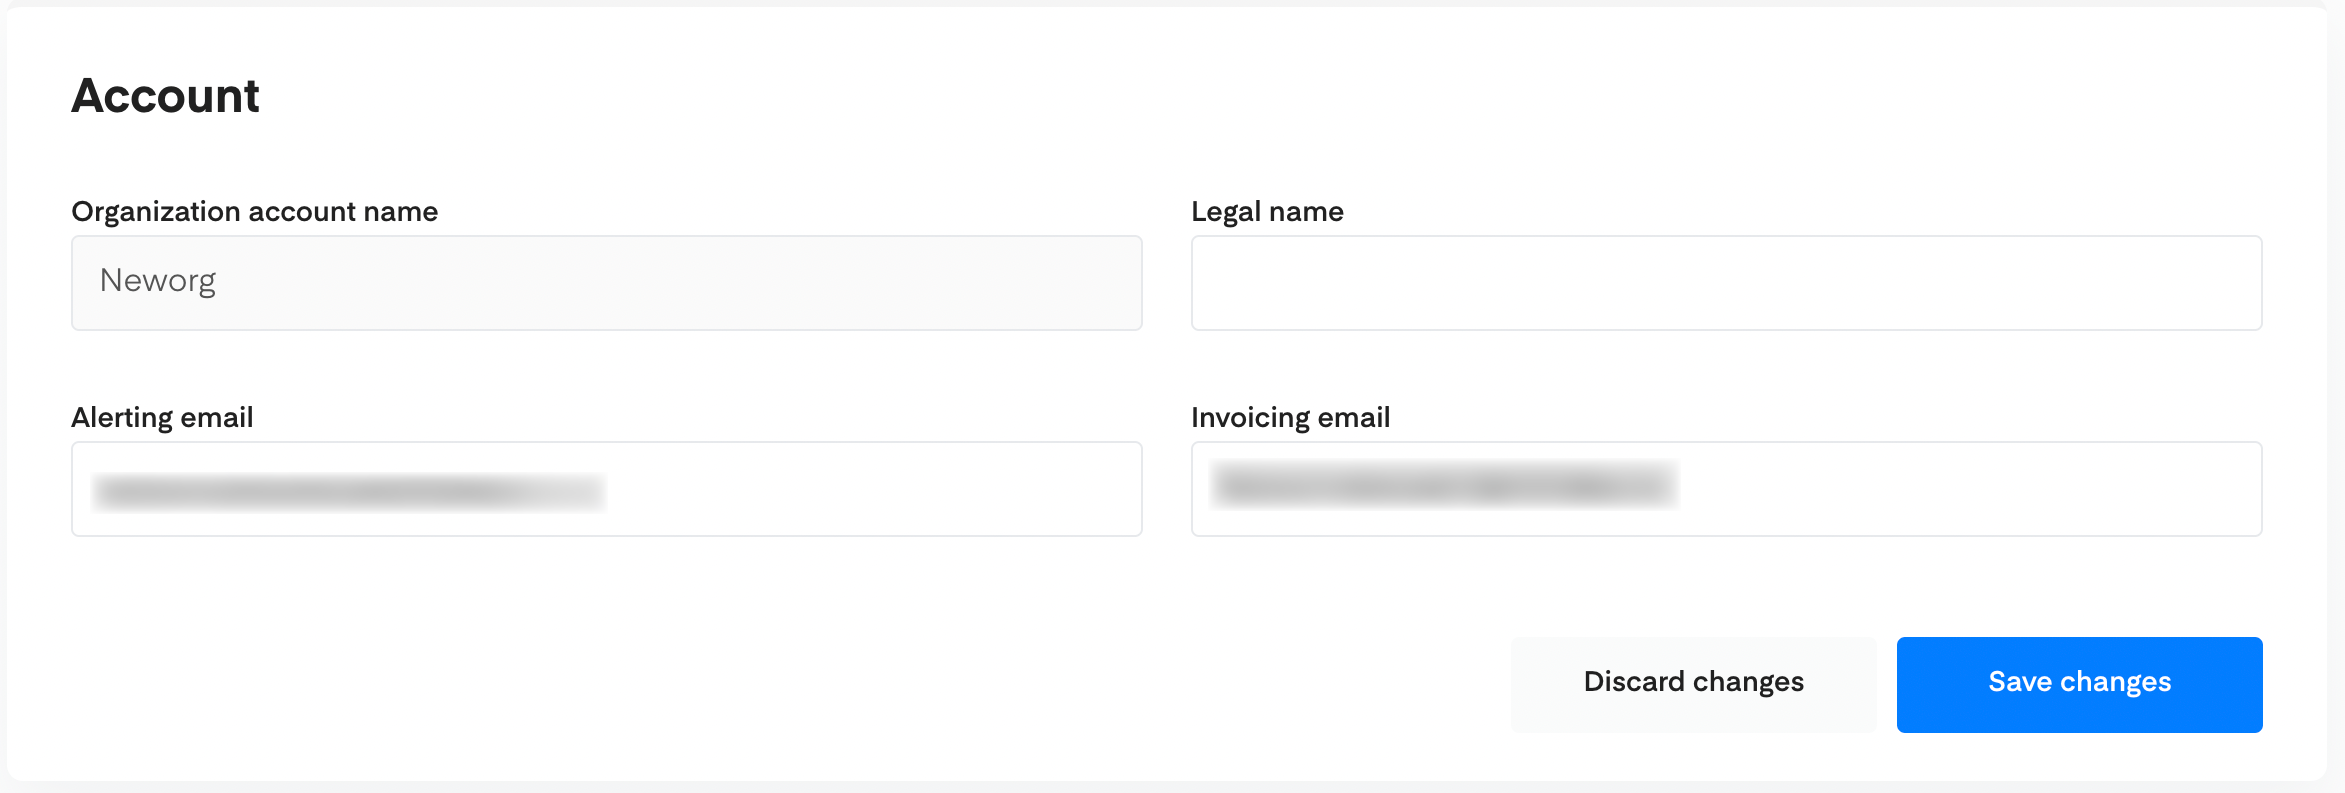
Once changes have been made to these fields, click on Save changes. If you do not approve of the changes, click on Discard changes.
Managing Organization Members
When you have created your organization you can perform the following actions:
- Add member to your organization
- Updating member role and details
- Remove member from your organization
Adding Member to your Organization
From your organization settings dashboard, you can invite and add members to your organization from the Members overview page.
- Go to the Members section and click on the Add a member button.

- Add the email address of the member.
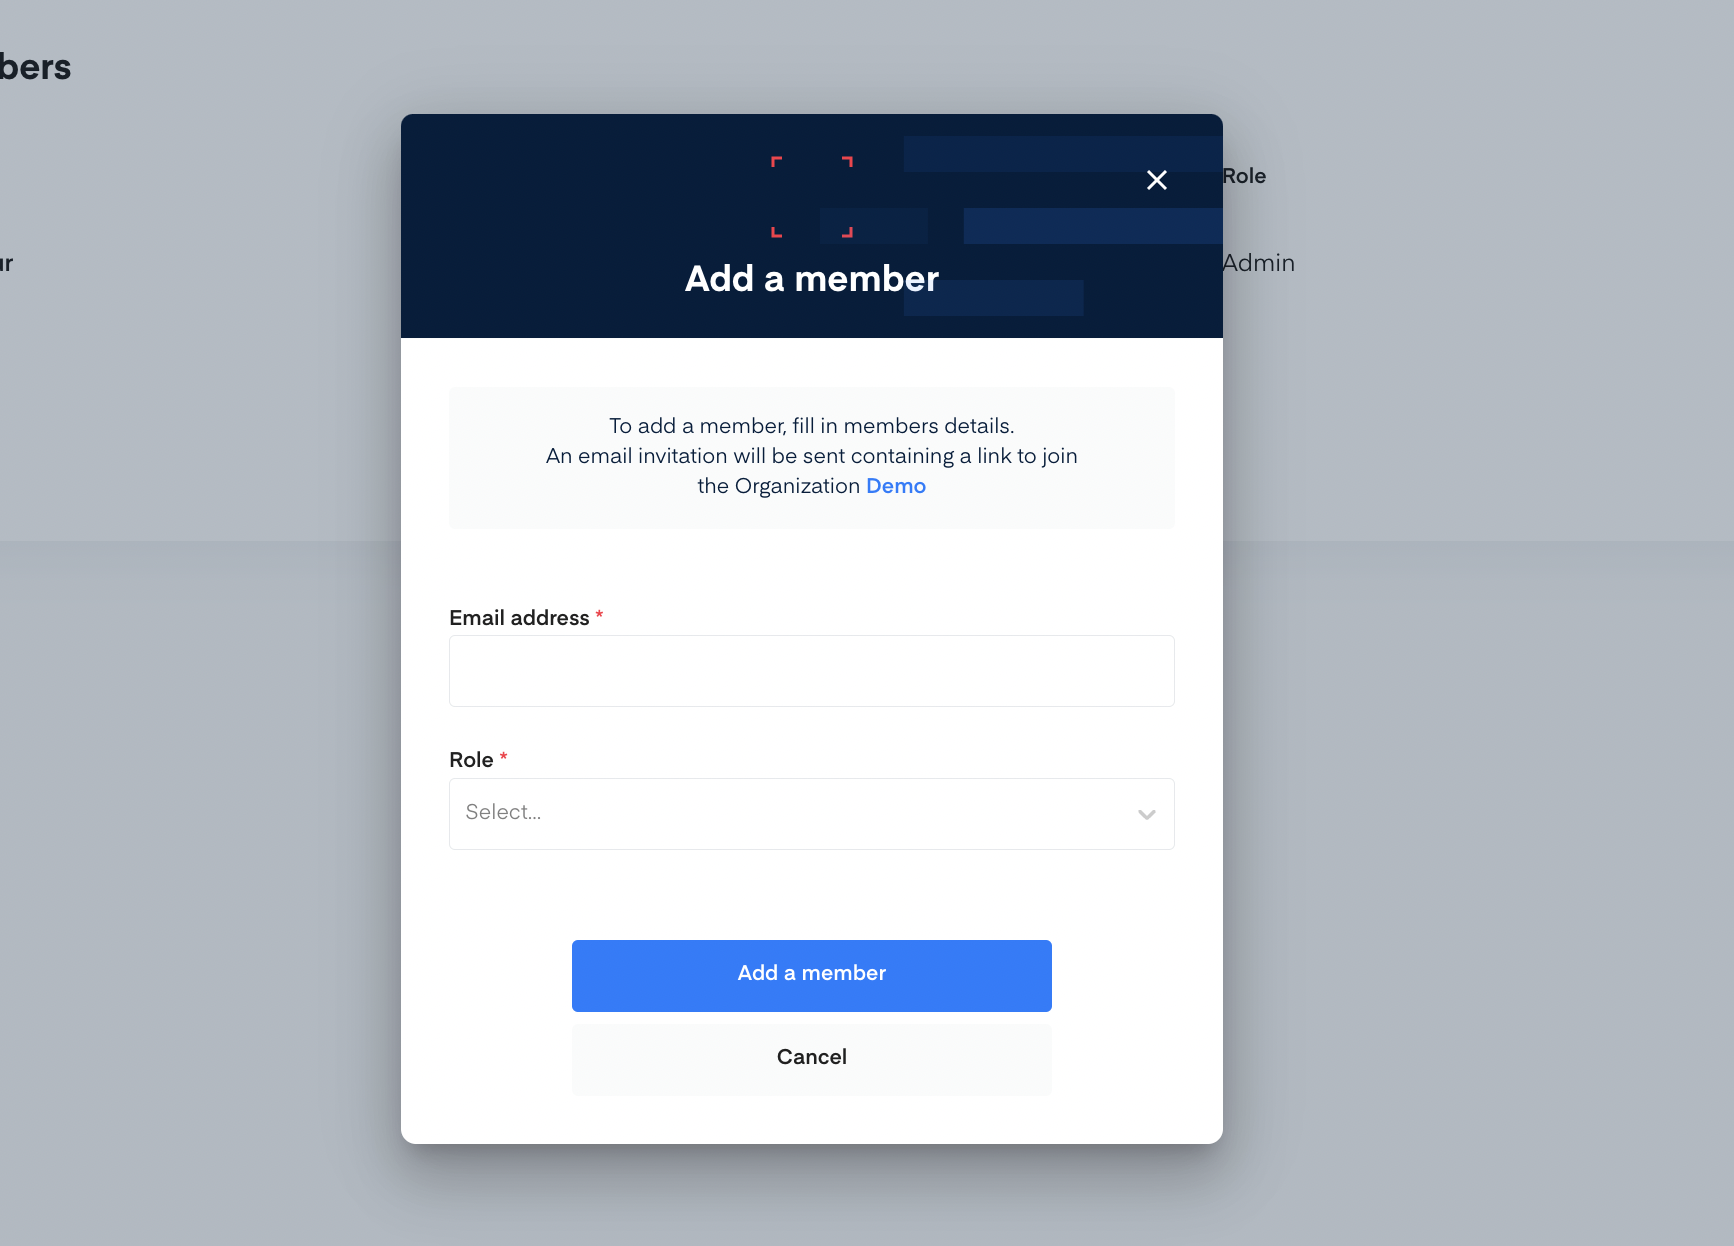
- Select the role you want to give the member either Admin or member role.

- Once the fields have been filled click on the Add a member button.
You'll receive a pop-up notification that your invitation has been sent. The invited member will also receive an email with an invitation.
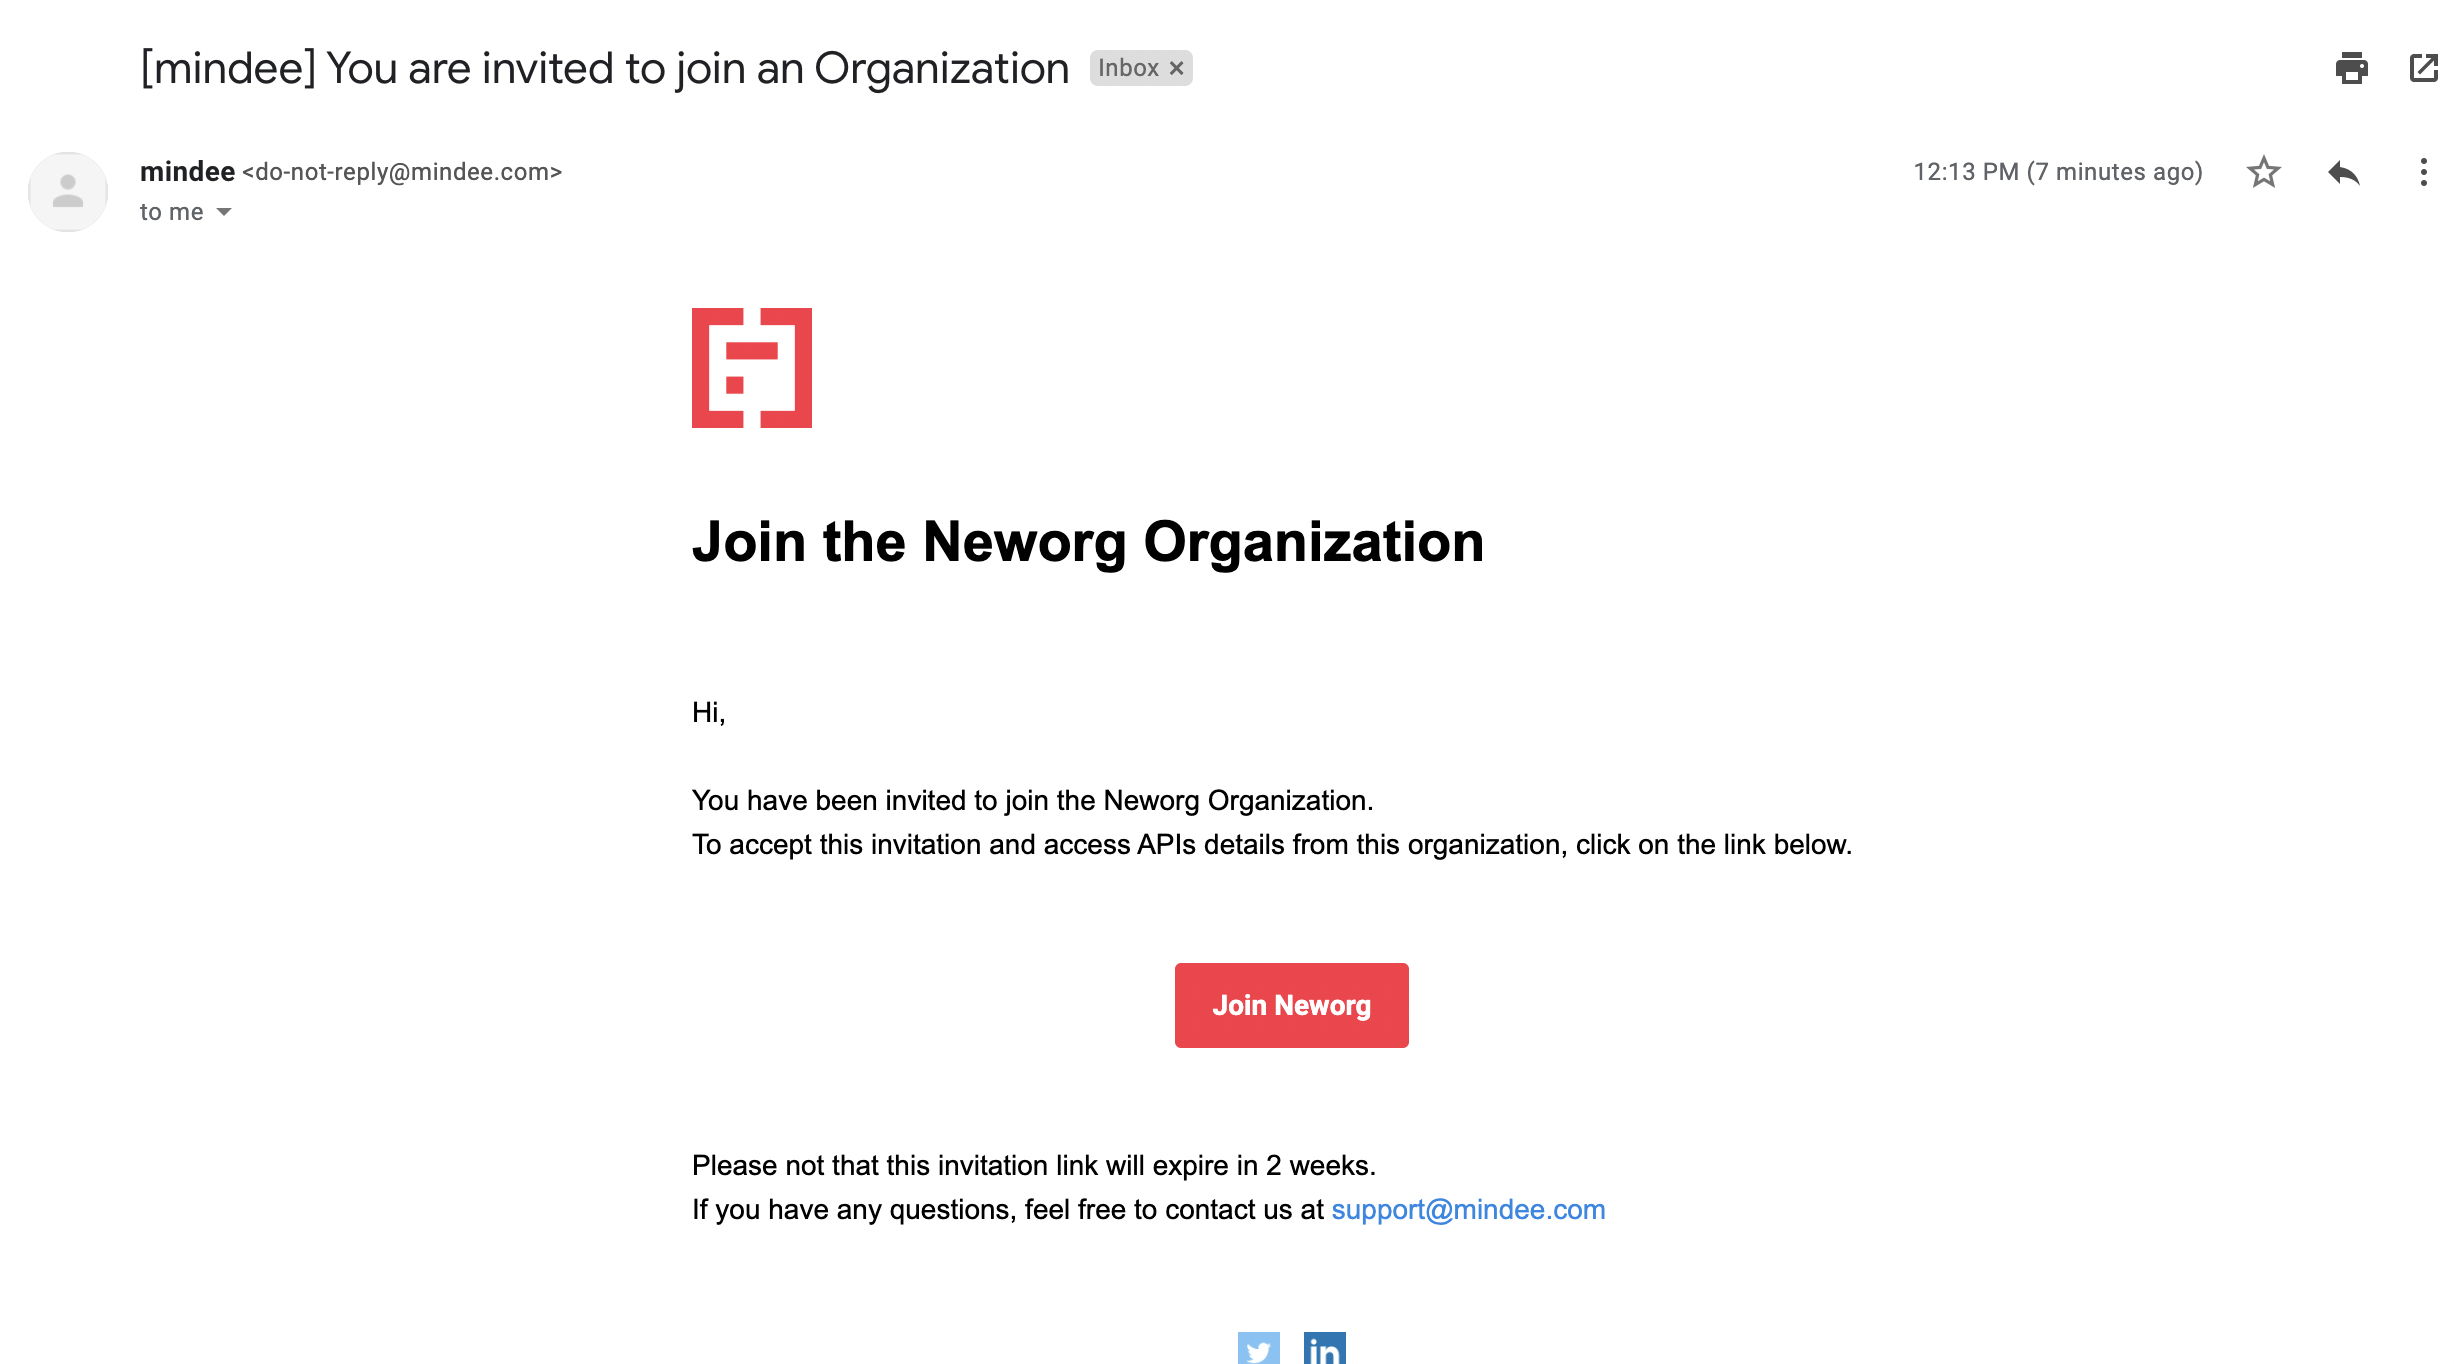
Once the invited member accepts the invitation, they will have access to APIs details from the organization. The Members overview page will also be updated.
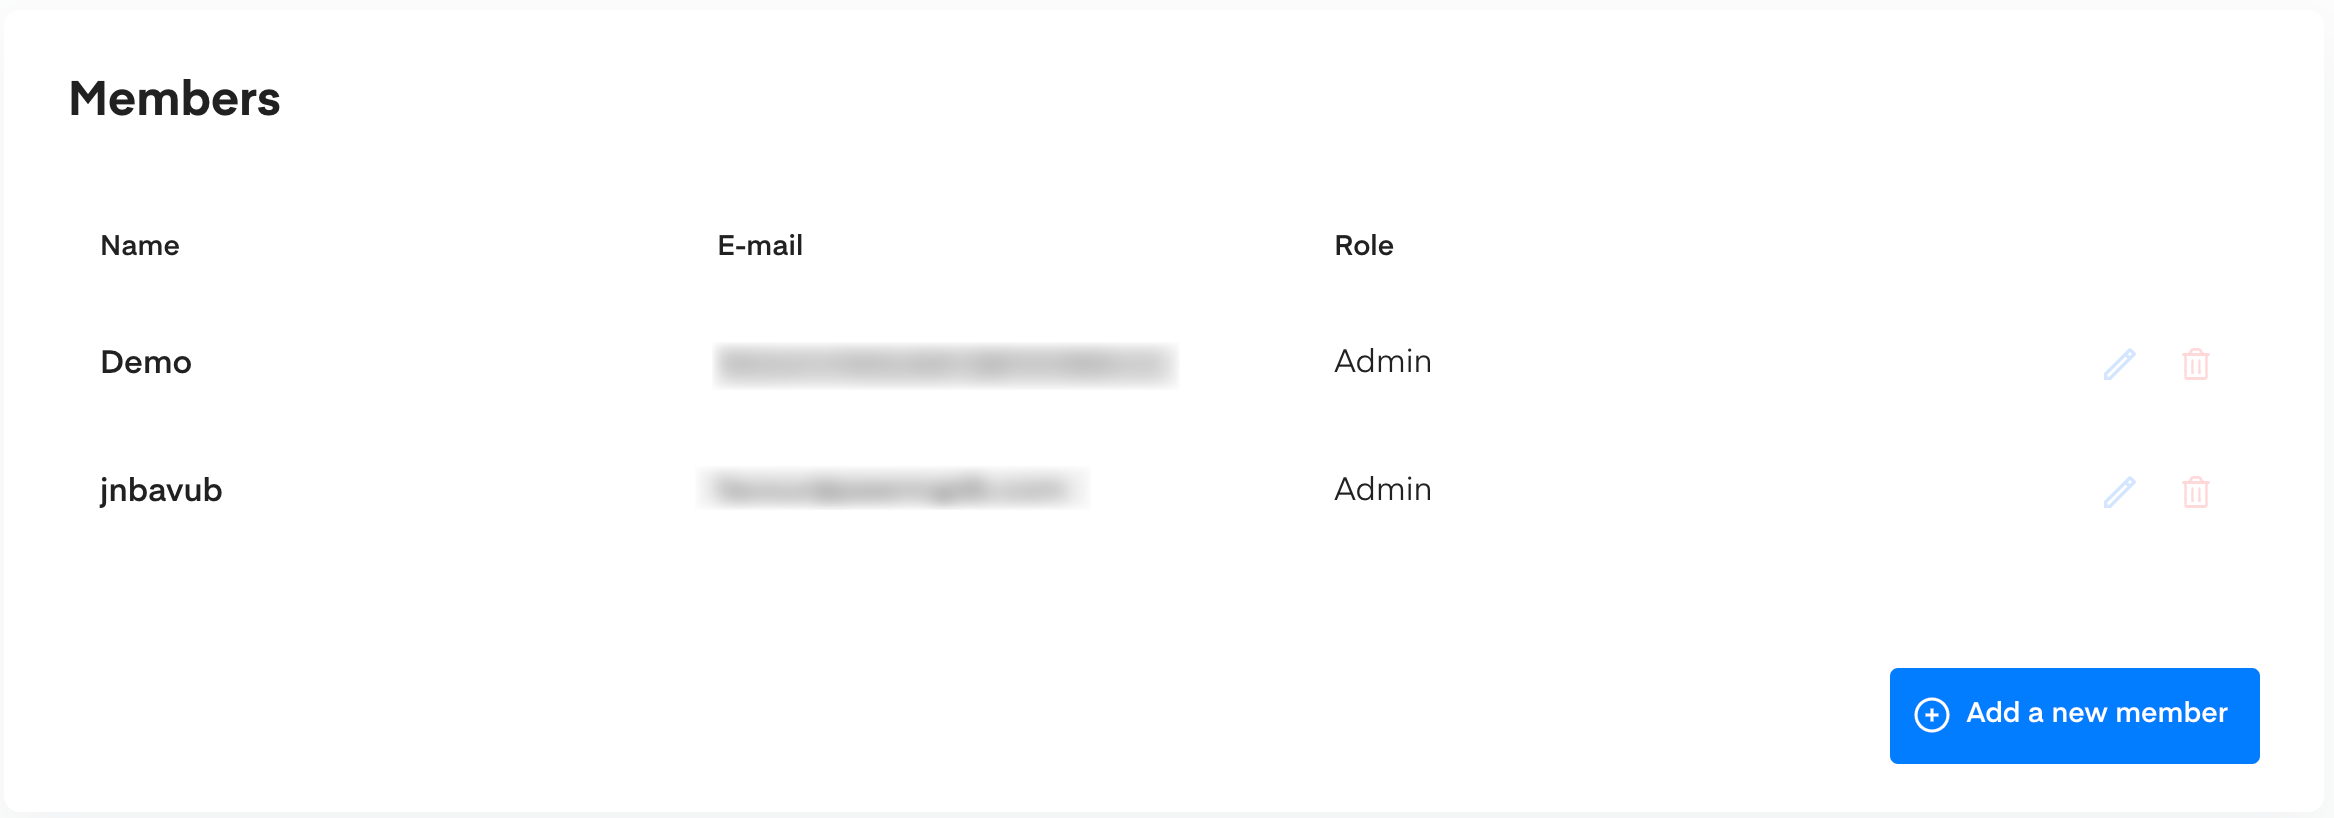
Updating Member Role and Details
You can only update the permission of members who have the Member role in your organization. You can give an Admin role to these members. To do so:
- Click on the Edit icon

- Edit your member's details by selecting the role you want to assign your member with from the drop down.
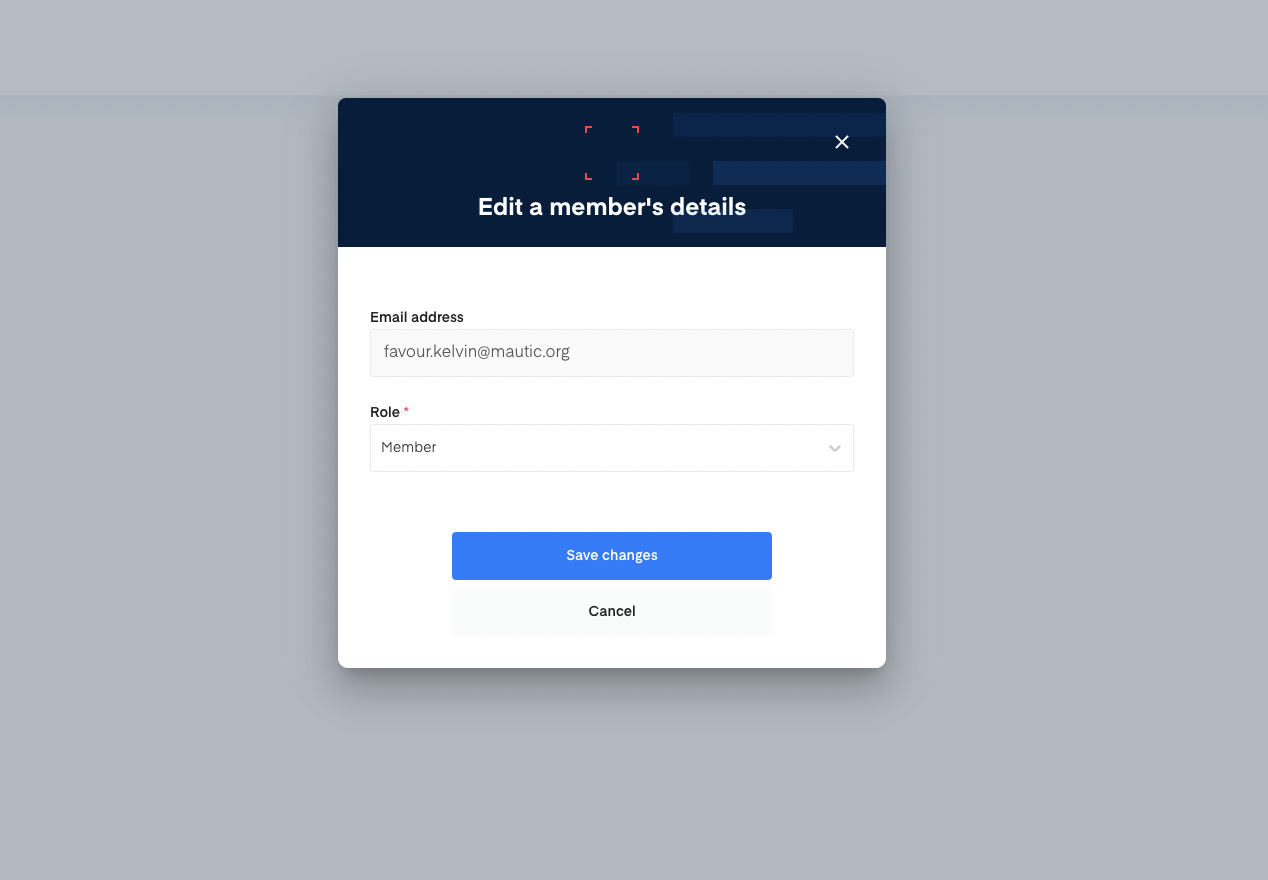
- Click on Save changes.
Your member's role will be updated in the Members overview page.
You cannot change a member's email directly, you can however remove the member from your organization, and add the member back with the right email.
To update member permission from Admin role to Member role. You'll need to contact the support team.
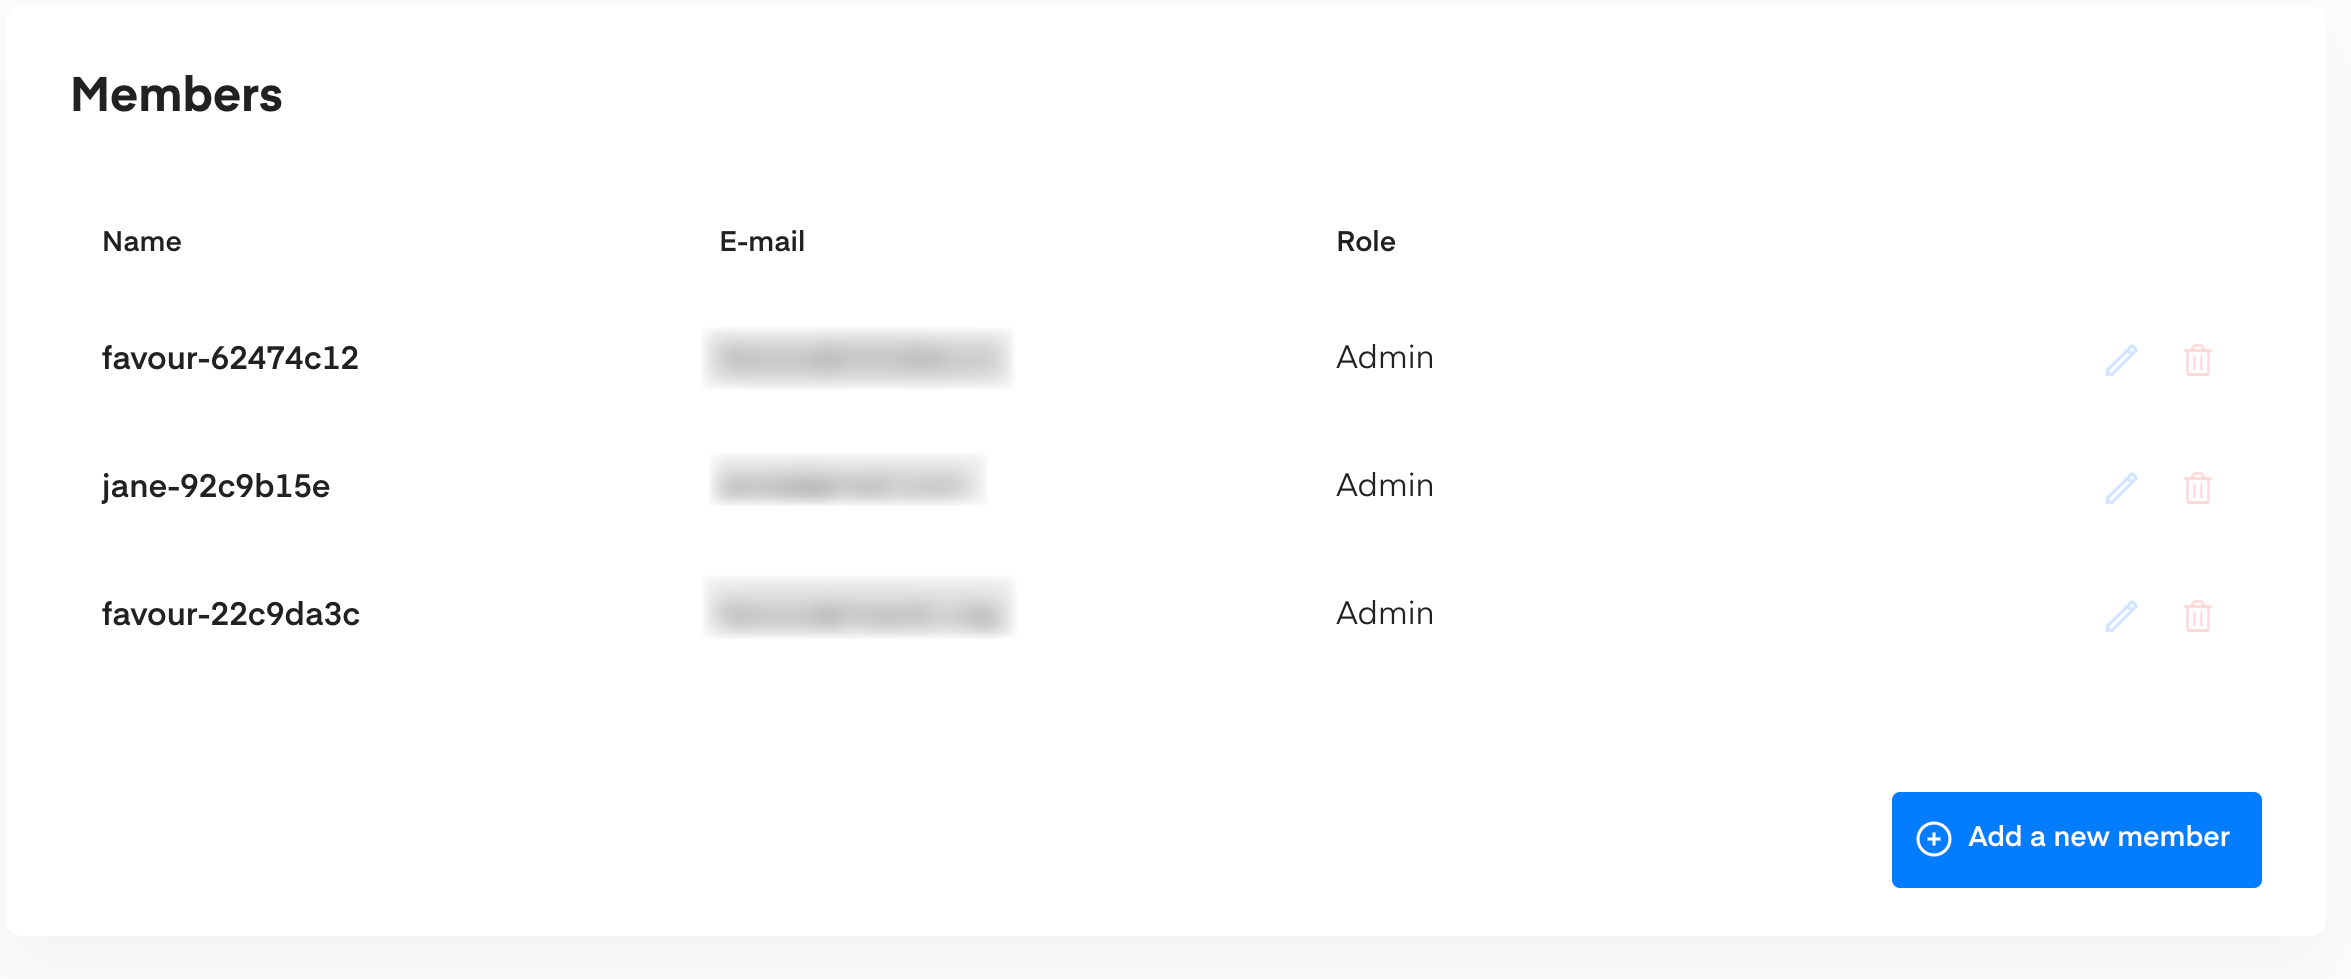
Removing a Member From The Organization
To remove a member from your organization.
- Click on the delete icon.

- Type the email address to confirm the removal of the member.
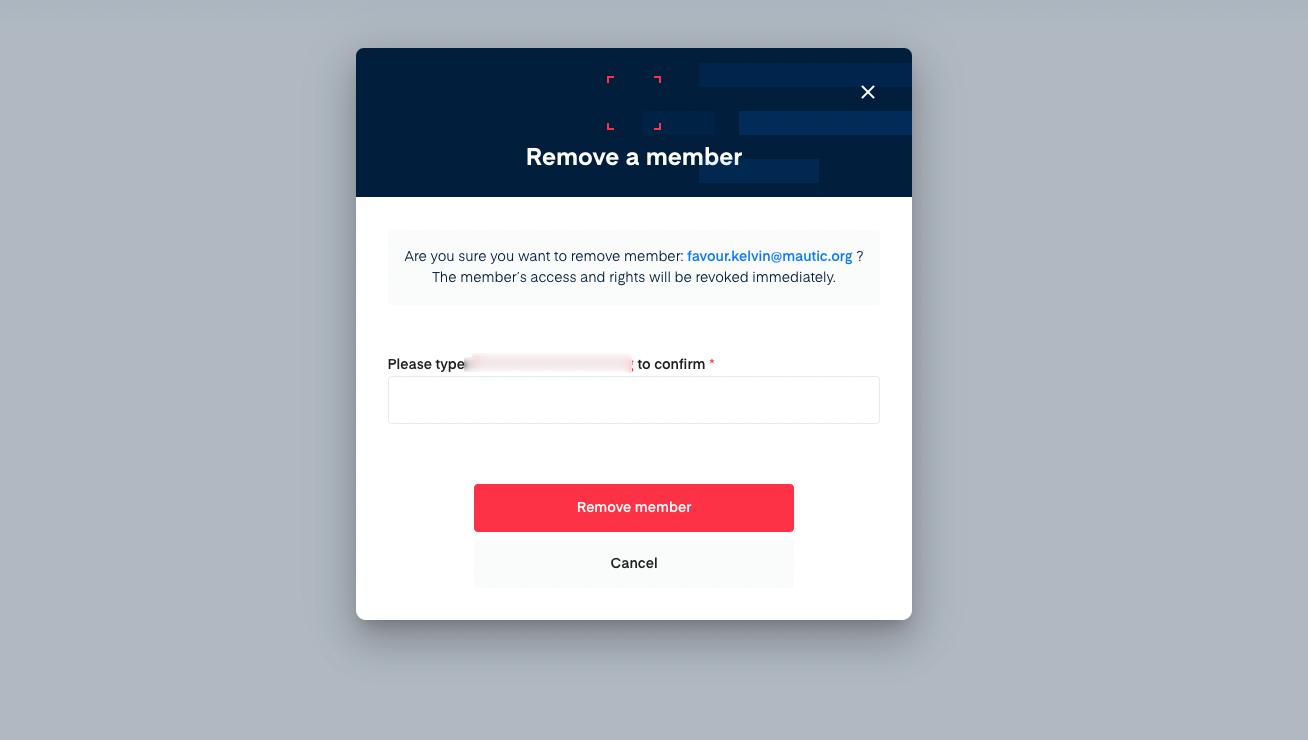
- Click on the Remove member button.
The member will be removed from your account and your Members overview page will be updated.
To remove members who have admin roles, you'll have to contact the support team.
API Keys Management
At the organizational level, you can create and manage your API keys. These API keys can be accessed by members of your organization. For a detailed guide on how to create your API keys, see Create and Manage API keys

Leaving an Organization
Once this action is carried out, you'll no longer have access to the organization.
To leave an organization:
- Click on the Leave organization button from the Organizations overview page.

- Type the organization name to confirm.
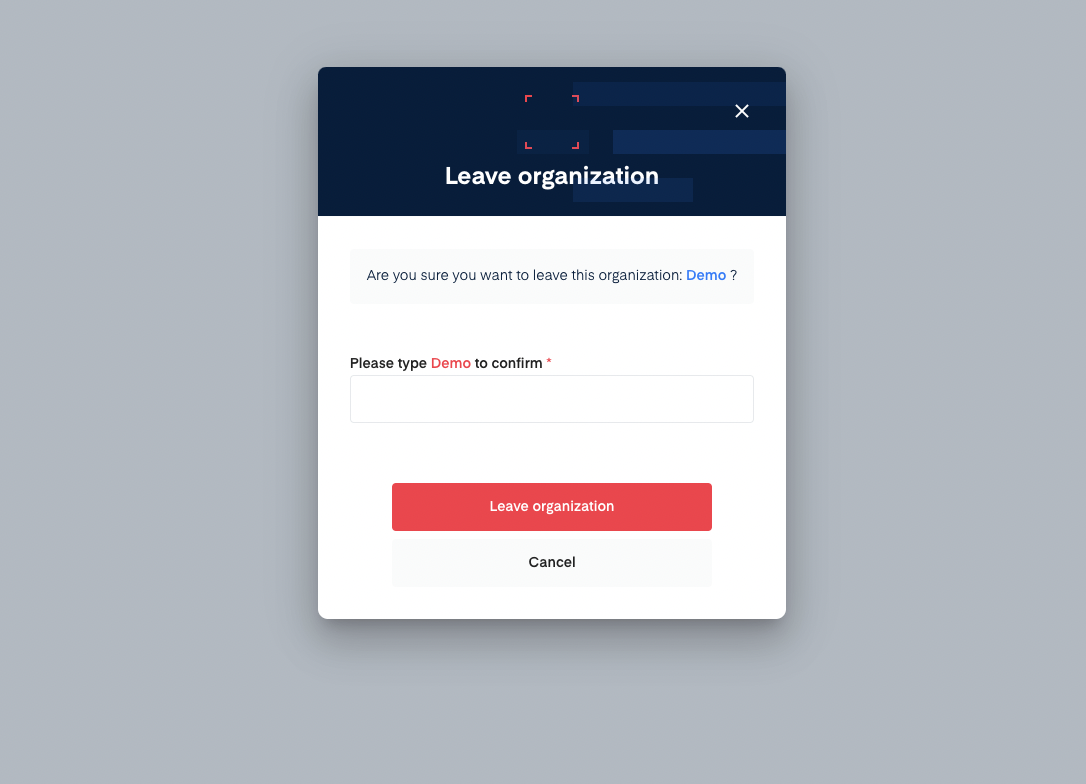
- Click on the Leave organization button.
Updated 5 days ago
