Review Interface
Overview
The objective of the review interface for our AI document process automation Platform is to offer a user-friendly and intuitive, operator-centric interface designed for efficiently managing and reviewing high volumes of documents. This productivity-focused tool aims to significantly reduce the time required for data review and correction, ensuring that users can trust the validated data integrated into their systems.
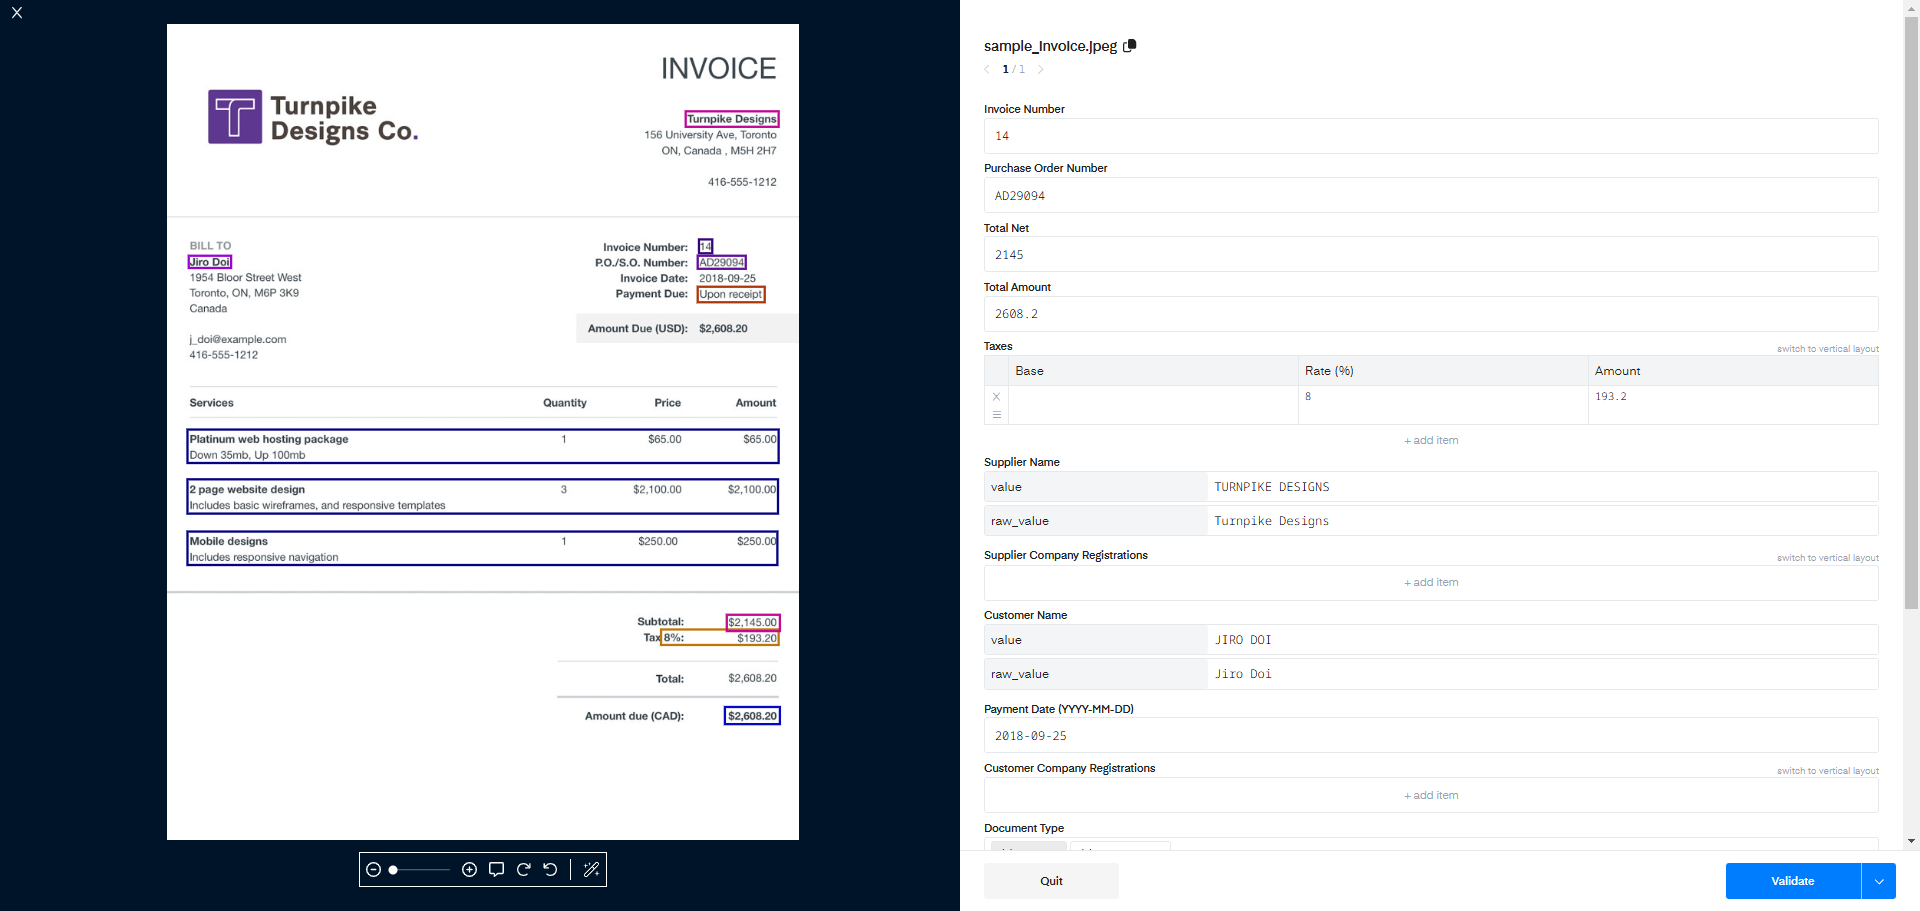
Document section
Document viewer
This section displays the document you need to review. You can perform the following actions on the document (from left to right):
- Zoom in & out: to examine the data you need to extract
- Comment (soon): to add document-specific notes
- Rotate: to adjust document orientation for better readability
- Magic Wand: Use the text on the document to correct or complete your field's data.
Using the Magic Wand to Copy Data
The magic wand helps you copy data from a document into a field efficiently. Click on the following icon to activate it.

- Highlighting Words:
- Text Field: All words are selectable.
- Amount Field: Only numbers are selectable.
- Date Field: Only dates are selectable.
- Copying Words:
- Select the target field.
- Click the desired words to copy them.
- For multiple words (e.g., an address):
- Hold the Ctrl key, click and drag to create a selection box.
The selected content will be copied into the field automatically.
For products that support bounding boxes, you'll see these boxes displayed on the document.
Clicking a bounding box will highlight its corresponding field in the data validation section of the interface.

For multi-page documents, thumbnails of all pages appear on the right side of the document viewer. You can navigate between pages by clicking these thumbnails.
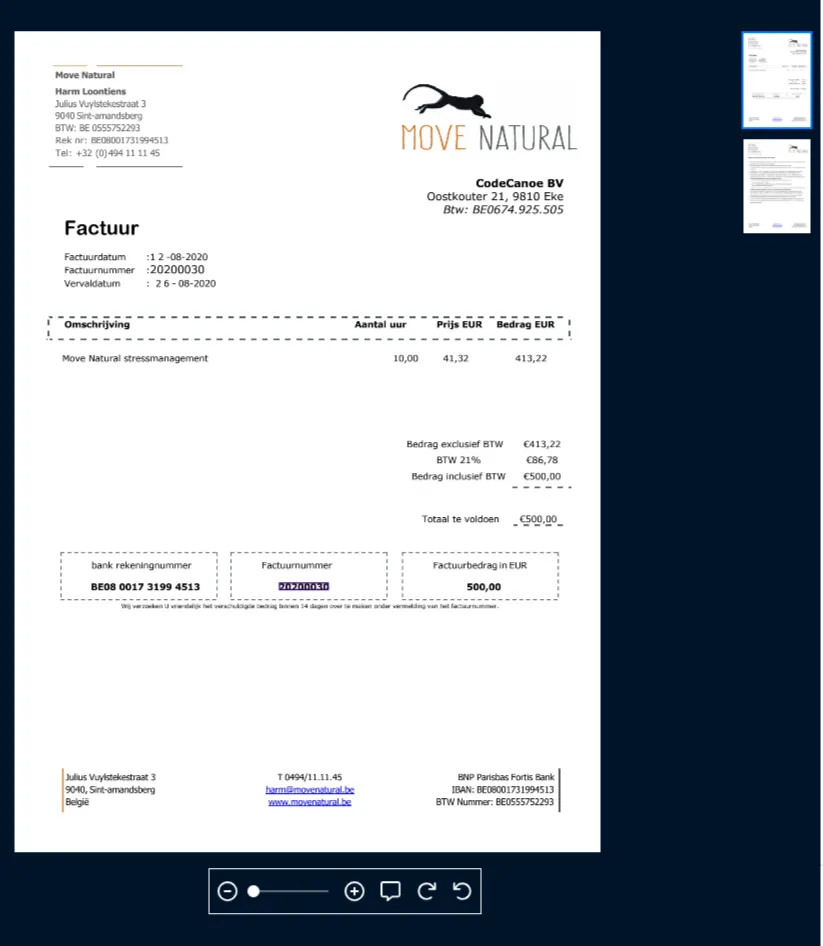
Data validation
The data validation section displays the prediction results for each field you selected during workflow creation (See creation of a new workflow).
At the top of the interface, you'll see the document name and its position in the review queue.

You can copy the name of the document by clicking on the copy CTA

For each of them the corresponding value of the extraction prediction is displayed and can be corrected if needed.
Like the document viewer's ability to highlight fields when clicking on bounding boxes, you can also display a field's corresponding bounding boxes by clicking on that field.
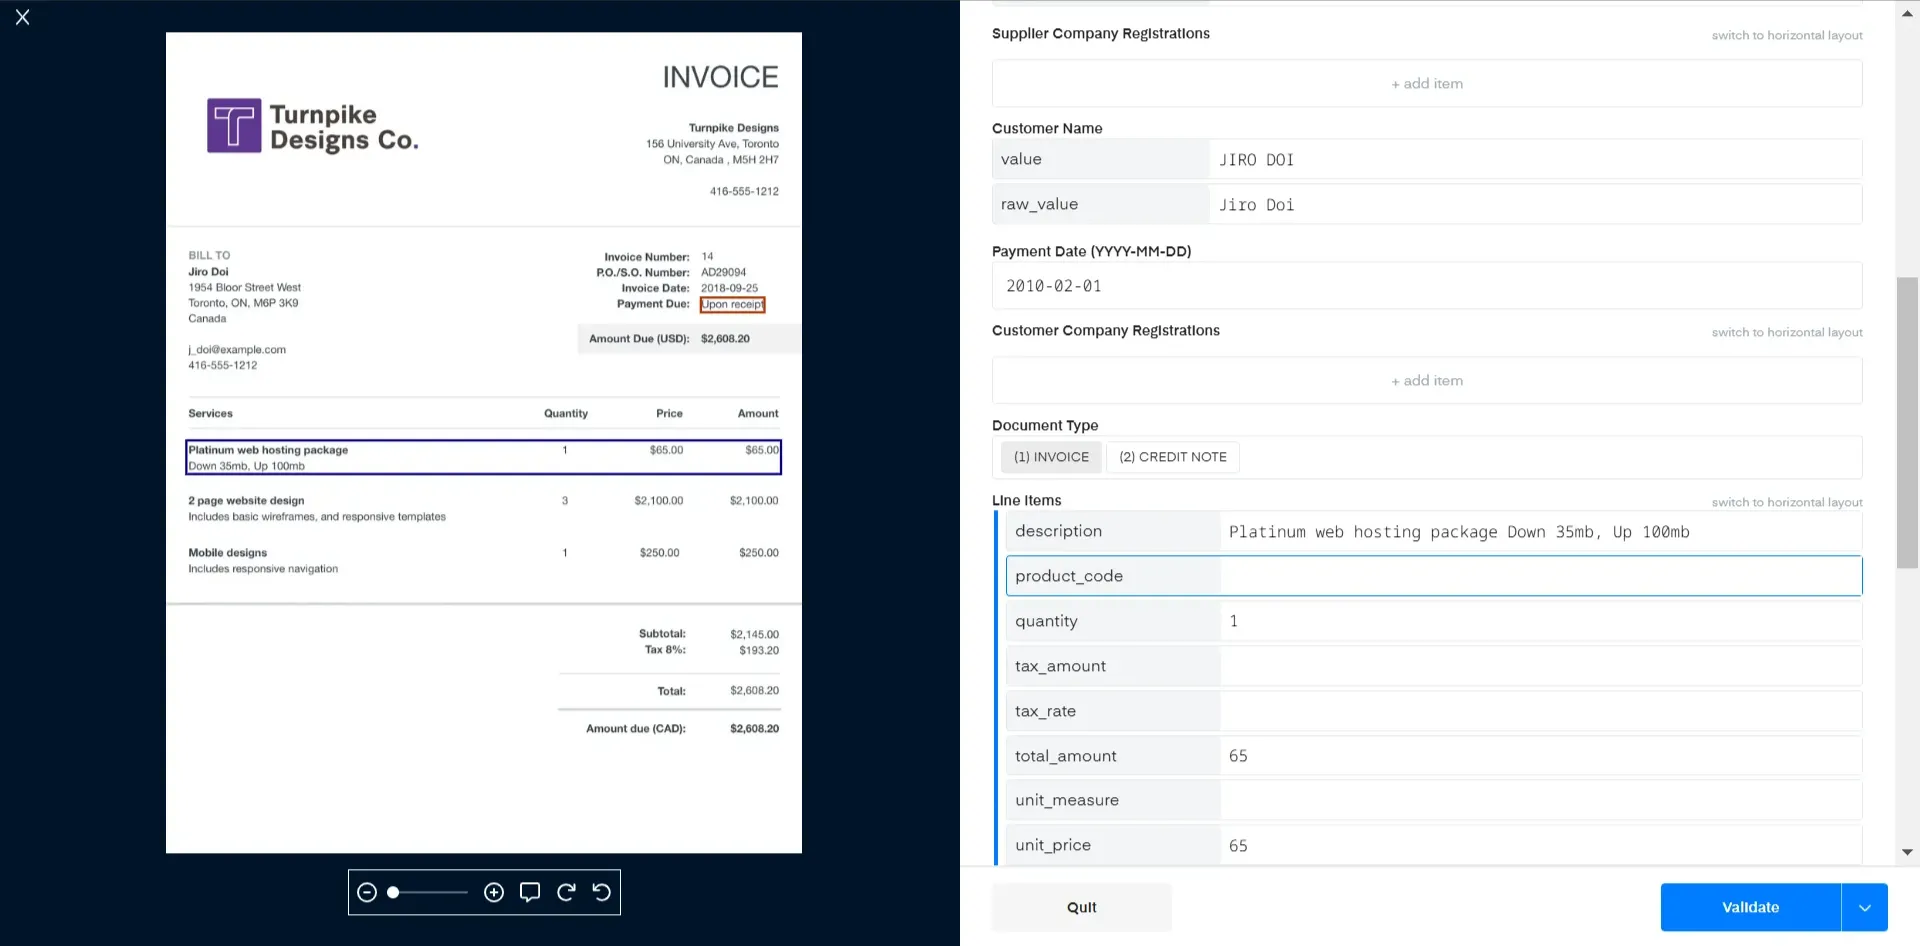
When focusing on a specific field, you can also see other fields' bounding boxes highlighted by hovering over them.
Main types of field
List item
For list items you also have the possibility to:
- add a new item
- switch the visualization from list (vertical layout) to table (horizontal layout) which can improve the ease of reviewing long tables.
from list:

to table:

Date field
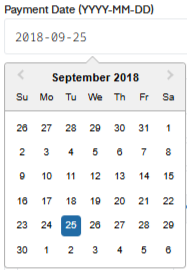
Date fields are presented as a text using the format YYYY-MM-DD. A date picker opens when you click on it.
Classification field
Classification fields are represented as a finite list of available values.

The active value is greyed. You can change the class by clicking on another value.
Other fields
All other fields are represented as a text field where you can directly input any value using your keyboard.

Apply a status
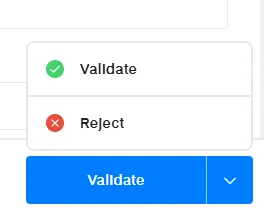
At the bottom of the Data validation part, you have a sticky button bar providing the following actions:
- Quit: leave the review interface.
if the changes made to the documents were not saved, they will be lost.
- Validate: Saves the changes made on the prediction data.
- Reject: Rejects the document. The reasons can be multiple:
- You are not sure how to review / correct the document.
- The document should not be reviewed: wrong type of document
- …
When you finish reviewing the last document in your selection, the review interface will automatically close and redirect you to the Documents page, where you can create a new selection to continue reviewing.
Access the review Interface
You can access the Review Interface either on:
- the platform by selecting documents and launching the review see the Documents page, or
- using an iframe in your system
Display the review interface on your system using an iframe
To load the iFrame, you only have to set the src tag attribute of your iFrame with the public_url value.
The public_url can be reconstructed with the public_hash unique to each document entering your workflow, or directly fetched via API. See the Documents section to see how to get the public_hashof a document.
<https://platform.mindee.com/review-interface/>\<public_hash>
Here is an example of an iframe in React.js:
<iframe id="review-interface" src={publicURL} width={1200} height={700} />
Customize the iframe
Parameters can be set in the public_url as query parameter in order to customize the iframe.
https://platform.mindee.com/review-interface/<public_hash>?lang=fr&primary_color=%23FF0000&display_quit=false
lang(defaulten): Language of field labels. Possible values arefrandenprimary_color: Hexadecimal color code of the button (the %23 is the '#' code for URL encoded symbols)display_quit(defaultfalse): Whether to display the "quit' buttons or not. Possible values aretrueandfalse
Fetch the data
When a user hits the validate or reject button, a callback is triggered on the iframe, allowing you to fetch the data dynamically in your frontend code.
Here is a React.js example using useEffect to catch the data validated by the user in the iFrame:
useEffect(() => {
    const handleMessage = (event: MessageEvent) => {
      if (event.origin !== 'https://platform.mindee.com') return

      // Do whatever you need with the validated data here
      console.log(event.data)
    }

    window.addEventListener('message', handleMessage)
    return () => window.removeEventListener('message', handleMessage)
  }, [])
Updated 9 months ago
