Documents
Overview
When you click on a product card on the workflow page, you'll be redirected to the Documents page.
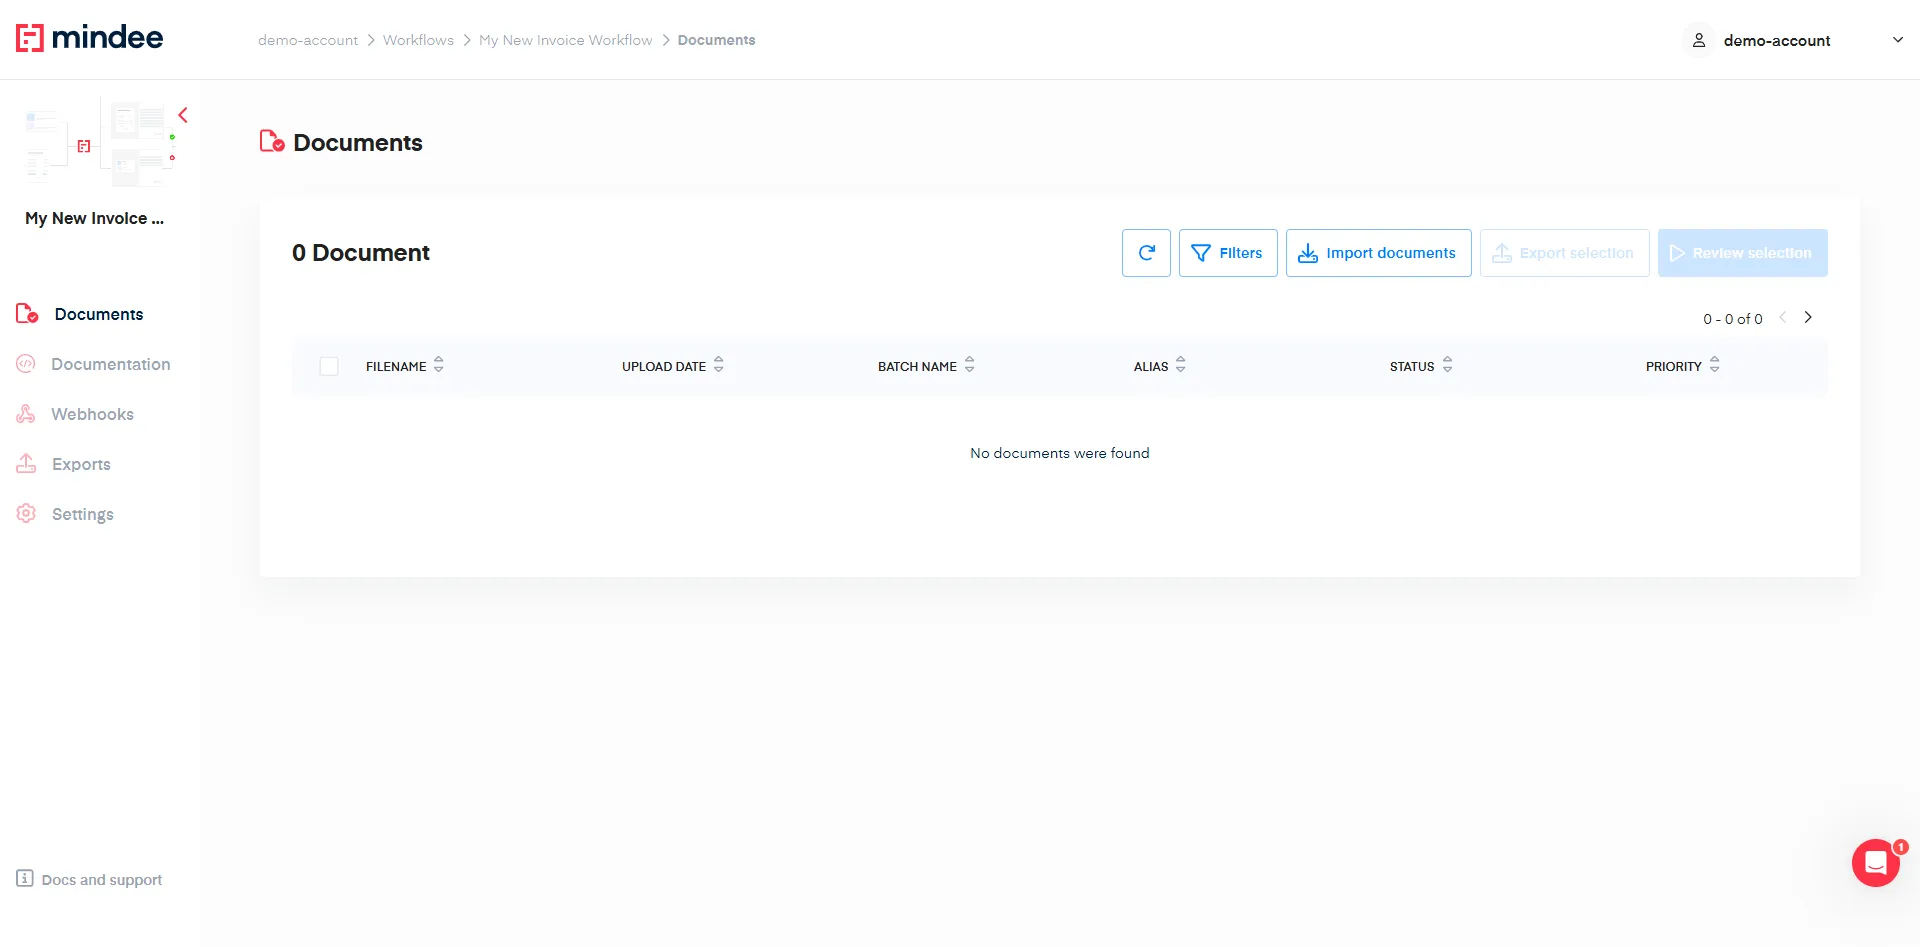
This page manages documents sent to this specific workflow. All documents sent or added to the workflow are listed here.
On this page, you can:
- Import new documents
- Filter the document list
- Get document details
- Select files
- Review Selection
- Export the extraction results (initial and validated) for selected documents
Import new documents
To add a document, click the Import documents button.
This will display the following popup:
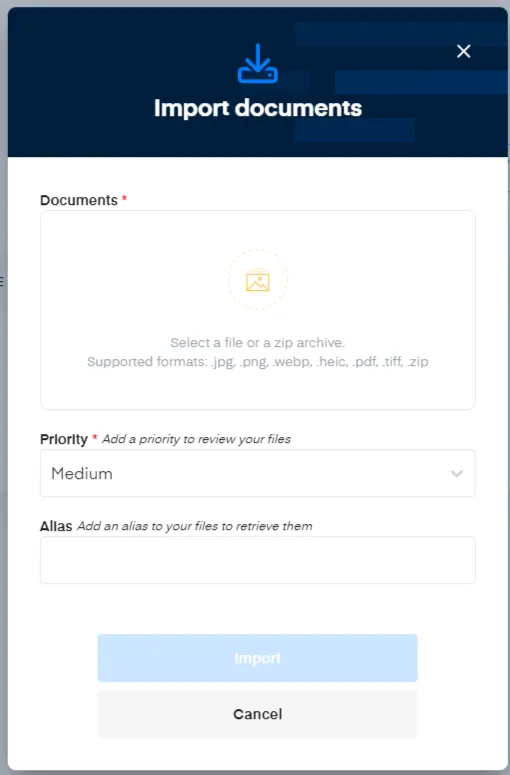
Documents
You can upload either a single document or a ZIP file containing multiple documents. Simply click the upload field or drag and drop your file.
This is the only place where a zip is actually accepted !
The workflow endpoint can handle different types of payload for your document:
- a binary file
- a base64 encoded file
- an URL
See Document inputs for more information on supported files.
Priority
Priority helps reviewers understand which files need to be reviewed first.
Available priority levels are:
- Low
- Medium (default option)
- High
Alias (optional)
The Alias is a text field you can use to filter your documents later. Think of it as a tag to identify a reviewer, geography, supplier, or other category.
Click Import when finished.
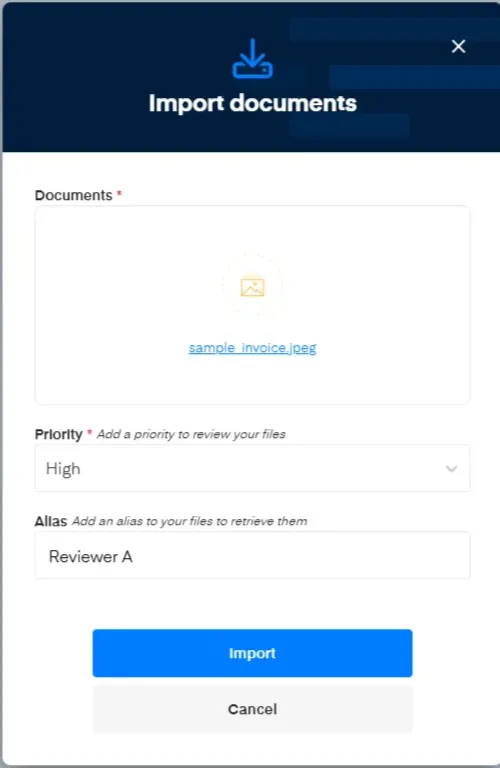
Your imported document will appear in the list.

You can see the Status change from Processing to Processed.

- Processing: The document is being processed by our extraction API. This can take from one to several seconds, depending on the number of pages.
- Processed: The extraction is complete and ready for review.
Other possible status values include:
- Validated: The document has been reviewed and validated by a user.
- Rejected: The document has been rejected by a reviewer for reasons such as:
- incorrect document type (e.g., an ID when processing invoices)
- needs additional review
- …
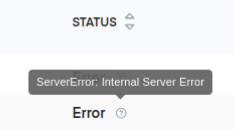
- Error: An error was detected. In that case you will see appear near the _Error _status the information icon (?).
Filter the document list
Filters help you find documents that match specific criteria.
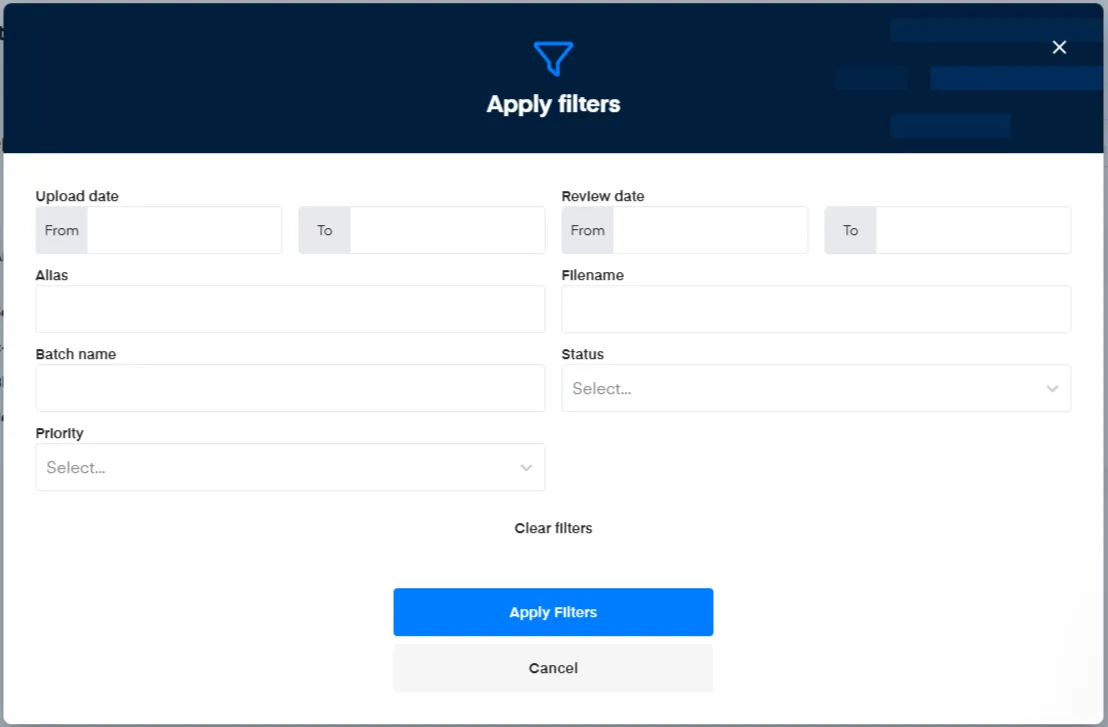
Available filters include:
- Upload date: Set the start date, end date, or time period when documents were uploaded
- Review date: Set the start date, end date, or time period when documents were reviewed
- Alias: Filter by Alias text. Reviewers can find their assigned documents by entering their name
- Batch name: Filter by Batch name, which can be used to tag document selections
- Filename: Filter by document name
- Status: Select one status from the dropdown list
- Priority: Select from the dropdown list
Click Apply filters to show only documents matching your criteria.
Note that all criteria are combined with AND logic.
Get document details
Click a document name to view its details in a popup window.
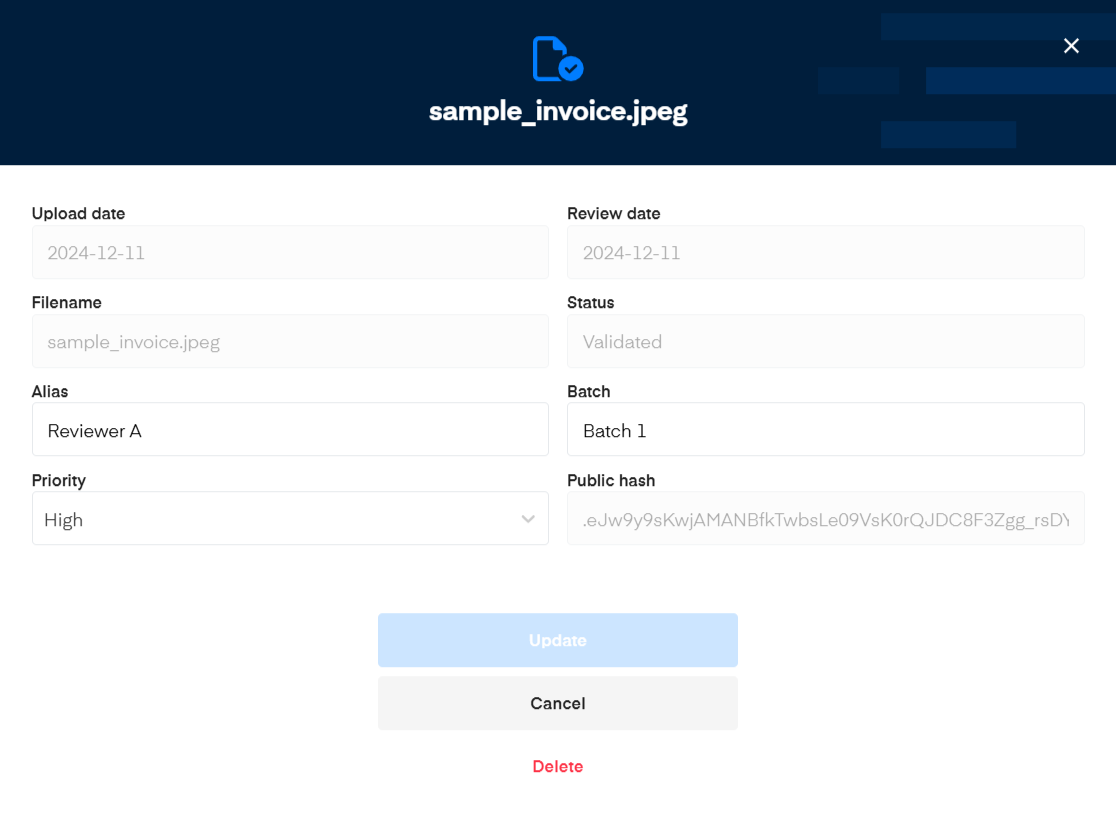
The following fields cannot be edited:
- Upload date: When the document was uploaded
- Review date: When the document was validated or rejected (empty otherwise)
- Filename: The document's name
- Status: The document's current status
- Public Hash: Unique document identifier. Use this to create a signed URL for accessing the review interface: https://platform.mindee.com/review-interface/<public_hash>
Only the Alias, batch name, and Priority can be edited.
You can also delete the document by clicking Delete.
Select documents

After filtering, select documents by clicking the header checkbox or individual document checkboxes.
Once you make a selection, you'll see the number of files selected and a create a batch option to save your selection.

To create a batch, enter a name and click Create batch.
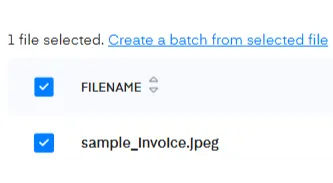
To create a batch, enter a name and click Create batch.
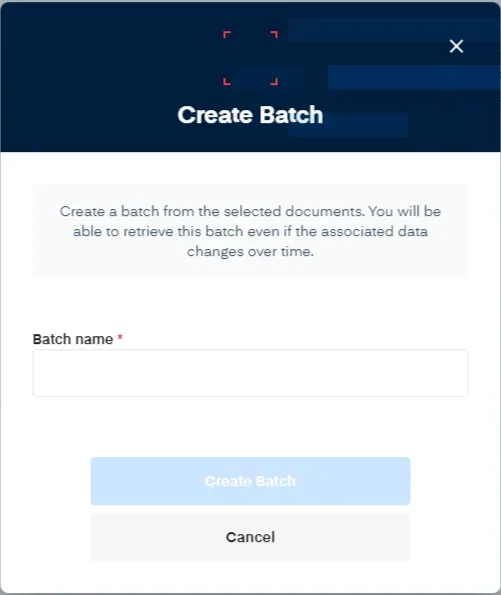
The Batch name will appear. You can use this name in the Filter interface to find these documents again.

Review Selection
Once you have documents selected you can start to review the selection by clicking on the Review selection button.
Selection limitation
Today the selection of documents is limited to 25.
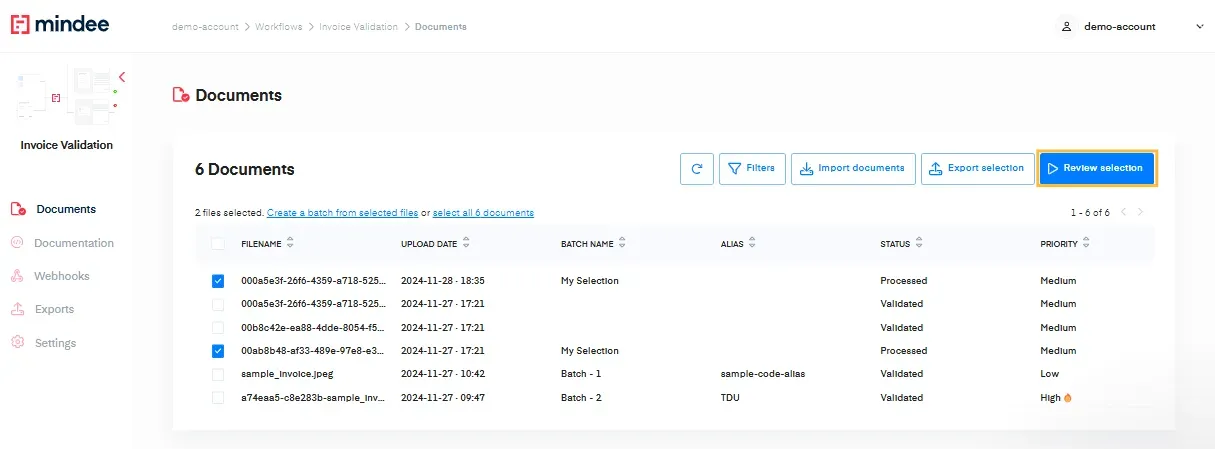
The review interface will appear when you start the review. Check the Review interface page for more details.
Export the selection
By clicking on "export selection", a pop up window will appear asking you to define an export name.
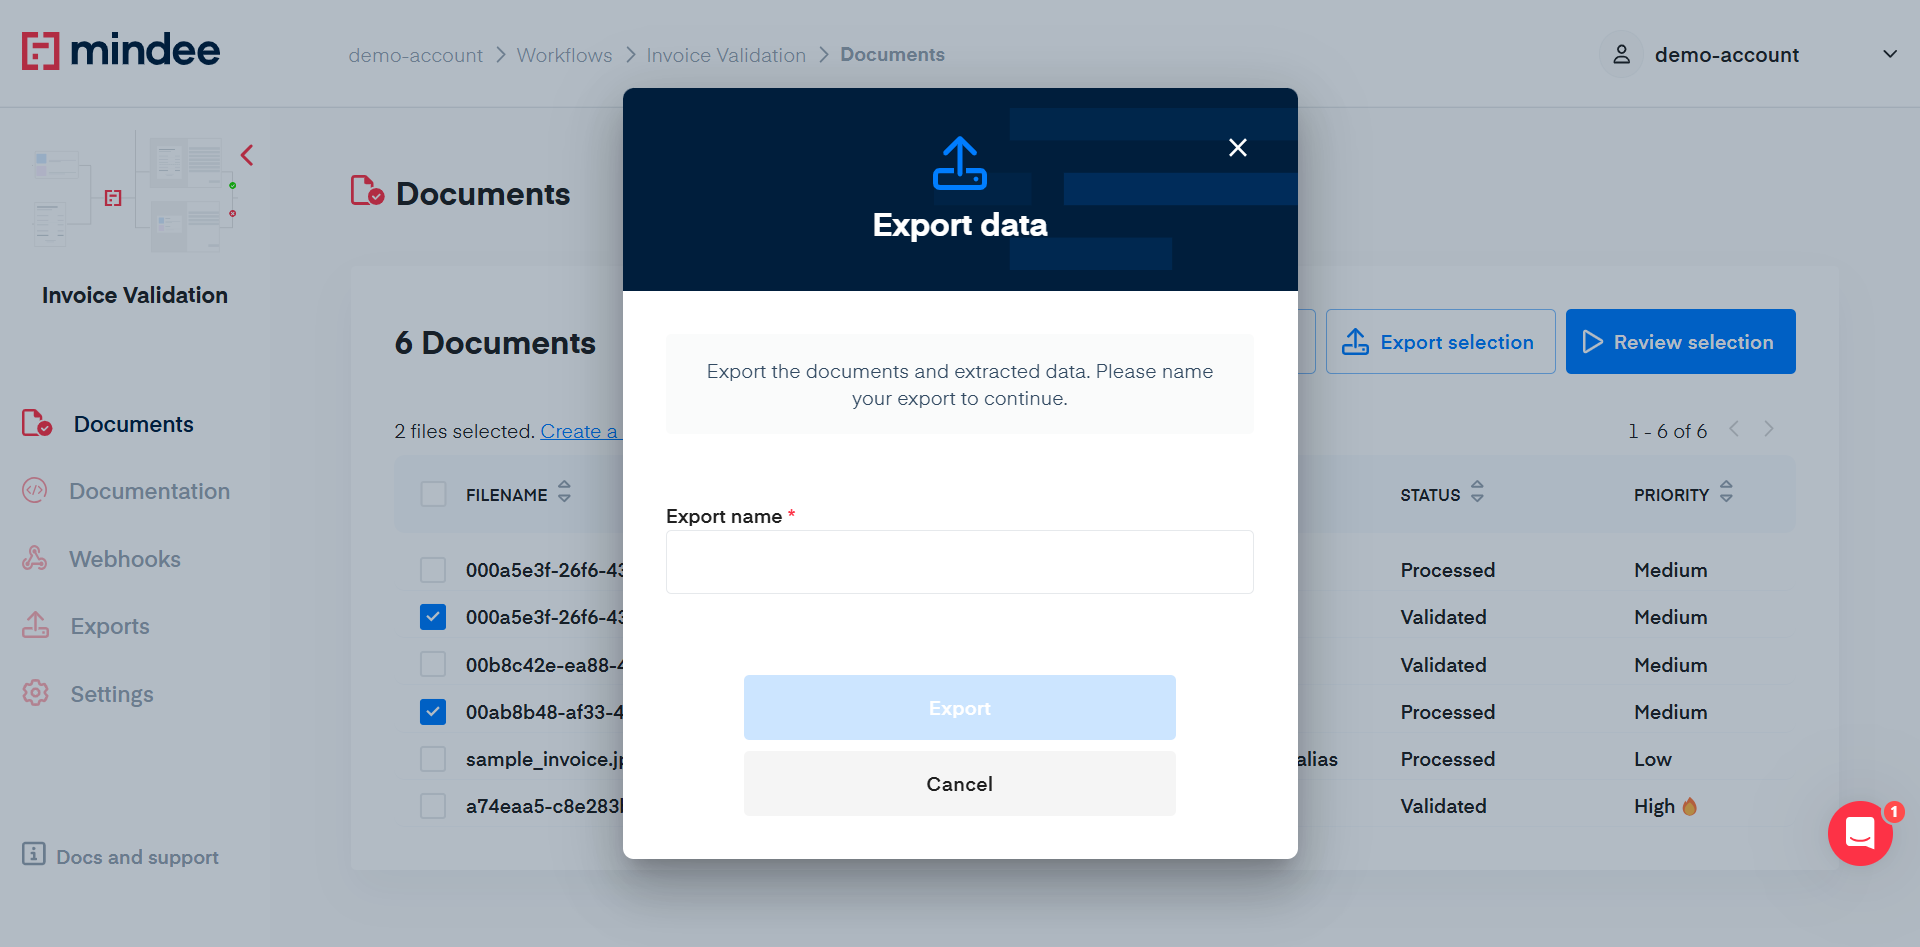
Enter the export name and hit Export to generate your export. Once generated, it will be available on the Export page. Check the Export documentation page for more details.
Updated 10 days ago
