Invoices OCR
One of the most common ways we receive invoices for services rendered is via email. The invoices are typically PDF files attached to the email.
In a typical expense process, invoices that are emailed to your company will have to be saved locally to a computer, and then re-uploaded into an invoicing system. Maybe, even worse, the document must be opened and the details manually entered into the system.
In this post, we’ll build an invoice processing system: invoices that arrive via email will be automatically extracted, and all the data inserted into a Google Sheet.
The best part: No coding required! It will “just work” and will be completely “hands-free” - all the work will be done automatically! If a Google Sheet is not your desired outcome - there are thousands of apps connected with Zapier, so this tutorial can be easily modified to interact with any other application.
The tools required:
- A Gmail based email account.
- A free Zapier account (sign up at Zapier.com)
- A Mindee account with an Invoice parsing API key.
Zapier
Zapier is a no code service that connects different tools with a secure no-code interface.
They call the connections "Zaps". Each Zap has a "trigger" an event that starts the process, and an "action" that occurs after the trigger has fired.
In the case of the Zap we are building, you will need a premium account.
If you are a new user (or if you have a new Zapier account), you'll have free premium access for a week (but your Zap will turn off when the trial ends).
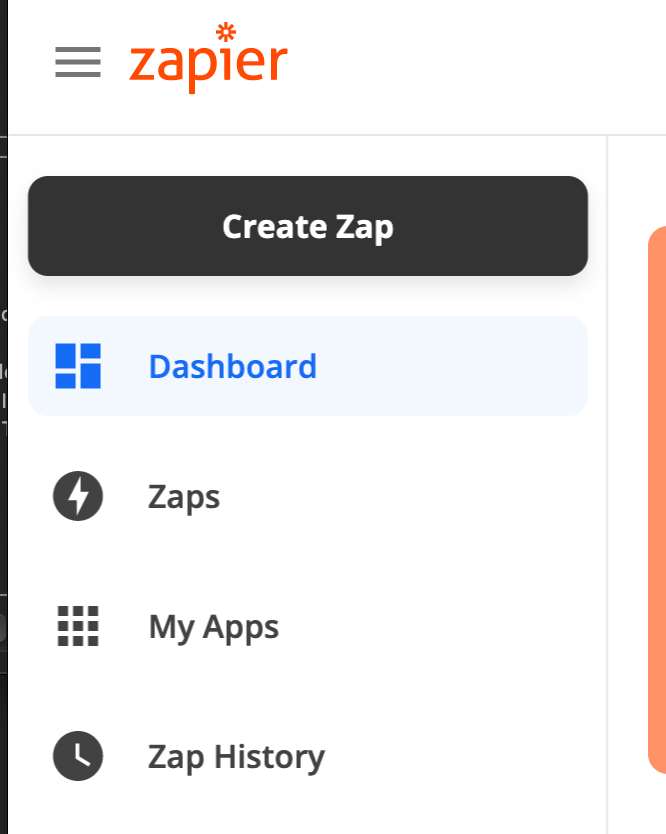
Once you have created a Zapier account, you’ll land at the app dashboard. Click the black "Create Zap" button:
The first step in creating the Zap is creating the trigger - which will be the new email arriving in your Gmail account:
Trigger Creation
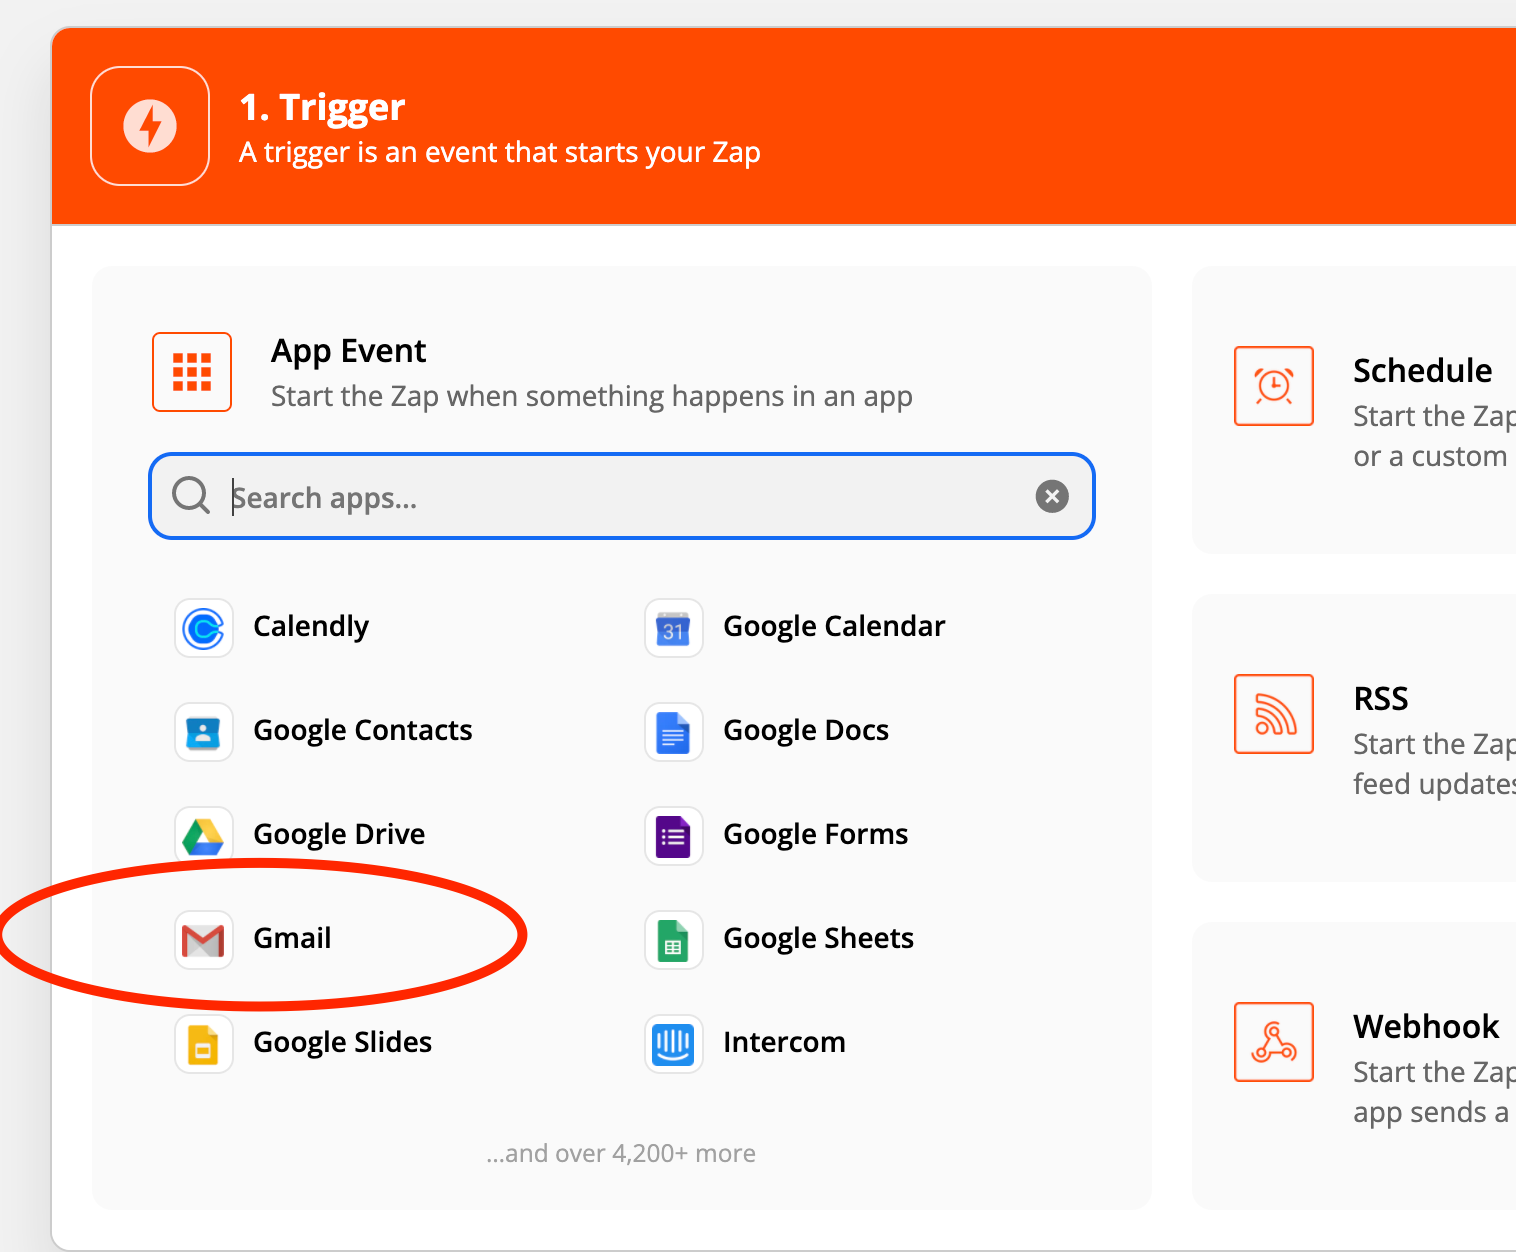
The trigger we want is an email arriving into a Gmail account.
Search the "App events" for Gmail (it is often also right in the list of top apps):
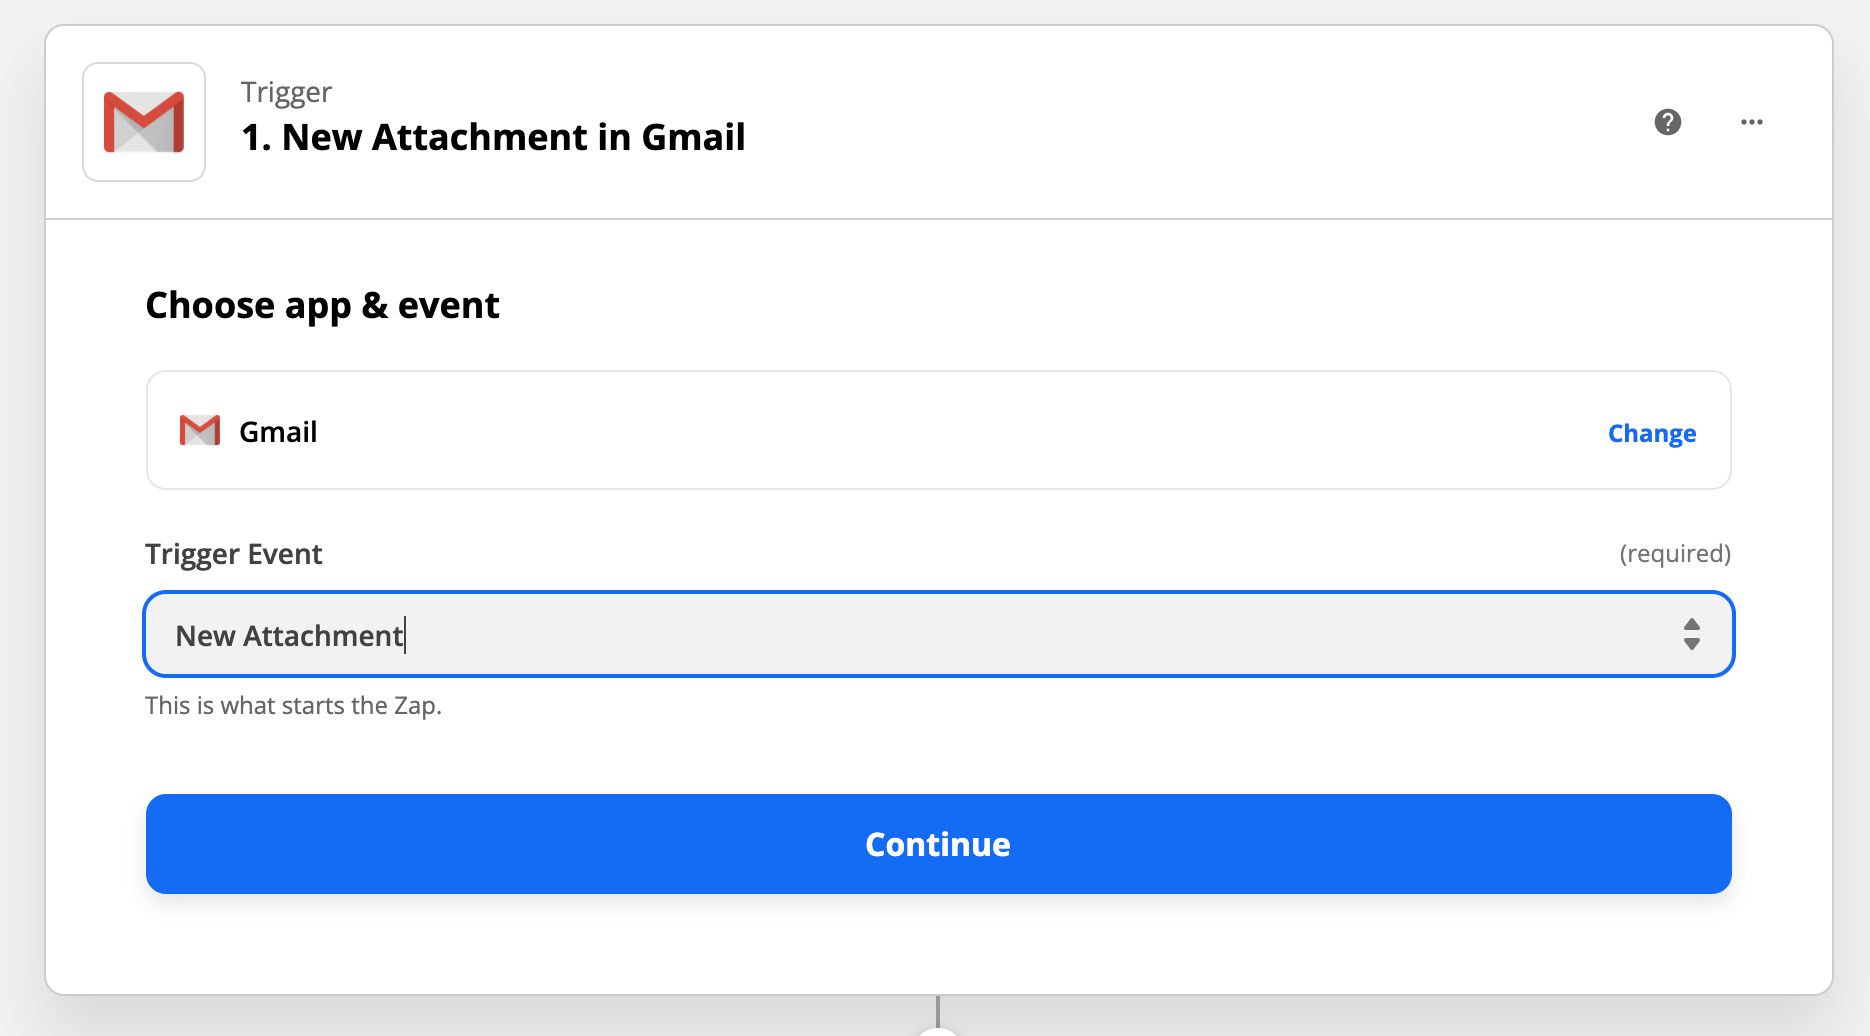
We want Gmail to trigger the Zap when a new attachment arrives:
The next step asks you to connect your Gmail account to Zapier.
In an ideal world, you’d set up an address like invoices@<yourcompany>.com.
For this demo, I used my Mindee email account.
The next step allows you to filter the emails based on the Gmail label or search string.
Here is where I am able to isolate to just emails with invoices:
to:[email protected] has:attachment
Here I am using a Gmail trick to ensure that only invoices emailed to me are parsed by the Zap.
With Gmail — you can add any value after the + and it acts as a unique email address — but arrives in the same inbox.
The search also requires that there is an attachment in addition to being sent to my email address.
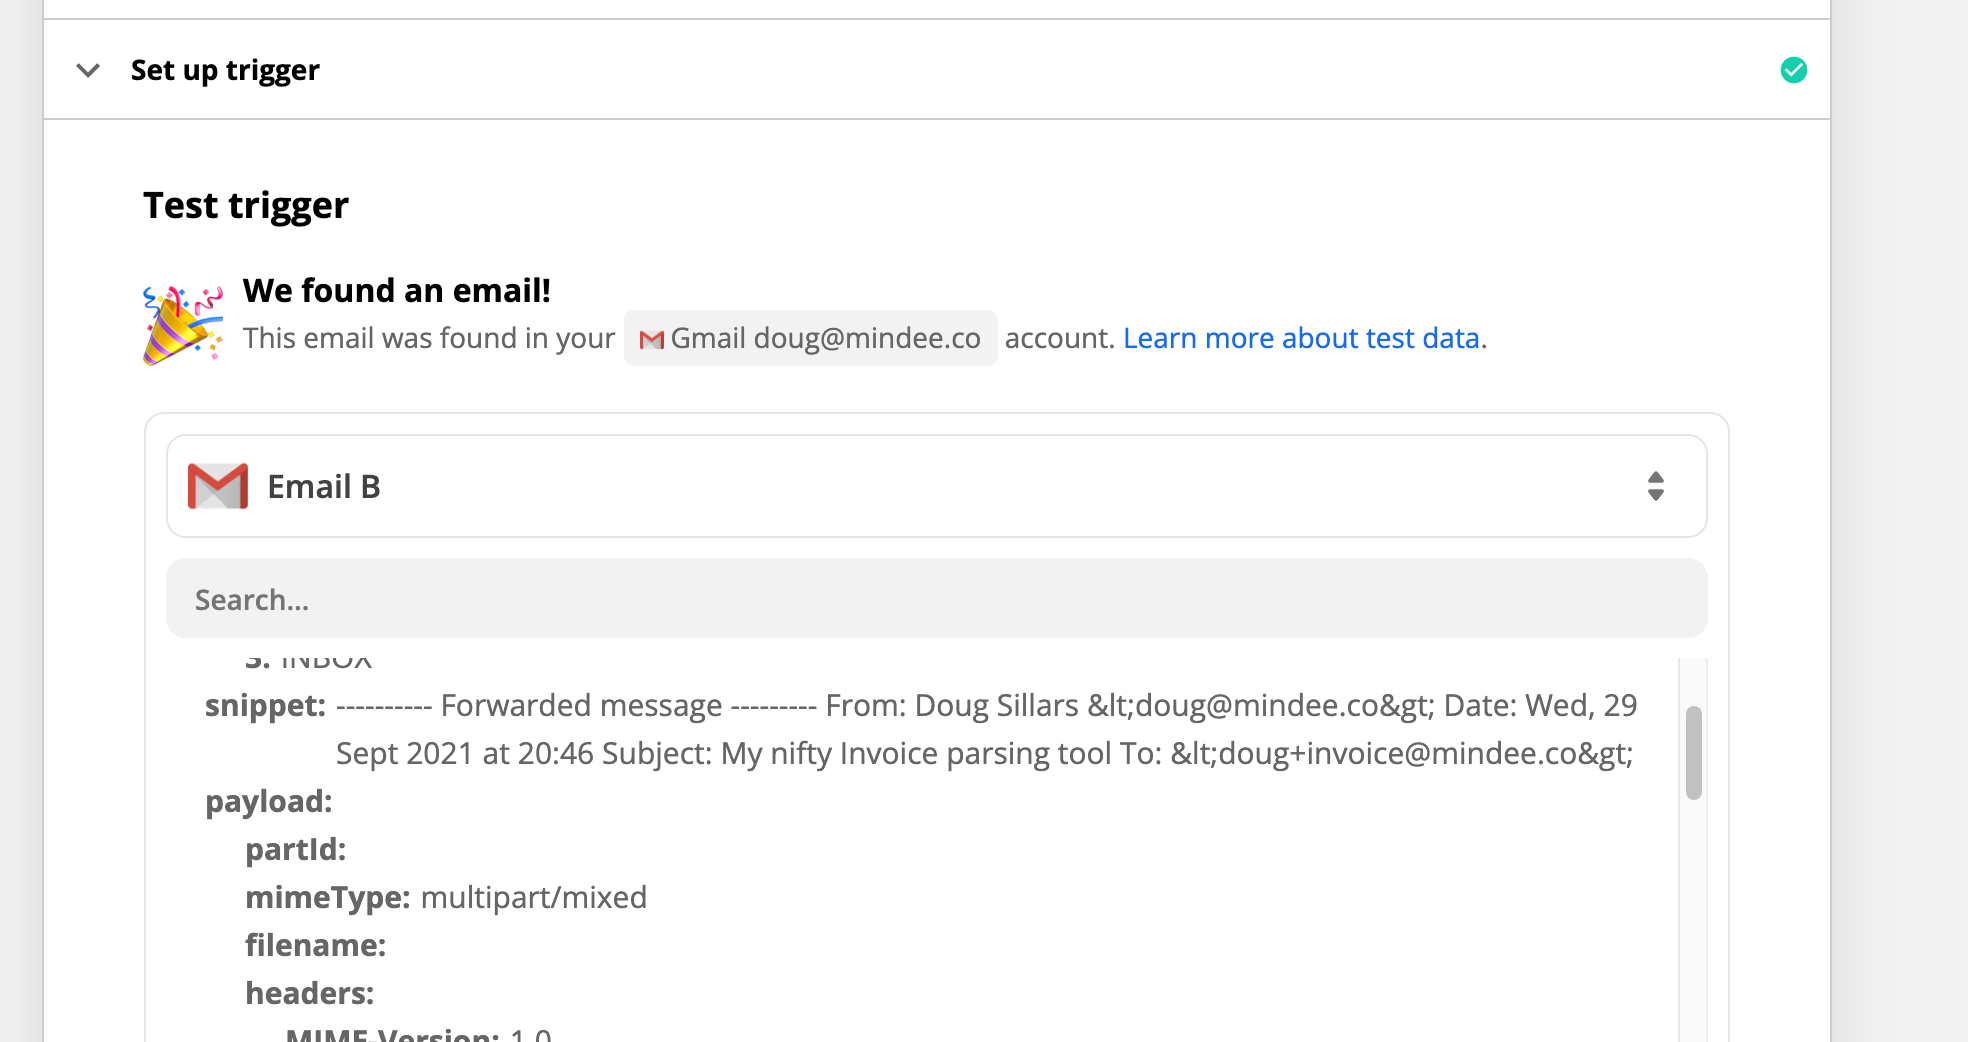
Now Zapier will test this trigger to find an email in the account that matches your search query (so now - quickly send an email -with an invoice attachment- to the Gmail account you’ve chosen, so that the search query succeeds).
Hopefully, your test will succeed, and you'll get a success message like below:
Action time!
Now we will create an action, and we will use the Mindee OCR Invoice Parsing API.
Search for Mindee in the action search bar:
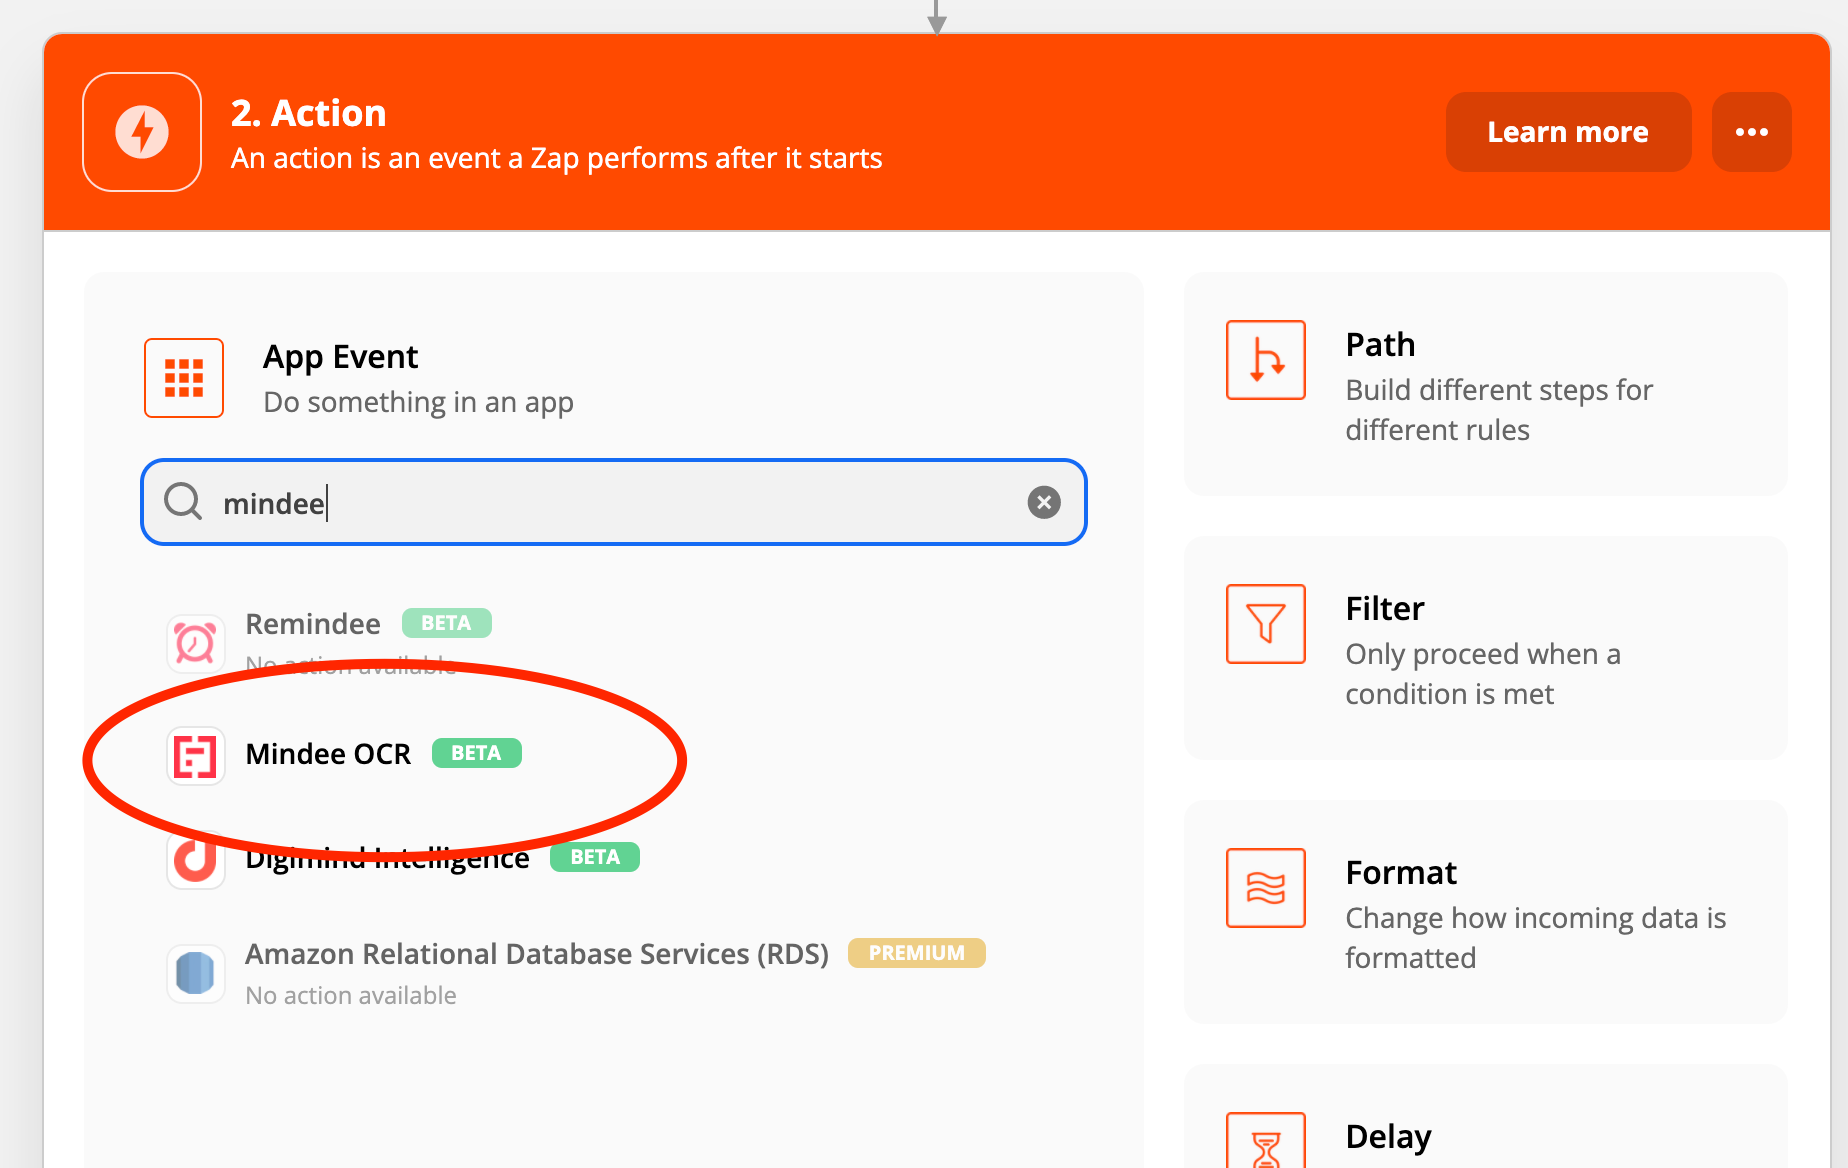
Choose the Mindee OCR, and then select the action for invoice parsing:
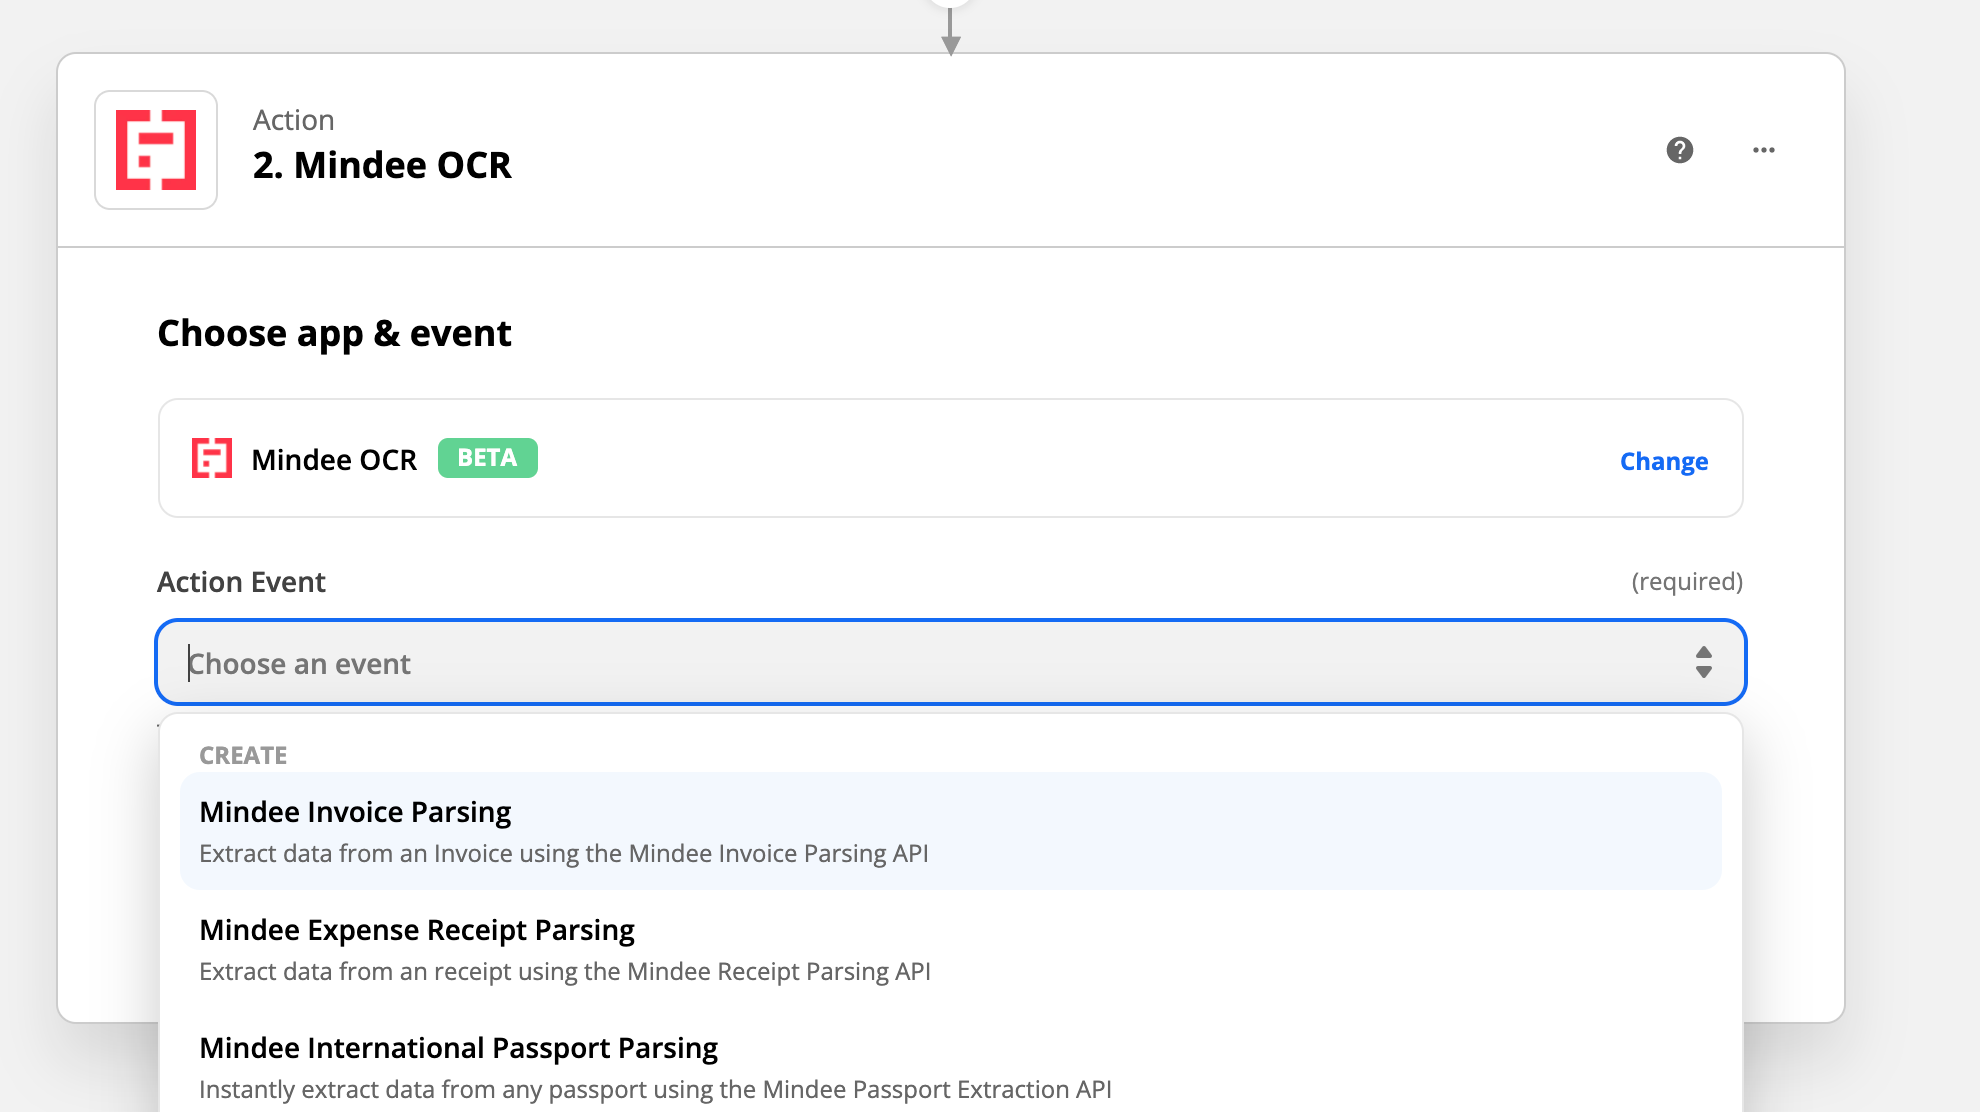
Next you’ll be asked to sign in to Mindee. A popup will open with a form.
You'll then have the opportunity to mention the name of the connection you'd like to put on Zapier.
This field is just for display purpose, in case you want to use different API keys for different purposes.
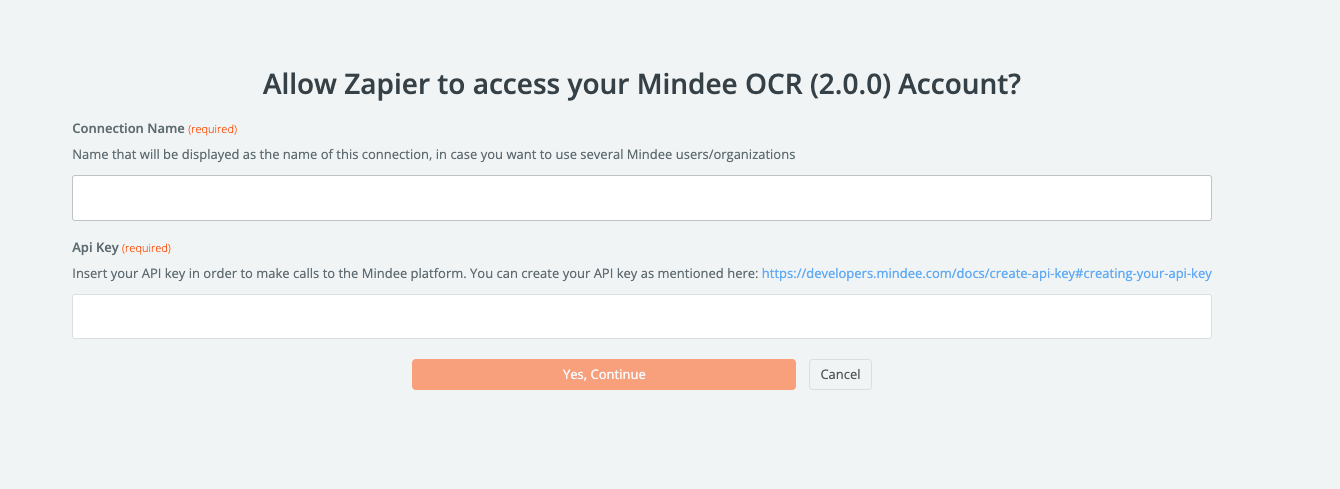
Then on the second field, you'll have to add a valid API Key.
In order to get this API Key, you should go to https://platform.mindee.com
You’ll need to sign in to your Mindee account, and then create or use one of your existing API keys.
Once connected, you can directly click on the top right corner of the page, on your username.

Then you can click on Settings, which will direct you on the settings page.
On this page, click on API keys, on the left of your screen, in order to have access to all your valid API Keys.
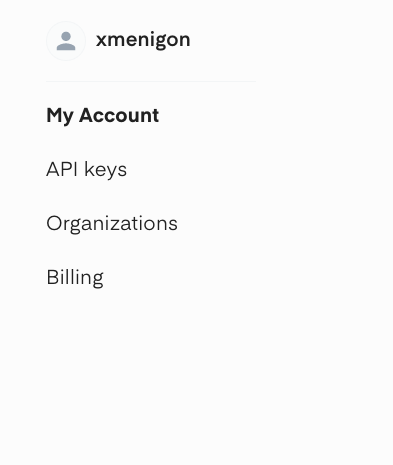
Then, copy the key and paste it on your Zapier connection page.
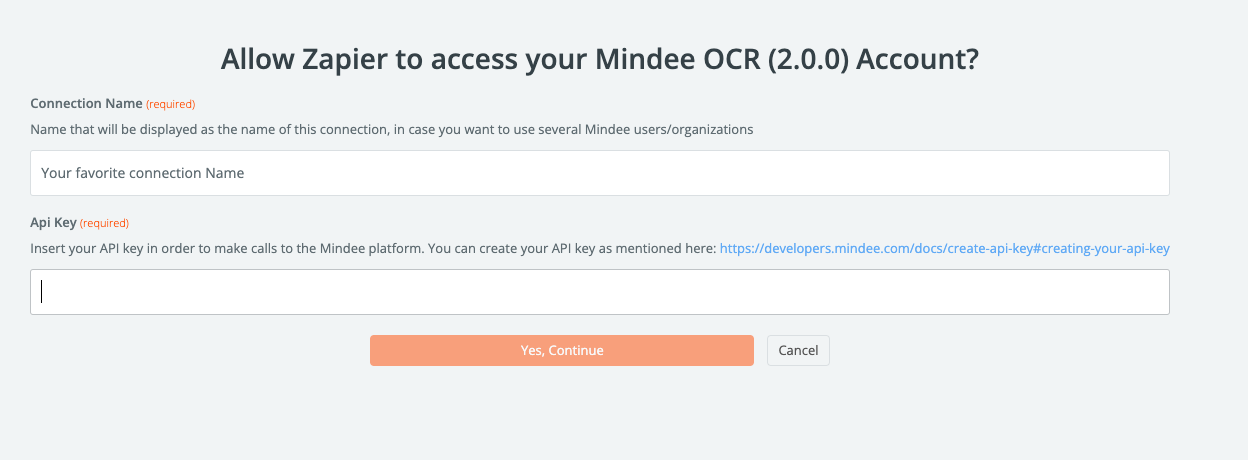
Insert your API key and Zapier will authenticate your account with Mindee.
Now we need to set up the action to send the attached document from your email message to Mindee.
Set the document field to be populated with the file attached to your email:
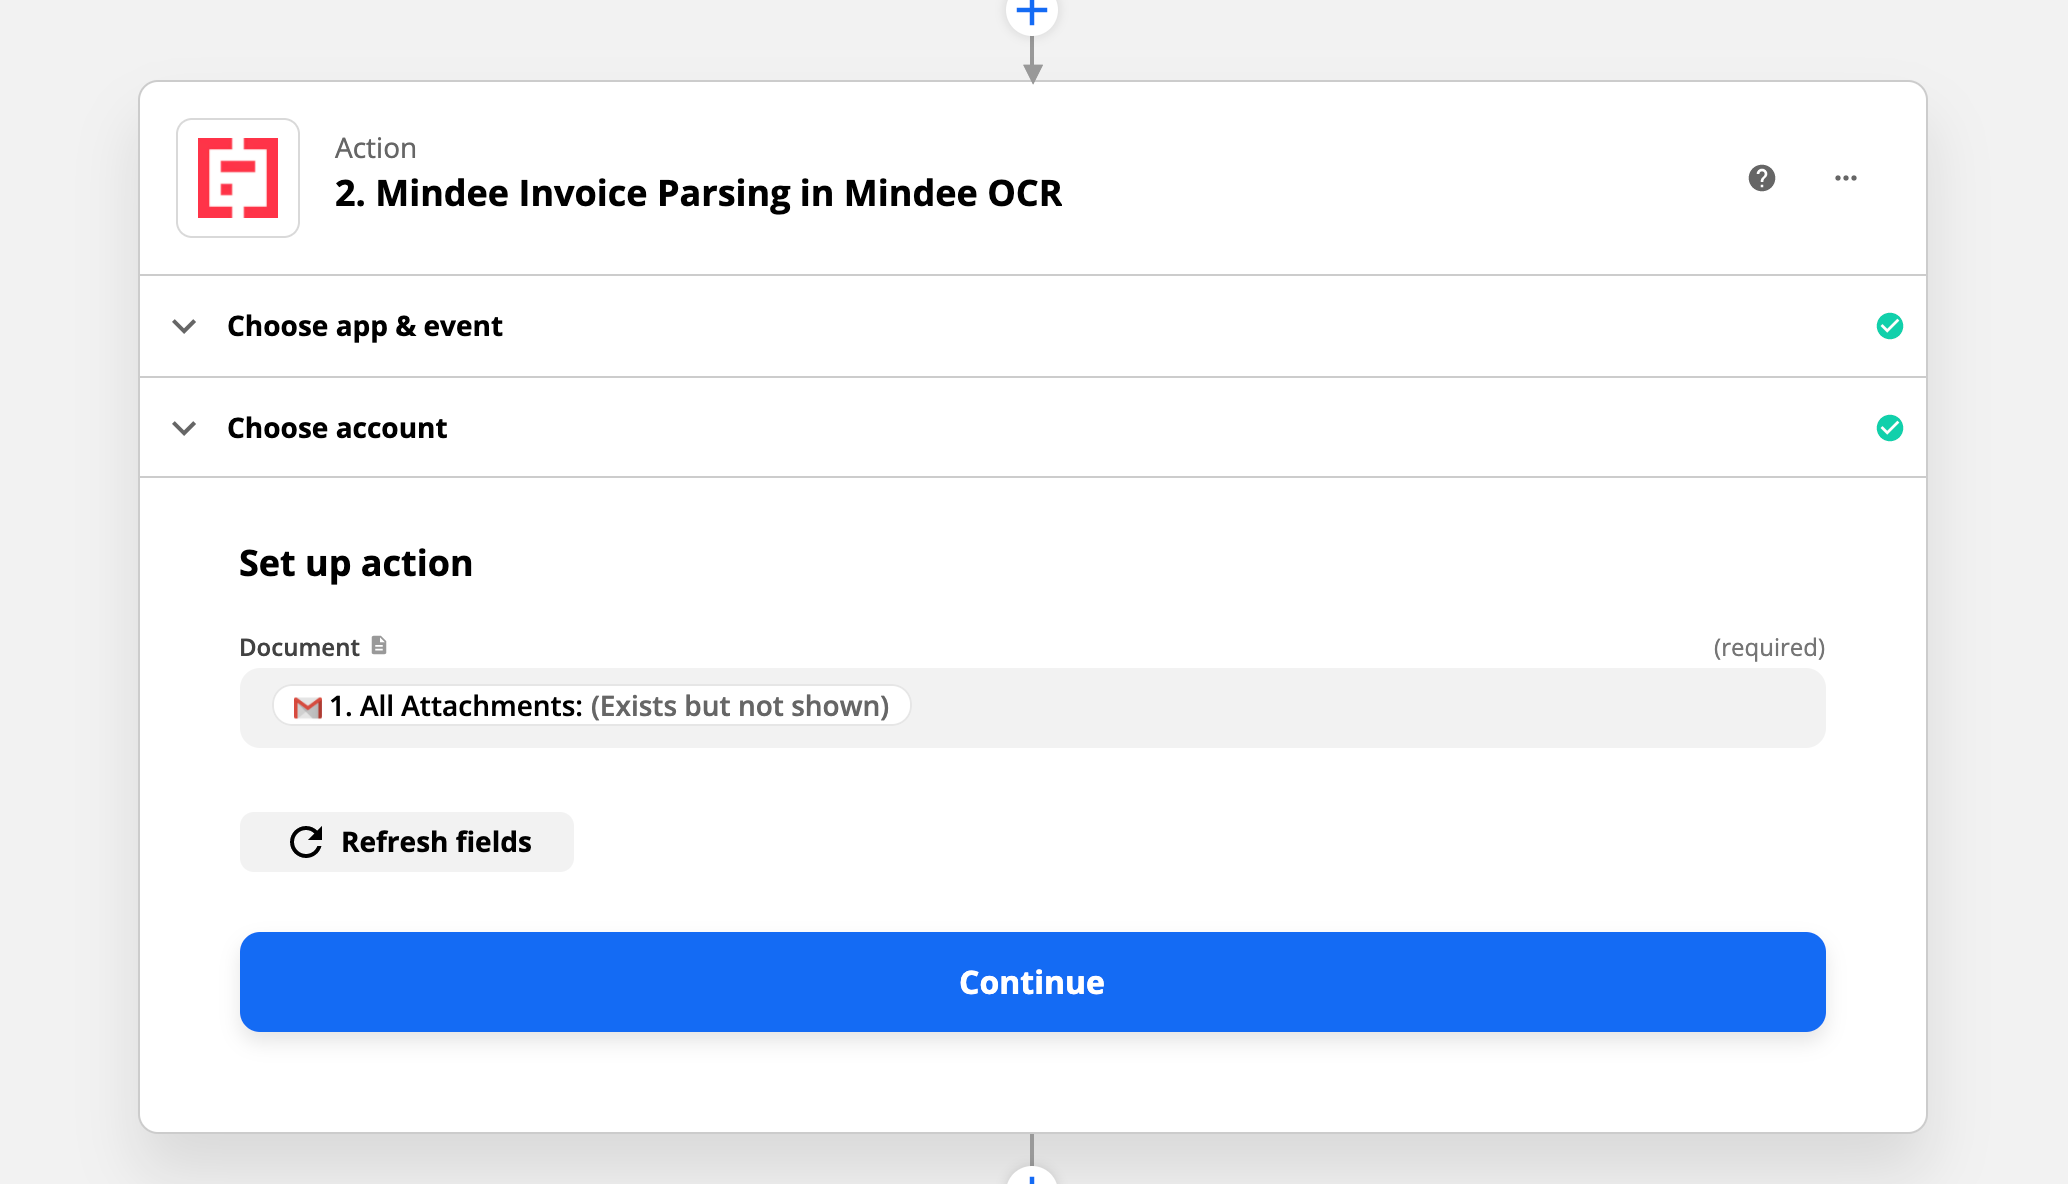
Next - Zapier will test your document with the Mindee Invoice API.
You should see a success code, and a long JSON export showing all the details of the Mindee data extraction.
Zapier gets excited.
Now that you have a trigger and an action set up, Zapier really wants to turn on the Zap.
We’re not quite ready for that, we want to add a second action to the Zap - to take the extracted fields and put them into a Google Sheet...
So, close the dialog to turn on the Zap, and add another action by pressing the + at the bottom of the screen.
This is confusing, so if you accidentally turn on your Zap - just go back into the edit mode, and you can add another step.
Step 3 Google Sheet
WE've extracted the data from the Gmail attachment - now we want to do something with that attachment.
In this example, we'll add a row in a Google Sheet with all the details from the invoice:
We’ve created an invoice demo google sheet Open this google sheet and make a copy into your account (File-> make a copy).
The sheet looks like this: It may have data from a few invoices in it.

We will fill in a row of this spreadsheet with the data from the Mindee OCR extraction (and if you run it again - fill the next row with new data)
Now back in Zapier add Google Sheets as your 3rd action, and the events ill be to create a Spreadsheet row:
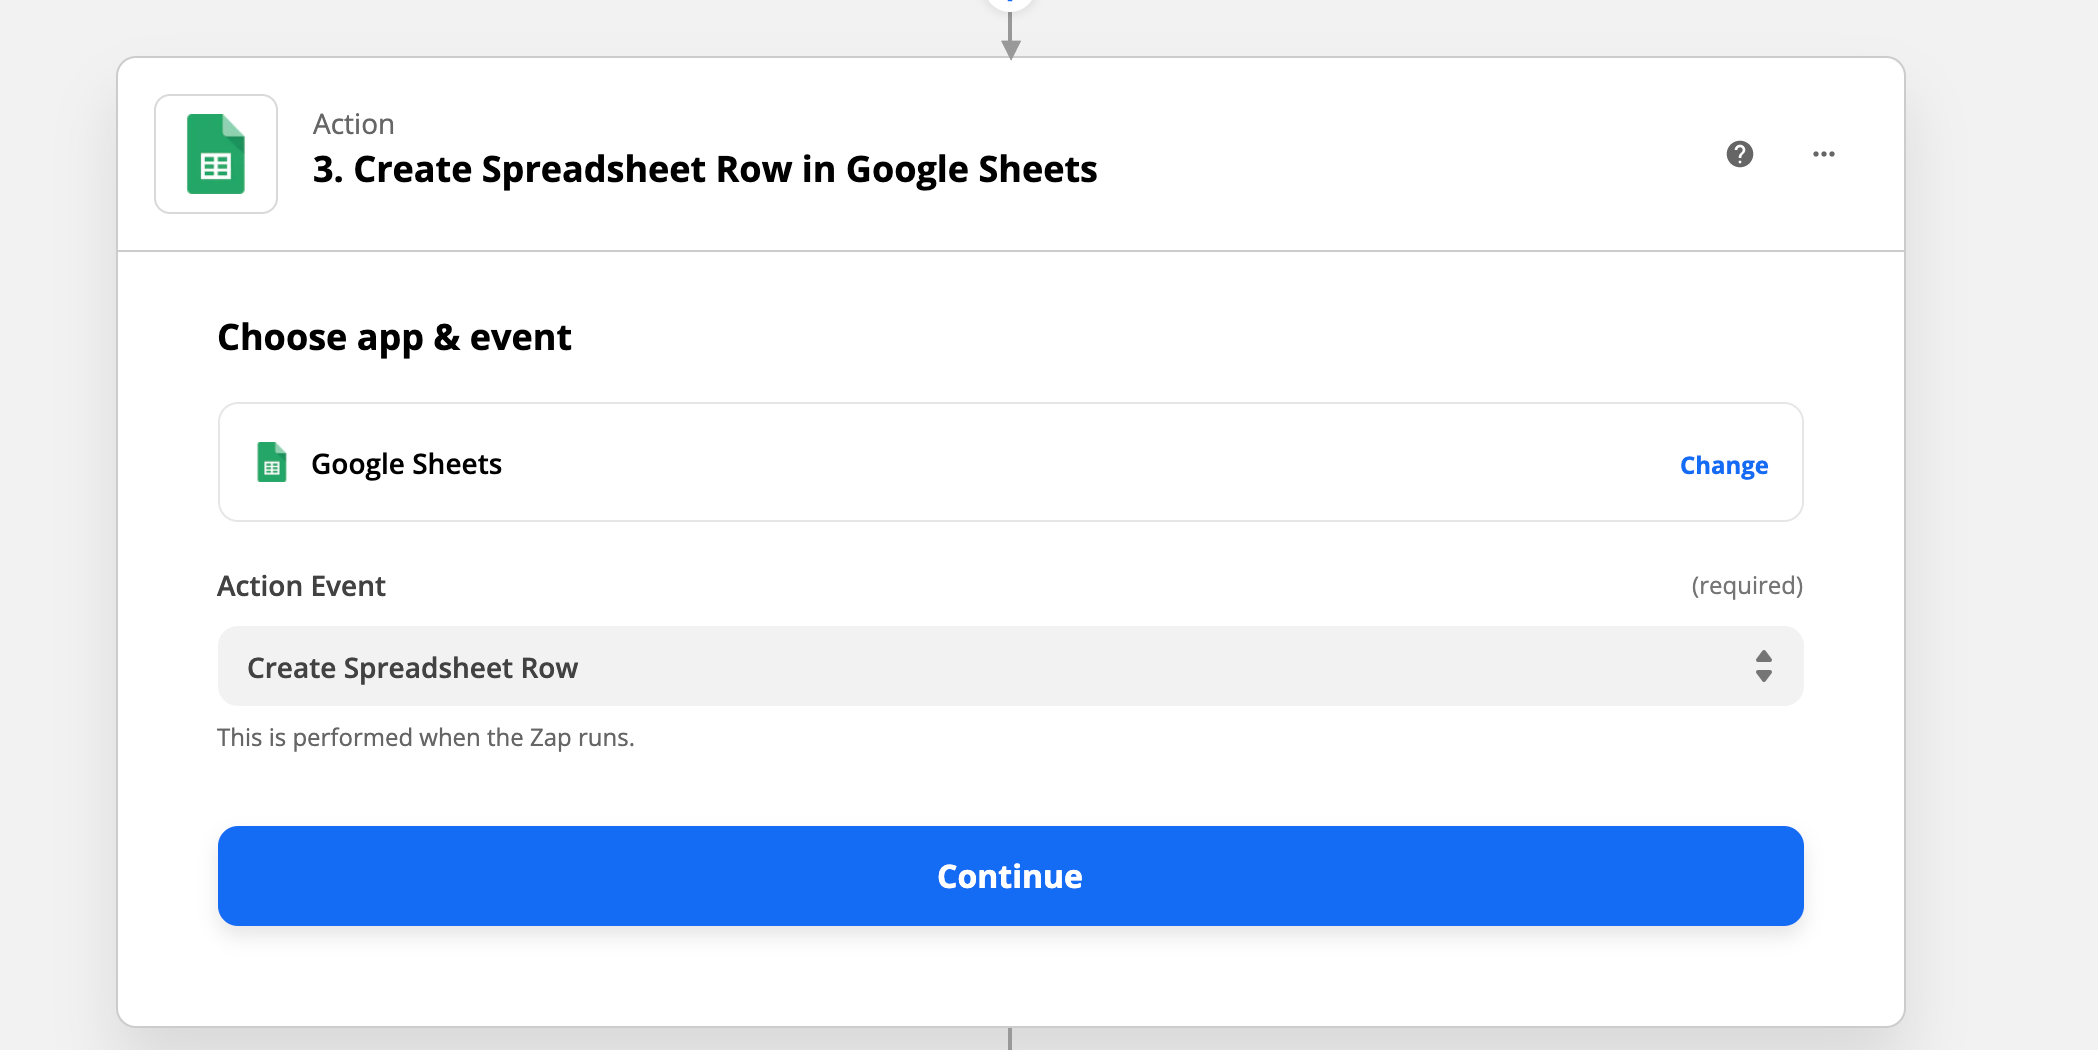
Connect your Google Sheets account. Next you'll be asked to find a spreadsheet to connect to.
If you've saved a copy of the spreadsheet above in your Google Account, you should be able to find it. We’ll add a row into Sheet1.
You'll notice that Zapier finds the column names to help you figure out which elements you'd like to add to the sheet row:
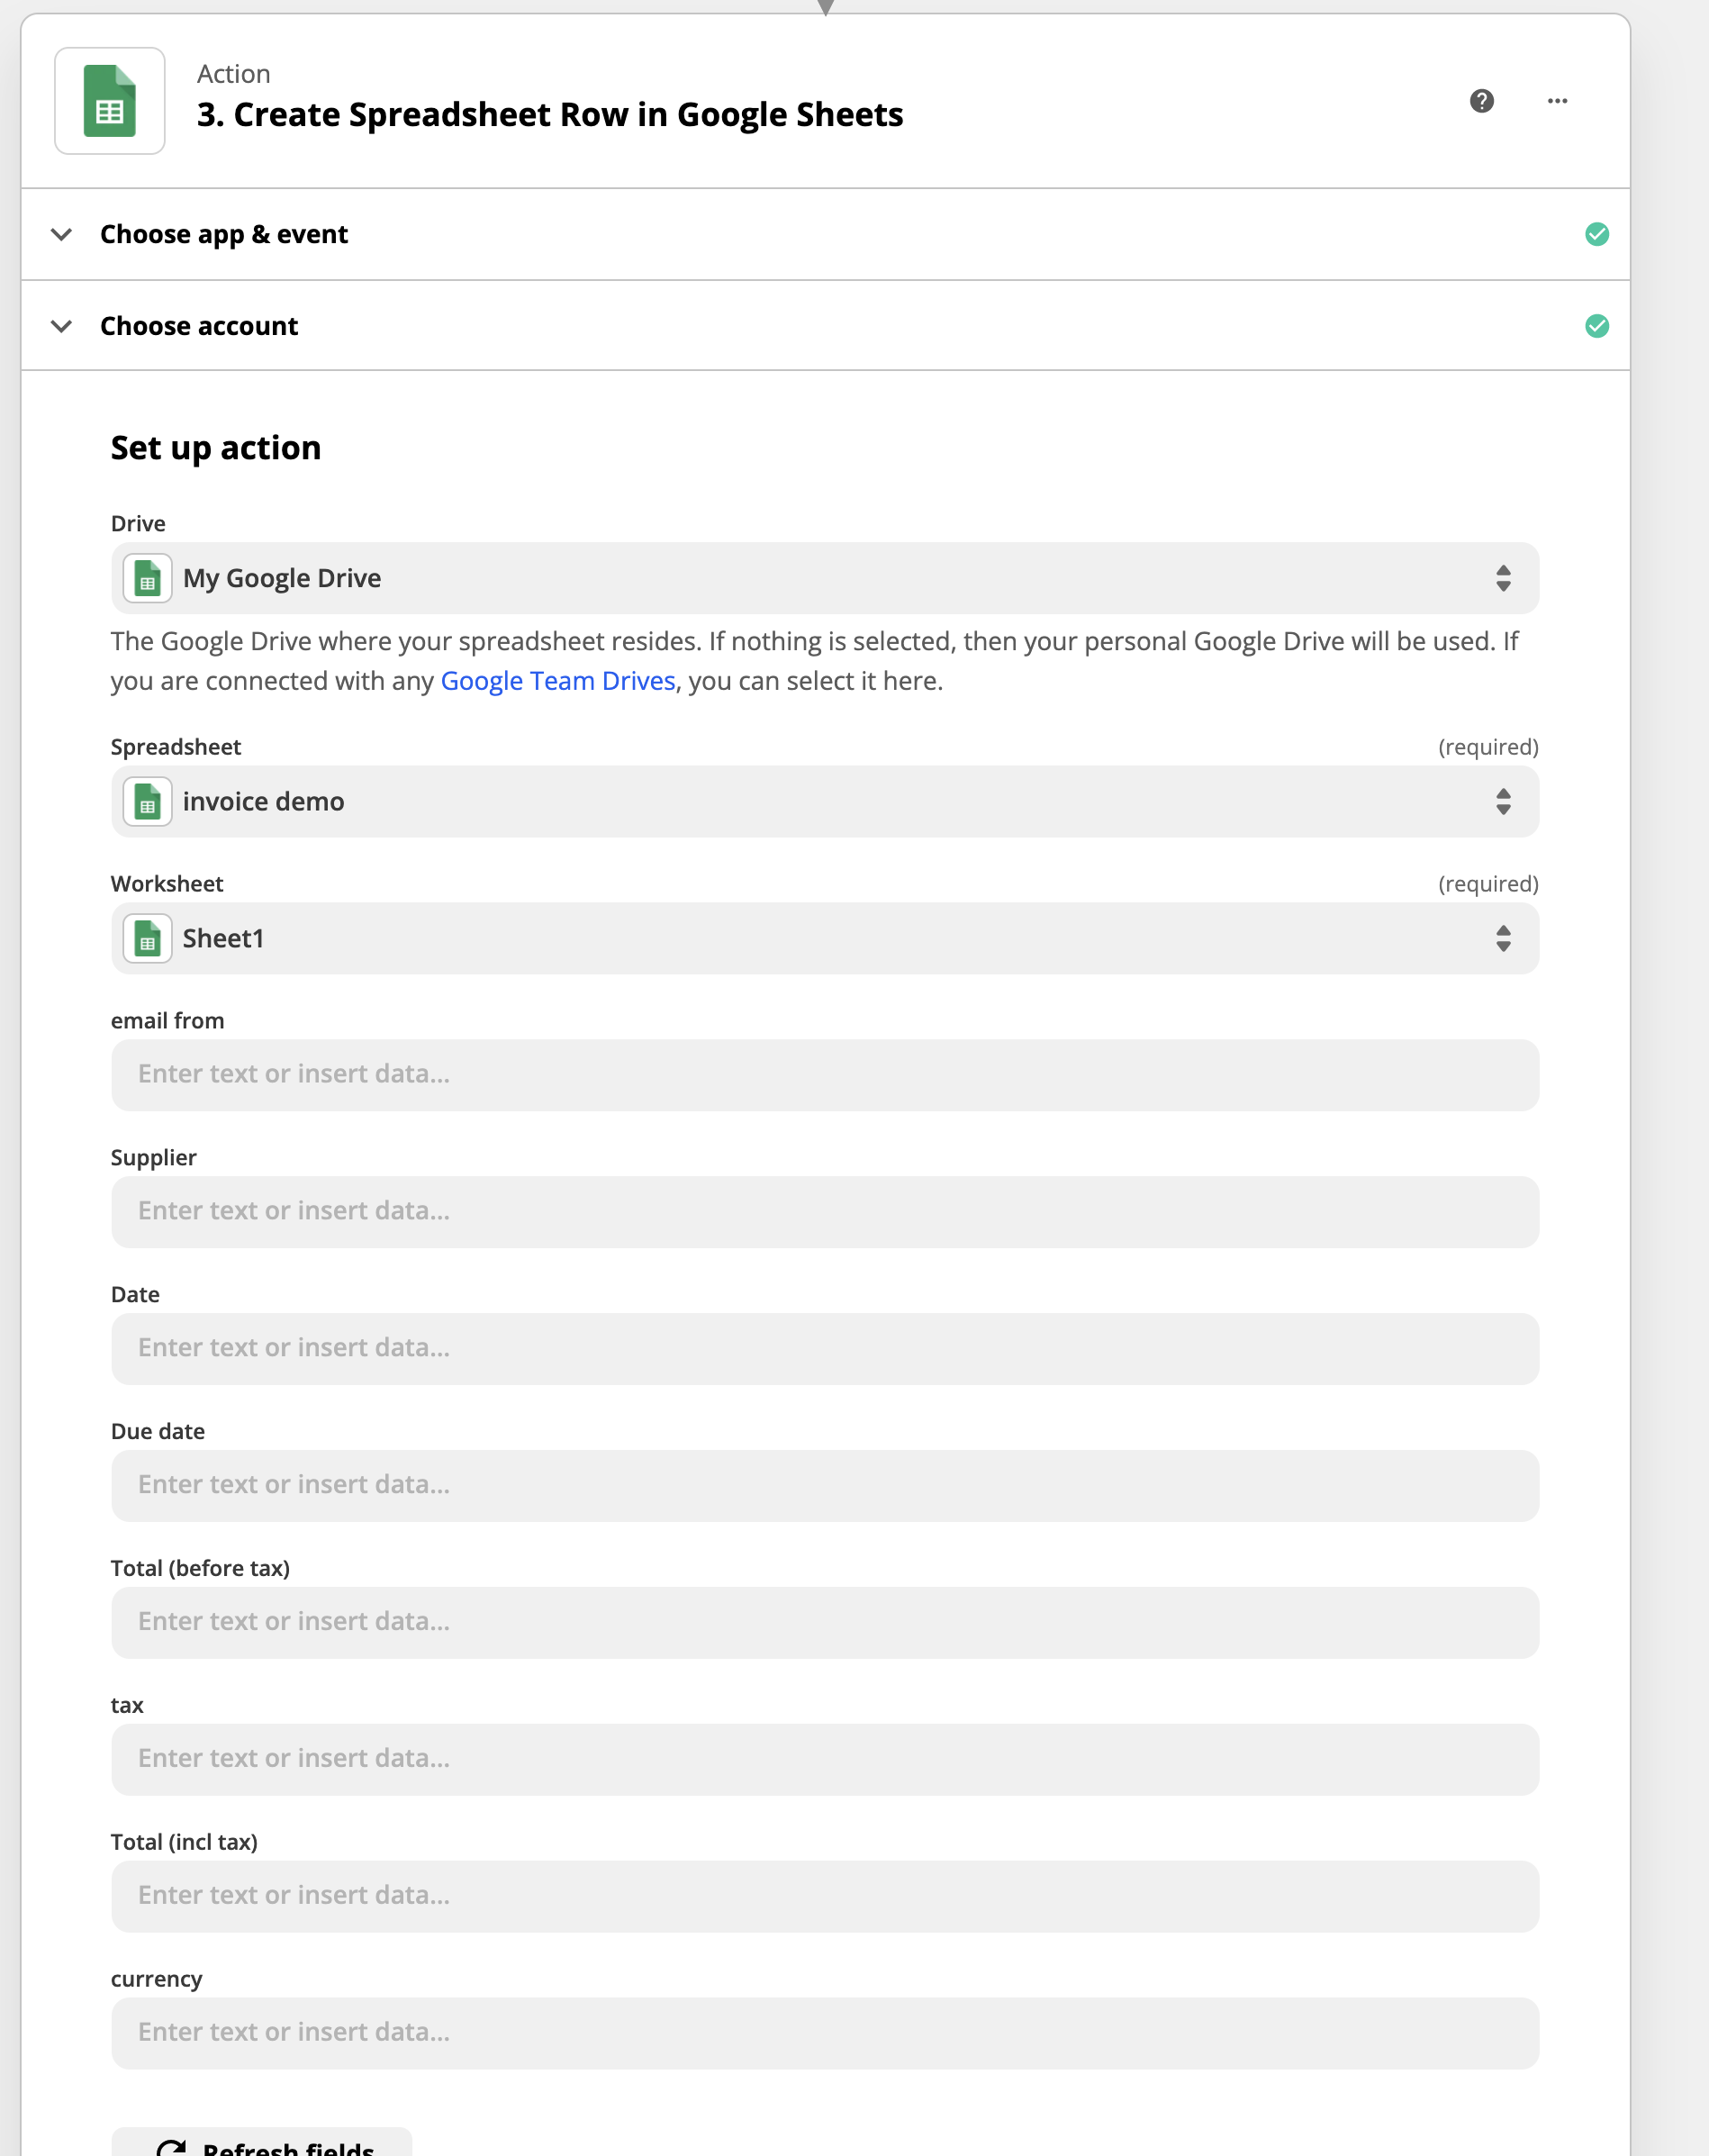
Now we need to tell Zapier what data to place into each column of the row we are adding.
For simplicity, we'll just list the value to search for
-
Email From: In the Gmail list find the “From” attribute. This will add the email address of who sent you the invoice.
-
Supplier: in Mindee - search for “Document Inference Prediction Supplier Name Value”
-
Date: in Mindee - search for “Document Inference Prediction Date Value”
-
Due date: in Mindee - search for “Document Inference Prediction Due Date Value”
-
Total (before tax): in Mindee - search for “Document Inference Prediction Total Net Value”
-
Tax: in Mindee - search for “Document Inference Prediction Tax Value”
-
Total (incl tax): in Mindee - search for “Document Inference Prediction Total Amount Value”
-
Currency: in Mindee - search for “Document Inference Prediction Locale Currency"
When you've completed this, the fields will look something like this:
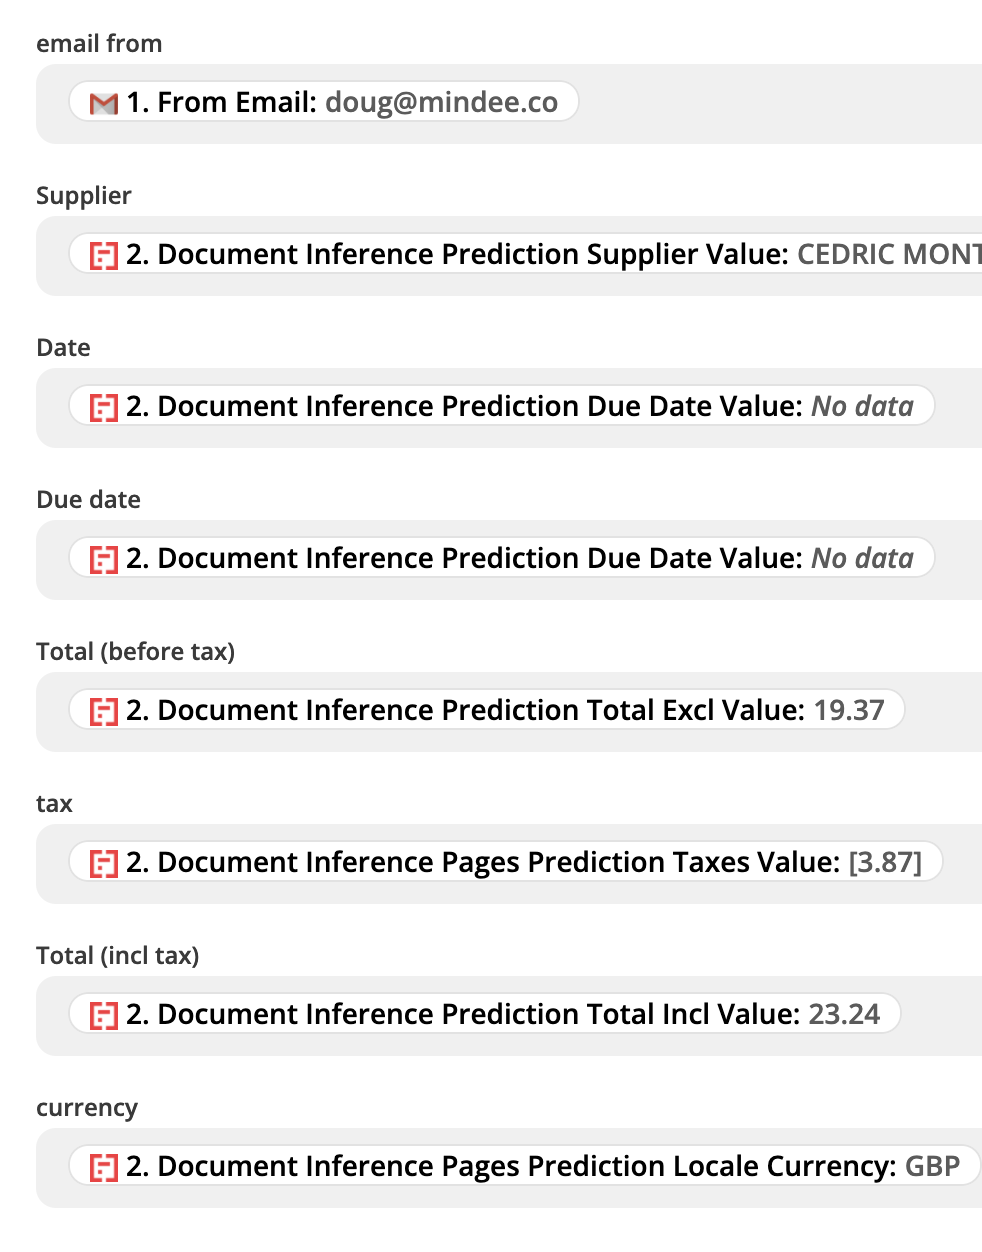
Once you select the fields, you can test, and see that the correct rows are populated with the correct values.
That’s it. Now you can name your Zap and turn it on for use!
Testing your Zap
Now you can test your Zap by sending another email to your account with an invoice, and after a few minutes - you’ll see the values appear in your spreadsheet automatically from the Zap.
You can try it out the Zap created in this demo by emailing an invoice to [email protected], and it will appear in the Google Sheet listed above.
Do note that even with the +invoice, your email will go into my inbox, and the data will be in a publicly viewable spreadsheet so don't send anything you don't the world to see.
No coding with Mindee
With just a few minutes of work (and with zero coding), we have build a fully functional invoice processing system - invoices sent as email attachments are automatically identified, extracted, and the results are placed in a Google Sheet.
We're very excited about the possible opportunities that no-coding options can bring to the Mindee Community!
Questions?
![]() Join our Slack
Join our Slack
Updated 10 months ago
